Night city shots often look better to our eyes than they do on a phone. Street lamps, headlights, and neon signs create bright spots amid deep shadows. That contrast makes metering and color balance hard for a small camera.
At the core is physics: the tiny sensor and small pixels in a phone can only gather so much light per frame. To compensate, the device must either expose longer or boost ISO. Each choice brings tradeoffs — motion blur or grain — and processing can only do so much.
This guide explains what happens inside the sensor and shows practical steps you can try now. You will learn about shutter speed and ISO, stabilization, lens choices, shooting RAW, and editing tips. I’ll also cover how computational Night modes help, and where technique still wins.
Who this helps: anyone shooting handheld city streets, skylines, nightlife, or travel scenes who wants steadier color, sharper detail, and fewer surprise artifacts without buying a new device.
Why urban night scenes are uniquely hard for phone cameras
Nighttime city scenes force a camera to make hard tradeoffs between exposure, noise, and color. The core problem is simple: there aren’t enough photons arriving at the sensor, so the device must either collect light longer or amplify what it gets.
Less light forces longer exposures or more amplification
In dim ambient lighting, you can slow the shutter or raise ISO to brighten a frame. Slowing the shutter improves detail but risks blur from hand or subject motion.
Raising sensitivity freezes motion but increases noise, which can ruin fine texture in photographs.
Streetlights, headlights, and neon create extreme contrast
City scenes often pair bright point lights with deep shadows. That extreme contrast makes it hard for a small camera to keep both highlights and shadow detail.
Bright lamps may clip to pure white while alleys fall into black. The result is a picture with blown highlights or crushed shadows.
Mixed color temperatures confuse automatic white balance
One frame can include sodium-yellow streetlamps, warm storefront bulbs, and cool LED signs. Auto white balance tries to average these and can produce odd hues.
“The camera often averages the scene, which flattens mood or creates color artifacts.”
How metering and mode choices misread intent: bright signs can trick a meter into underexposing faces, while dark scenes can push a camera to over-brighten and reveal noise.
- Not enough photons → slower shutter or higher ISO
- Extreme contrast → clipped highlights, crushed shadows
- Mixed bulbs → inconsistent color casts
These three factors — quantity of light, contrast, and color mix — explain most night photo failures and point directly to practical fixes covered next.
Sensor size basics that explain the quality drop after dark
A camera’s physical sensor area determines how much light each pixel can hold, and that matters most at night.
Smaller sensors mean each pixel is a smaller “bucket” for photons. On a compact capture chip, pixels collect less light per exposure than those on larger digital camera bodies. That basic math drives most visible differences in evening scenes.
Small sensors mean smaller pixels that capture less light
Smaller sensor designs force pixels to shrink when the megapixel count stays high. Tiny pixels fill and clip faster, so when you brighten shadows you see more grain and weaker color.
Why megapixels don’t equal better low‑night performance
The megapixels number measures resolution, not light gathering. Two cameras with the same MP can behave very differently after dark if one uses a smaller sensor. More megapixels on a small sensor often make nighttime files noisier, despite crisp daytime detail.
What “dynamic range” loss looks like in shadows and highlights
Dynamic range is the span between the darkest and brightest values a camera can record. At night that span gets squeezed: neon and headlights clip to white while sidewalks and facades lose texture when the camera lifts exposure.
“Understanding sensor size helps you read specs and avoid assuming higher MP always means better night images.”
- Smaller sensors → smaller pixels → more noise when brightening shadows.
- Higher megapixels on small chips can worsen night quality.
- Reduced dynamic range makes highlights clip and shadows go mushy.
smartphone sensor limits low light photography in real-world city shooting
When a phone tries to brighten dark areas, the result can be noisy, flat, or strangely colored. Pushing exposure in dim city scenes amplifies electronic noise and makes textures disappear.
How noise shows up when phones brighten dark areas:
- Colored speckles in shadowed corners.
- Blotchy texture on brick walls and pavement.
- Grain that grows as the device boosts the image.
Why details vanish in deep shadows:
Doorways, sidewalks, and alley brick often lack enough recorded data. That means tones merge and fine lines fade. Once detail is lost, editing can only guess at structure.
When highlight clipping ruins lamps, signs, and reflections:
- Street lamps become white blobs with no filament or halo.
- Neon signs lose letter shapes and become featureless color patches.
- Wet-street reflections turn into streaks of pure white.
Processing trade-offs: Heavy denoising and sharpening can leave a smeared or “painted” look. That hides real texture and makes images feel artificial.
“Zoom into three zones—bright lights, midtone facades, and darkest corners—to see which limit the image hit.”
For deeper reading on multi-frame stacking and how processing helps, see multi-frame stacking research.
Shutter speed vs. ISO: choosing the least-bad tradeoff
Deciding between a longer exposure and a higher ISO is the central tradeoff for night street shots.
Shutter speed controls how long the sensor collects photons; ISO amplifies what was captured and also raises noise. In simple terms, the shutter is the light collector and ISO is the amplifier — both shape final quality.
Practical rules for city scenes
Choose a slow shutter speed for static architecture so you can keep ISO moderate and get cleaner files. A slow shutter speed works well when you can brace the device or use a support.
Use higher ISO when motion matters: people walking, fast traffic, or handheld street moments where freezing action matters more than a spotless file. On most phones, aim for higher iso around ISO 400–800 when possible.
- Protect highlights: underexpose slightly when bright lamps or signs dominate — you can often lift shadows later but can’t recover blown lights.
- Hidden motion: camera shake, tiny hand movement, and subtle subject motion can blur a frame even if the scene looks still.
- Use Pro settings: manual exposure gives real control so you can balance shutter and ISO rather than relying on auto.
“If you can stabilize the device, lengthen the shutter and reduce ISO — often the biggest quality win at night.”
Stabilization tactics that immediately sharpen low-light photos
A steady hand and a simple support often change a night image more than any other setting. Stability lets you use a slower shutter speed and lower ISO so detail stays crisp and noise falls away.
Tripods, pocket supports, and bracing
Use a small tripod whenever you can. When one isn’t available, brace the phone against a wall, lamppost, or backpack to cut shake.
Timers, remote shutters, and physical triggers
Tap‑free capture reduces vibration. Try a 2–3 second timer, an earbud remote, or the volume button as a physical shutter release.
Why multi‑frame night modes still need steadiness
Night mode stacks multiple frames to reduce noise, but movement between frames softens details. Make sure the device is steady before the shot.
- Fast win: stability enables longer exposures at lower ISO for cleaner files.
- Beyond tripods: use ledges, posts, or backpacks for quick support.
- Handheld checklist: elbows tucked, two‑hand grip, steady stance, slow breath.
- Avoid tap vibration: timer, remote, or volume button to trigger the shutter.
“Stabilize first, then pick exposure and mode — that order prevents unnecessary ISO boosts.”
Night Mode and computational photography: what it fixes and what it can’t
By merging multiple captures, Night Mode reduces random speckles and lifts midtones. The phone records several short frames, aligns them, and blends pixels to create a brighter, cleaner image without a single long exposure.
How multi-frame stacking helps:
- Stacking averages out random noise, so you see clearer midtones and more usable details.
- It lets cameras avoid pushing ISO too high, improving tonal range in many conditions.
- Good for static scenes like skylines or architecture where frames align well.
Common artifacts and when Night Mode fails
Moving subjects, traffic, waving trees, or flickering LEDs can produce ghosting and smearing. The merge misaligns moving areas and creates doubled edges or translucent “shadows.”
Aggressive noise reduction and sharpening sometimes yield a “watercolor” texture. Brick, concrete, and skin lose fine grain and look painted instead of textured.
“Treat Night Mode as a tool, not a guarantee.”
Actionable rule: if you spot ghosting or watercolor detail loss, try a faster single photo, stabilize the device, or switch off multi-frame processing.
Pick the right lens on your phone for darker city scenes
Choosing the right lens can make or break a night street shot before you press the shutter. Start with the module that gives the cleanest data and work from there.
Why the main wide camera typically performs best in low light
The 1x or main lens usually has a larger aperture and a better image pipeline. That makes it the best camera on many phones after dark.
How ultra-wide and telephoto often struggle after dark
- Ultra-wide modules use a smaller effective area, so corners smear and shadows get muddy.
- Telephoto shots often come from a cropped area of the main sensor or heavy processing, which raises noise and reduces detail.
- Secondary modules and smaller sensors tend to trigger aggressive denoise that blurs texture.
When digital zoom makes noise and softness worse
Digital zoom enlarges limited pixels and magnifies artifacts. Signs and brickwork look soft even when exposure is okay.
Practical rule: if it’s really dark, shoot with the main lens, then crop later. A cleaner base file gives you more headroom in RAW or edits.
Pro settings that matter most in urban low light
Controlling exposure, focus, and color keeps evening street shots consistent and usable. A few deliberate choices in Pro mode make the biggest difference when city lights and darkness compete.
Lock exposure to stop bright signs from fooling metering
Meter off a midtone such as pavement or a building face, then lock exposure. This prevents neon or headlights from forcing the frame too dark.
Lock focus to avoid hunting in dim conditions
In dim scenes the camera can hunt. Locking focus holds sharpness for architecture, storefronts, and layered street scenes.
Set white balance when sodium or tungsten dominates
Manual white balance tames yellow/orange sodium vapor and warm tungsten. Pick a preset or slide the Kelvin until skin tones and concrete look natural.
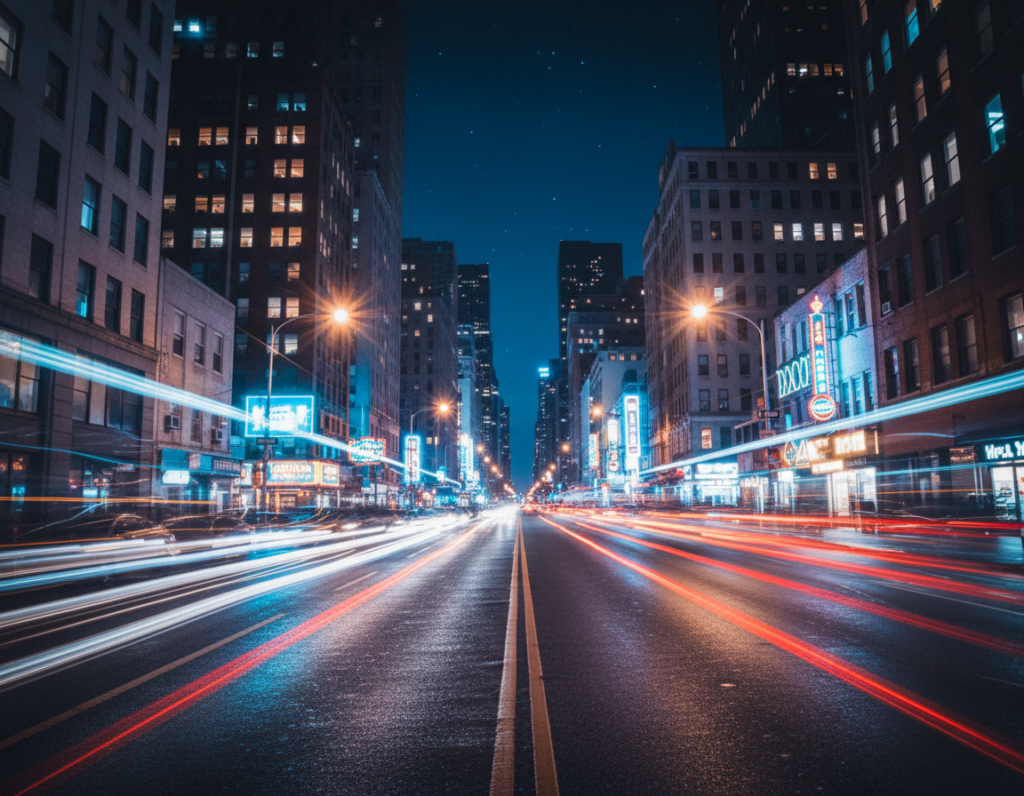
Use a slower shutter intentionally for light trails
Try a slow shutter speed to turn moving cars and bikes into streaks. This creative trade makes motion an asset, not a problem.
- Repeatable control: Pro settings create consistent frames for bracketing and comparison.
- Protect highlights: combine exposure lock with slight underexposure to avoid clipping lamps and signs.

“Lock exposure and focus first — then tweak white balance and shutter for the final mood.”
Shoot RAW for better shadow recovery and color control
Shooting RAW gives you a larger repair kit when evening tones need rescuing. RAW preserves the captured data so you can pull detail from shadows and tune color without the harsh artifacts that heavy compression adds.
RAW vs JPEG: what compression throws away
JPEG applies lossy compression and in-camera processing. That can create banding, blotchy shadows, and fragile color when you try to push exposure later.
RAW files keep the original sensor readings. They retain smoother gradients and more tonal data, so edits look cleaner and more natural.
When RAW helps most with mixed lighting and highlight protection
- Mixed street bulbs and bright signage where white balance needs correction.
- Scenes you plan to lift in post to recover shadow detail.
- Shots where you must protect highlights while brightening darker areas.
RAW workflow basics: capture, process, then export
- Set the camera to shoot raw or shoot raw+JPEG for a quick preview.
- In an editor, adjust exposure, white balance, and targeted noise reduction.
- Export a shareable file (JPEG/TIFF/PNG) for web or print.
RAW supports quality, not magic: a steady capture and sensible exposure still matter. But shoot raw and you give yourself room to rescue an image and build a consistent set of night photographs for social or print.
Edit for clean night images without destroying detail
Start edits with intent: fix exposure and white balance first, then address noise and sharpen last. This order keeps the mood and preserves usable data in the file.
Targeted noise reduction: clean shadows while keeping texture
Apply noise reduction selectively. Reduce grain more in deep shadow areas and on flat surfaces. Avoid treating edges and signage the same way.
- Use local masks to hit pavement and skies harder than architectural edges.
- Preserve fine texture on brick, metal lettering, and faces to keep natural details.
- Check before/after at 100% to avoid plasticky smoothing.
Recover shadows carefully to avoid a flat, gray look
Lift shadows in small increments. Pushing them too far makes the scene look daytime and removes contrast.
Keep black points intentional: keep some deep tones so the night feeling remains while rescuing usable detail.
Managing color casts from multiple light sources
Neutralize any overall tint first with a global white-balance adjustment. Then use local brushes to correct areas lit by neon, sodium, or warm storefronts.
This two-step approach helps the final image look balanced without destroying local mood or creating odd transitions in tone.
Sharpening strategies that avoid halos and crunchy edges
Sharpen at a low radius and apply masking to protect smooth areas. This keeps edges crisp without producing halos around bright lamps or high-contrast boundaries.
Final pass: combine subtle sharpening with selective noise reduction for the best perceived quality.
Export tip: choose suitable compression for the intended output. Social uploads tolerate more compression but may amplify remaining noise. For prints, export higher-quality files and do final checks on the target medium before sharing your work.
Common low-light mistakes to avoid in cities
When neon or headlights dominate a scene, automatic exposure tends to sacrifice shadow detail. Full auto metering often biases toward those bright points and then underexposes faces and architecture.
Relying on full auto when bright point lights dominate
Why it fails: the camera reads a small bright area and pulls overall exposure down. The result is clipped highlights or crushed shadows and aggressive processing that hides true tones.
Using flash for everything
On‑device flash can flatten faces, kill ambient mood, and create harsh reflections. In many urban conditions the flash looks artificial and draws attention away from the scene.
Over-editing noise and losing realistic details
Aggressive denoise and heavy sharpening erase texture. Small bricks, hair, and surface grain become fake-looking when you over-process to hide noise.
Ignoring safety and stability at night
Make sure you stay aware of surroundings. Don’t back into traffic for a shot and watch footing on wet sidewalks or stairs. A steady grip or simple support often beats a new camera.
- Minimum best practice: use the main lens, stabilize, protect highlights, and avoid heavy edits.
- Small technique changes often improve results more than buying new gear.
Conclusion
Night shooting rewards planning: match exposure, steadiness, and lens choice to the scene before you tap the shutter.
Physics plus technique explains most outcomes: small sensors gather less light, so controlling shutter speed, ISO, and lens selection matters more than chasing specs. Stabilize the phone and protect bright areas to avoid blown highlights and excessive noise.
Quick action plan: use the main lens, brace or tripod, lock exposure and focus, shoot RAW when available, and pick shutter speed to match motion or freeze it.
Be deliberate: embrace streaks with longer exposures or freeze moments with higher ISO. Edit selectively to keep texture and color while cleaning noise.
Practice turns frustrating scenes into predictable tools. With control and patience your night photos will improve consistently.