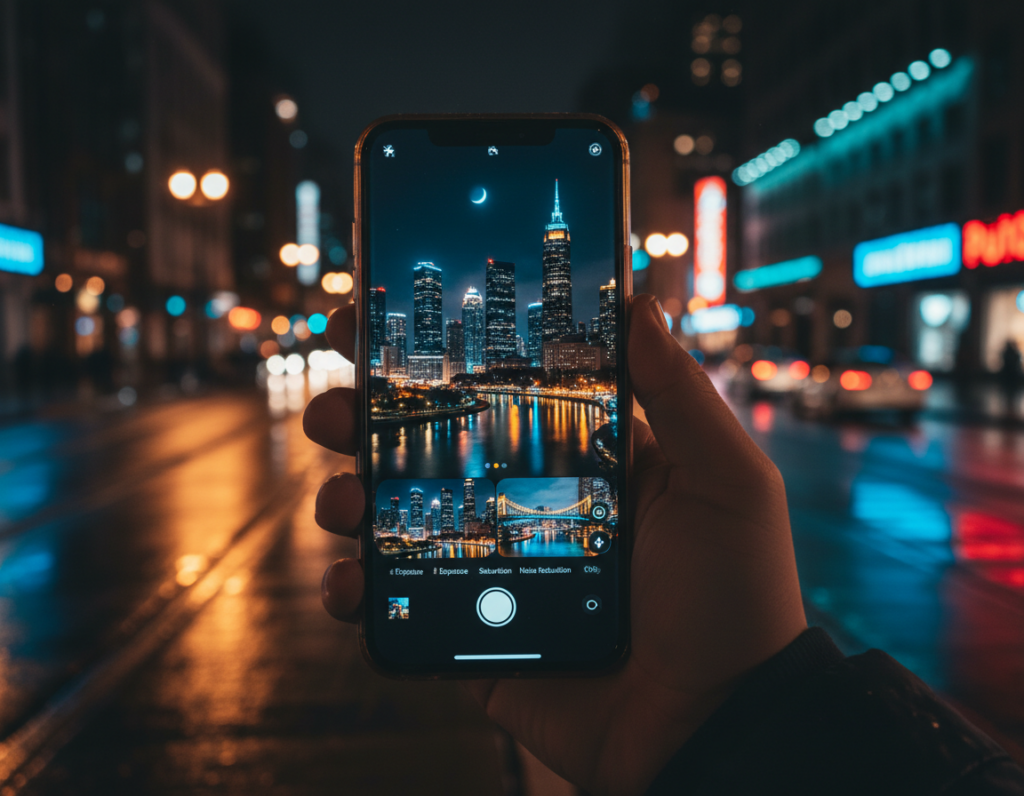
This short guide explains why speckles of light and color, often called noise, show up in low-light phone shots.
High ISO, long exposures, and small sensors make noise worse. Underexposed images that are later brightened can also reveal more grain. These issues are most obvious in skies, shadows, and dark streets.
Expect practical advice, not heavy theory. Mobile noise reduction can clean an image but may soften fine detail. The goal is cleaner results that still read as night, not overly bright or waxy.
You’ll follow a simple, repeatable workflow on a smartphone. We cover Lightroom Mobile for manual control, Snapseed for targeted fixes, and quick one-click AI tools in a mobile browser.
By the end you will know which steps protect textures and edges while improving overall quality. This practical guide focuses on techniques you can use tonight to improve your photography.
Why nighttime city photos look grainy on a smartphone
Phones try to salvage dim scenes by increasing sensor gain, which also lifts unwanted speckling. That simple choice helps avoid blur, but it has trade-offs you should know.
High ISO in low light and how it amplifies noise: In very low light the camera raises ISO to make the sensor more sensitive. This “gain” brightens the frame and also increases electronic noise in dark areas. Streetlights and neon may stay clean, while shadows become speckled.
Long exposure time and sensor heat artifacts: Longer shutter times gather more light but can add hot-pixel artifacts and extra luminance noise. Uniform areas like the sky show this quickly after several seconds of exposure.
Small sensors show noise sooner: Small sensor pixels collect less light per pixel than larger cameras. That means noise rises at lower ISO values, so compact devices reveal speckling earlier under the same lighting conditions.
Underexposure and brightening shadows: If the frame is captured dark and you raise exposure later, you amplify hidden noise in the shadows. The result: clean highlights but gritty dark corners.
“Streetlights and dim sidewalks often mask where noise will show up—look at the corners and shadowed alleys.”
Quick cause-and-effect checklist:
- Was ISO high? Expect more noise in shadows.
- Did you use a long shutter? Check skies and uniform areas.
- Is the sensor small? Assume noise appears sooner than on larger cameras.
- Did you underexpose and brighten later? Shadows will show artifacts.
For a practical step-by-step on fixing common issues like this, see how to fix grainy photos.
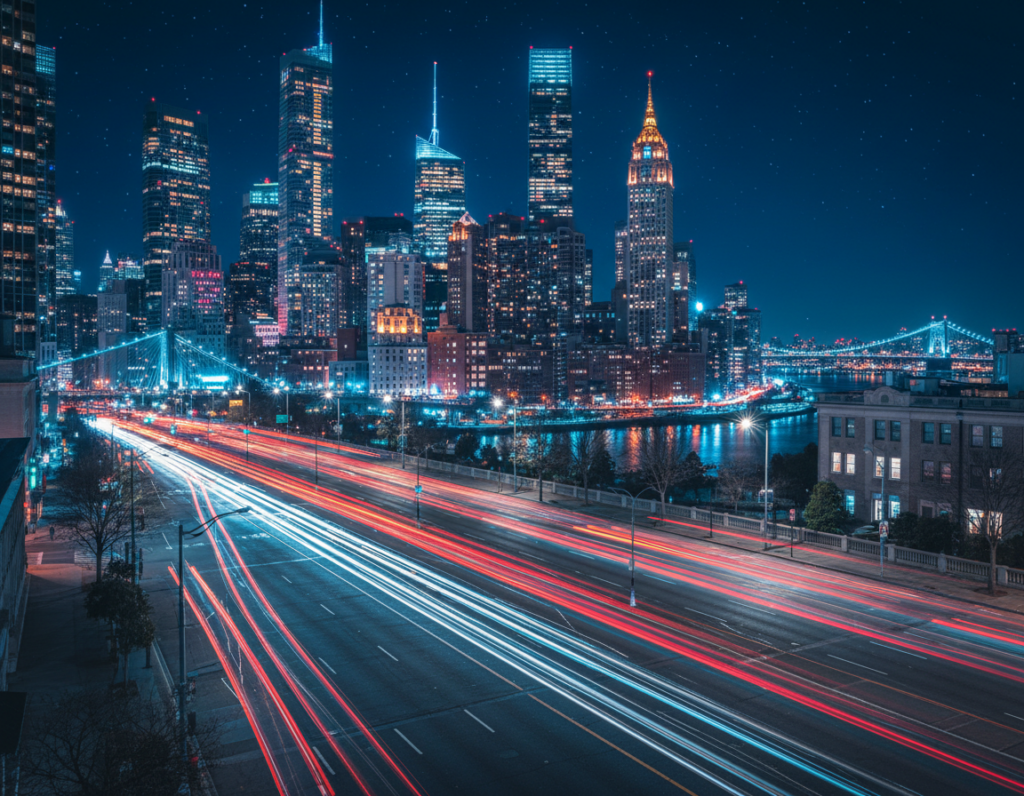
What “noise” means for image quality in night street and skyline shots
Low-light speckling changes how sharp and clean an evening skyline feels. In simple terms, noise alters fine detail and lowers overall image quality, even when exposure and focus are correct.
Luminance noise vs color noise in city lights
Luminance noise shows as grainy brightness variation. It makes skies and smooth areas look sandy and soft.
Color noise appears as random magenta or green speckles. You often see it on shadowed building faces, under bridges, or near neon reflections.
Where noise hides in night photos: shadows, skies, and dark corners
Look first at skies, deep shadows, and smooth gradients—these areas reveal both luminance and color artifacts fastest.
“Noise can make brick and concrete look messy even when focus is spot on.”
Effective noise reduction is selective: treat wide sky planes more aggressively, and leave textured surfaces like brick or signage alone to keep real details intact. Before moving sliders, identify whether the speckles are unwanted noise or true surface texture.
Quick checks before you edit so you don’t lose detail
Before you touch sliders, run a quick check so fine details survive the cleanup.
Zoom in to tell grain from real texture
Open the image at 100% and scan flat areas like sky, then compare to textured surfaces such as brick or signage.
If the speckles sit uniformly on smooth planes but the brick keeps sharp edges, you’re looking at noise, not real detail.
Start from the best file you have
Use the original camera file or RAW when possible. A higher-quality file gives the denoise process more data to work with and preserves image quality.
Compressed copies sent through apps often bake in artifacts that limit recovery. Keep the best file and work on a copy.
Know when treatment goes too far
Watch for smeared signs or soft edges. If text on a shop front blurs or fine details vanish, back off the reduction and try lighter settings.
- Zoom to 100% and compare sky versus texture.
- Work from the original file and save duplicates.
- Evaluate results at real viewing sizes, not only at extreme zoom.
reduce grain night city photos smartphone editing workflow that works every time
A reliable workflow begins by making a duplicate and fixing overall tones, not by plunging straight into noise sliders. Start each session with a copy so you can compare and revert without losing the original image.
Step one: Set a clean baseline. Correct exposure and tame highlights first to avoid amplifying noisy shadows later. Handle bright streetlights and neon so you don’t have to push shadows aggressively.
Step two: Apply noise reduction in order. Target luminance first, then color. This sequence smooths tonal speckles while keeping hues intact.
Step three: Use selective tools for trouble spots — sky gradients, building edges, and signs. Test on three areas: sky, edge detail, and sign text to keep mood and readability balanced.
Step four: Sharpen last. If you sharpen before denoising you risk locking in speckled texture and making smoothing harder.
- Duplicate file
- Correct exposure/highlights
- Luminance → Color noise reduction
- Selective tweaks
- Sharpen and check color banding
“Always check neon signs and smooth gradients for banding or odd color shifts before export.”
Noise reduction in Lightroom Mobile for nighttime city scenes
Lightroom Mobile’s Detail panel is the go-to place for fixing noise in evening photos. Open the Detail panel and you’ll find Luminance, Colour, and Sharpening sliders that control how the image looks.
Where to find the Detail panel and what each control does
Tap the Detail icon in Lightroom Mobile. Luminance smooths tonal speckles. Colour (or Color) removes colored flecks.
Sharpening restores edge clarity after you finish smoothing. This workflow keeps texture and legibility.
How to tune luminance without making the photo look “waxy”
Increase Luminance slowly. Stop when skies and smooth planes look even but building textures remain believable.
A good rule: work in small steps and re-check at 100% zoom. That prevents the overly soft, “waxy” finish.
How to remove color speckles in shadows and midtones
Raise the Colour/Color slider just enough to remove red, green, or purple dots in dark areas and midtones.
Keep an eye on subtle hue shifts near neon and signs so tones stay natural.
Balancing sharpening with denoise to keep street signs readable
After reduction, add modest sharpening to recover edges on signs and windows. Use masking if available so only edges get sharpened.
Zoom-check sky, dark alley, and bright neon to confirm the image holds detail and overall quality.
“Always preview at 100%—that’s where you tell the difference between clean smoothing and lost detail.”
- Detail panel: Luminance, Colour, Sharpening
- Tune Luminance slowly; stop before textures soften
- Use Colour to remove speckles in shadows
- Sharpen last and preview multiple areas
Using Snapseed to reduce grain while keeping city textures
Snapseed is one of the free apps that gives precise local control for noisy evening shots. Treat broad skies and busy facades differently so textures stay real.
Using Structure carefully to avoid gritty halos
Structure can clarify brick and glass. But pushing it too far makes speckles and halos look worse.
Work slowly: do basic tone and exposure fixes first, then nudge Structure a little. Check dark corners and sky at 100% to spot exaggerated grit.
Targeting noisy areas with selective edits
Use the Selective tool to treat problem areas, not the whole image. Apply smoothing to skies and lower Structure on flat backgrounds.
Keep building faces and signs sharper. This local approach preserves texture while doing effective noise reduction.
- Basic tune → light Structure → re-check sky and corners
- Use Selective spots to lower Structure in flat areas
- Compare versions to avoid unnatural surfaces on architecture
Practical tip: on-the-go, trust quick, small moves. Snapseed’s tools work well on a phone when you focus on local areas and preserve the image’s mood.
One-click AI denoisers on mobile when you need fast results
When you need a fast cleanup, browser-based AI denoisers can finish the job in seconds. These tools run in a mobile browser, so there is no app install. They are ideal when time matters and you want a quick image lift.
Upload, denoise, download: the simple browser-based process
The typical flow is simple: upload your file, choose Denoise or Generate, then download the result. insMind’s example follows this exact three-step path. It gets a usable file back in seconds and keeps the process friction-free.
When AI denoise helps most
Use AI for high iso shots, very low light scenes, and compressed images that look rough after social sharing. This software can improve overall quality quickly and often fix dark corners and vignettes well.
How to spot over-smoothing and protect important details
- Zoom faces and skin to ensure texture remains natural.
- Check building edges and small text for sharpness.
- Watch for plastic-looking skies or smeared brick patterns.
“Run AI first for broad cleanup, then finish in a mobile editor with selective sharpening and color tweaks.”
- Fast workflow: upload → denoise → download (seconds)
- Best for high iso and low light images
- Use a hybrid approach: AI cleanup, then local tool touch-ups
Fixing common night-photo problems that make grain look worse
Dark edges often look worse because vignetting and underexposure combine to make noise pop where light is weakest. This creates pockets in the frame that draw the eye and lower overall image quality.
Dark corners and vignette noise in city scenes
Practical fix: lift corners with a targeted exposure brush, then apply local noise reduction only to those areas. That keeps the rest of the frame intact and avoids brightening noise globally.
Compressed images from texting or social apps and what you can recover
Files sent through apps often lose fine detail. You can smooth speckles and clean edges, but tiny texture is usually gone for good. Start from the best source picture you have—original camera exports yield far better results.
Mixed lighting and color shifts that exaggerate noise
Mixed LED, sodium, and neon sources cause strange casts that make speckles more visible in midtones. Simple sequence: neutralize white balance first, then apply noise reduction, and finally re-check shadow areas for remaining speckles.
- Use the original file when possible.
- Fix color/white balance before noise work.
- Apply local denoise to corners and problem areas.
For a quick primer on camera limitations and fixes, see why my phone camera looks grainy.
Fine-tuning: keeping the “night mood” while removing noise
Balancing cleanup and atmosphere starts with protecting shadow shapes and bright light sources. Use gentle moves so the scene keeps depth and still reads as evening. Apply local fixes more than heavy global changes to preserve mood.

Reducing noise without flattening shadows completely
Lift shadows sparingly. Give dark areas a subtle boost so detail becomes visible, but stop before the scene looks flat or daytime-bright.
After a small exposure lift, run targeted noise reduction on the deepest tones. This keeps contrast while calming distracting speckles.
Protecting highlights in streetlights, headlights, and neon
Clamp highlights first. Pull down extreme bright values so lights stop clipping. That prevents halos and banding when you smooth nearby tones.
Work in this order: fix exposure on lights, apply denoise to shadows, then re-check bright points for unnatural glow.
Maintaining texture in brick, concrete, and glass reflections
Apply stronger smoothing to plain skies and flat planes, and leave textured surfaces alone. Sharpen edges selectively so signs and masonry keep real details.
Check wet streets and glass reflections at 100%—over-smoothing removes the spark that makes shots feel alive.
“Keep some natural shadow and sparkle. That’s how a cleaned-up image still feels like evening.”
- Lift shadows minimally, then denoise locally.
- Lower highlights before smoothing nearby areas.
- Protect textures; sharpen only where edges matter.
Final check: do a color review. Small saturation or contrast boosts can bring back color speckles in dark tones. Preview the image at viewing size to confirm overall quality before export.
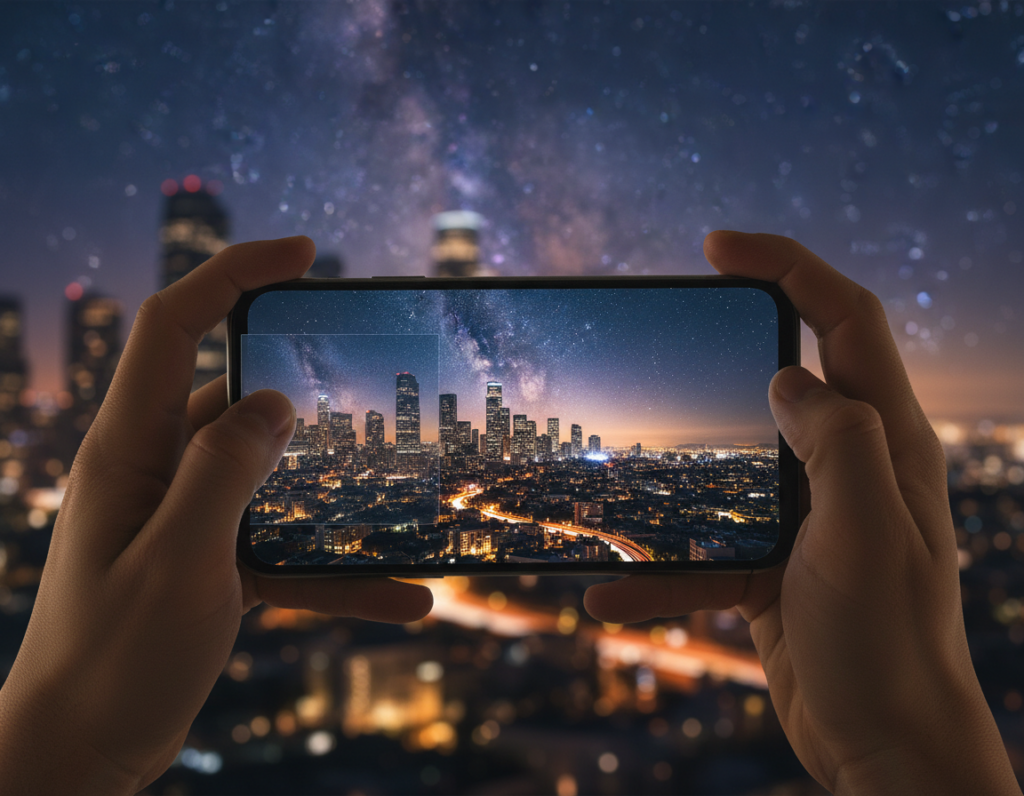
How to capture cleaner night city photos on your phone next time
Stability is the single most effective step you can take to keep low-light captures clean. With a steady camera you can pick gentler settings and avoid cranking ISO or lifting exposure later.
Keep ISO low and stabilize your shot
Use a small tripod, lean on a wall, or set the device on a stable surface. These simple choices let the camera use lower sensitivity and improve overall image quality.
Use longer shutter speed safely
Longer shutter times gather more light but risk blur. Handheld, stay near 1/30s or faster. With support, try multi-second exposures to capture clean detail.
Expose correctly in-camera
Avoid underexposure. If you brighten shadows later you will amplify noise. Dial exposure or use exposure compensation so the frame holds usable detail from the start.
Timer, remote trigger, and essential settings to learn
- Use a timer or Bluetooth remote to avoid shake when you press the shutter.
- Learn exposure compensation, focus/AE lock, and night mode behavior in your settings.
- Check a test shot and adjust aperture or shutter speed for the best balance of light and motion.
“Prioritize stability and correct exposure—those two moves give a photographer the best return on image quality.”
Conclusion
A steady workflow and small, deliberate moves yield the cleanest results for evening images. This guide shows a clear way to treat causes like high ISO, long exposures, and underexposure so your final image feels natural.
Practical order: set exposure and tame highlights first, then apply targeted noise reduction (luminance then color), and sharpen last to restore edges and readability. Pick the right tools—Lightroom Mobile for control, Snapseed for local fixes, and quick AI apps when speed matters.
Before export, zoom to 100% and check skies, shadows, signs, and skin for over-smoothing or color speckles. For a quick win, apply this workflow to one recent photo and compare before and after to see real quality improvement.