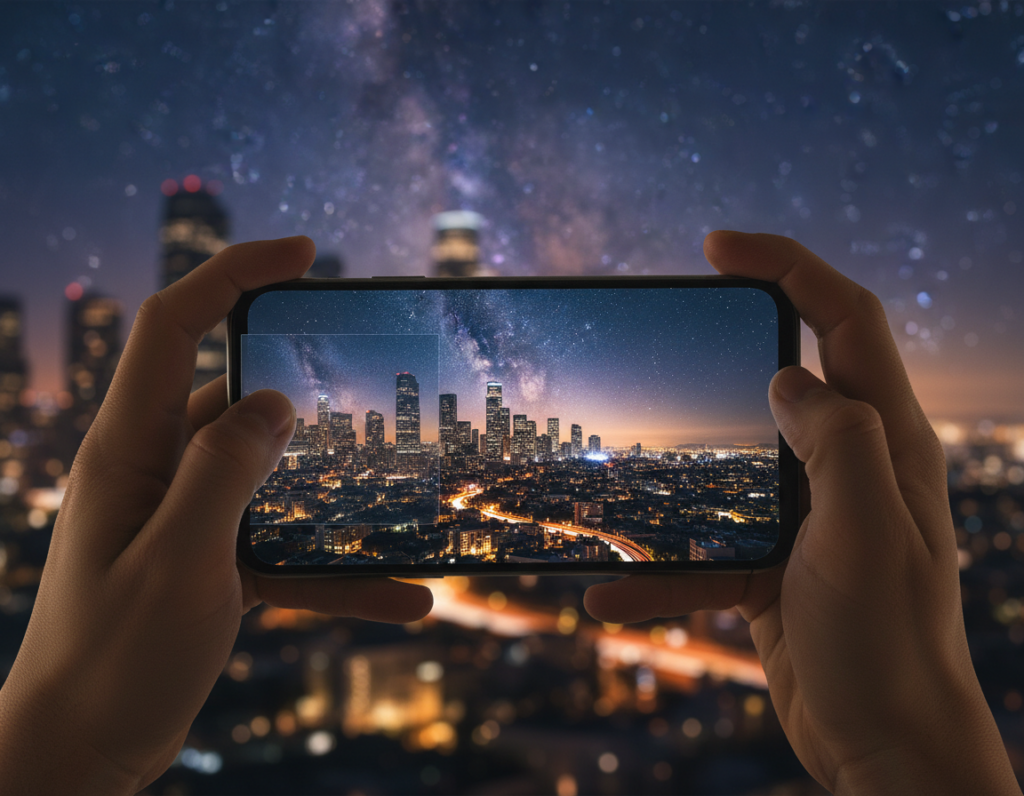
This short guide helps mobile shooters choose the right file option so detail, color, and texture survive editing, sharing, and printing.
The goal is clear: preserve shadow detail, avoid mushy noise reduction, and keep edges and fine texture in dark areas. Night shoots demand different choices than daylight because phones use longer exposures and heavy processing that can add artifacts.
We’ll follow a simple workflow: protect capture data, pick RAW/DNG versus TIFF or compressed choices, set Lightroom Mobile to high quality, then apply presets for sharing or print. Recommendations apply across iPhone, Google Pixel, and Samsung Galaxy and work with common apps.
Think decision-first: choose based on editing latitude, quick sharing, print needs, HDR screens, or archiving. Along the way you’ll get quick decision tables and practical tips like stabilizing the phone and cleaning the lens—small moves that improve final images in every format.
What “Quality” Means in Low-Light Smartphone Photos
Quality in night captures is a blend of clean noise, preserved shadow detail, realistic color, and sharp edges. These traits matter most where dark backgrounds hide compression and artifacts.
Noise vs detail: raising ISO or boosting exposure in a phone can add grain. Aggressive noise reduction often turns texture into smudged “mud” that defeats fine detail like hair, brick, or leaves.
Shadow detail is fragile. Underexposed areas reveal banding and blotches when brightened. Captures with more sensor data or RAW/DNG hold up far better during edits.
Motion blur and grain are different problems. Blur comes from subject movement or hand shake during longer exposure time. Grain comes from higher ISO. Both can appear together, but you can usually choose which to reduce.
- Stability matters: a steadier camera lets the shutter run longer at lower ISO, yielding cleaner images before editing.
- Night mode tradeoffs: stacking frames boosts range and brightness but can cause ghosting with moving people, cars, or leaves.
- Quick diagnosis: soft at 100% = motion blur; speckled color in shadows = noise.
Remember: good capture decisions and steady support protect data. The export choices that follow can’t fully fix a poor original, so start by choosing the right capture mode, exposure, and stability.
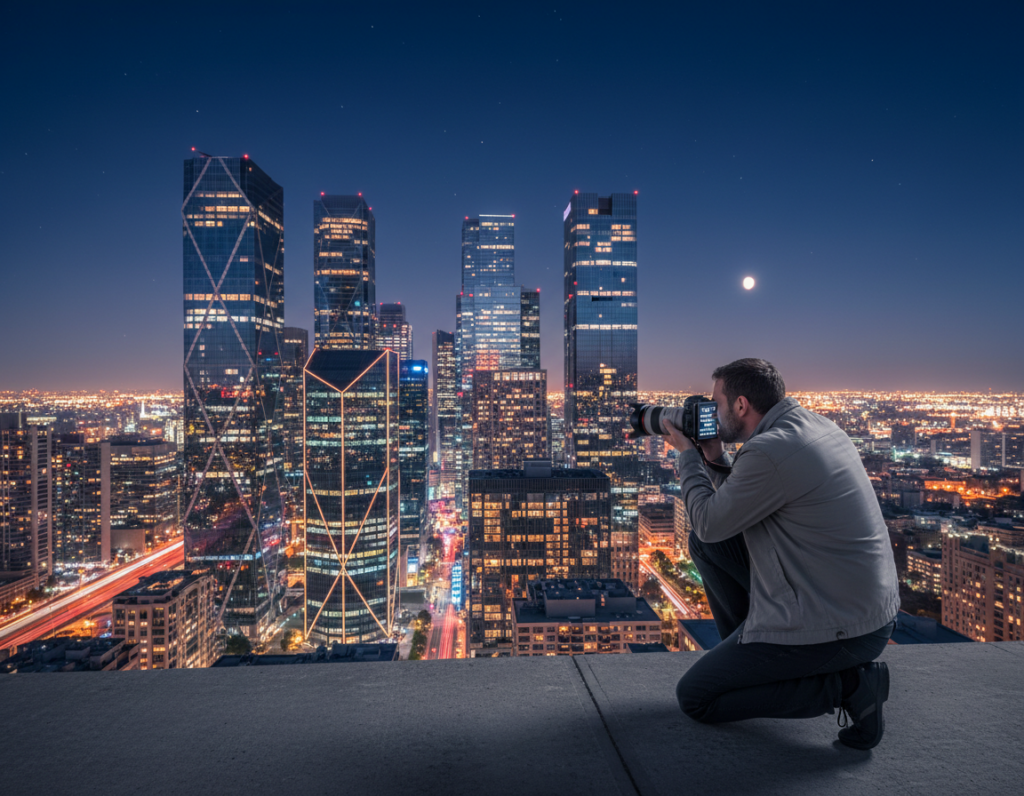
Capture Settings That Protect Image Data Before You Export
Protecting image data begins the moment you frame the shot. Choose the right capture approach to keep shadows, color, and texture intact before any editing or saving.
When to use Night Mode vs Pro/Manual
Night mode excels for static cityscapes and architecture where the device can stack frames without motion. It brightens scenes and tames apparent noise.
Switch to a Pro or manual camera mode when people, cars, or pets move. Use a faster shutter to avoid ghosting and keep edges sharp.
ISO and shutter speed tradeoffs
Keep ISO as low as practical to reduce grain, but don’t drop the shutter so slow that hand shake blurs detail. For handheld shots, aim near 1/50s as a starting point.
If the subject is static, favor longer exposures with stability. If it moves, accept higher ISO and faster time to freeze action; RAW captures usually handle noise better in post.
Stabilization tactics
Use a small tripod for serious night work. Brace the phone against a wall or railing when a tripod isn’t available.
Enable a 2-second timer or a remote shutter to eliminate touch shake and improve detail in every format.
Skip the built-in flash and use ambient light
The phone’s LED can produce harsh highlights and red-eye that survive compression. Place people near street lamps, shop windows, or signage for softer, directional light.
A friend’s phone torch works well off-camera to add fill and shape faces without the flatness of the flash.
Lens cleaning and glare control
Wipe the lens before night shots. Fingerprints and oil turn point lights into streaks and haze that no later setting will fully remove.
Quick triage: static scene = Night Mode + stability; moving subject = manual mode + faster shutter.
Next: once the capture is clean, choose a saving path that keeps as much shadow and color data as possible during editing and sharing.
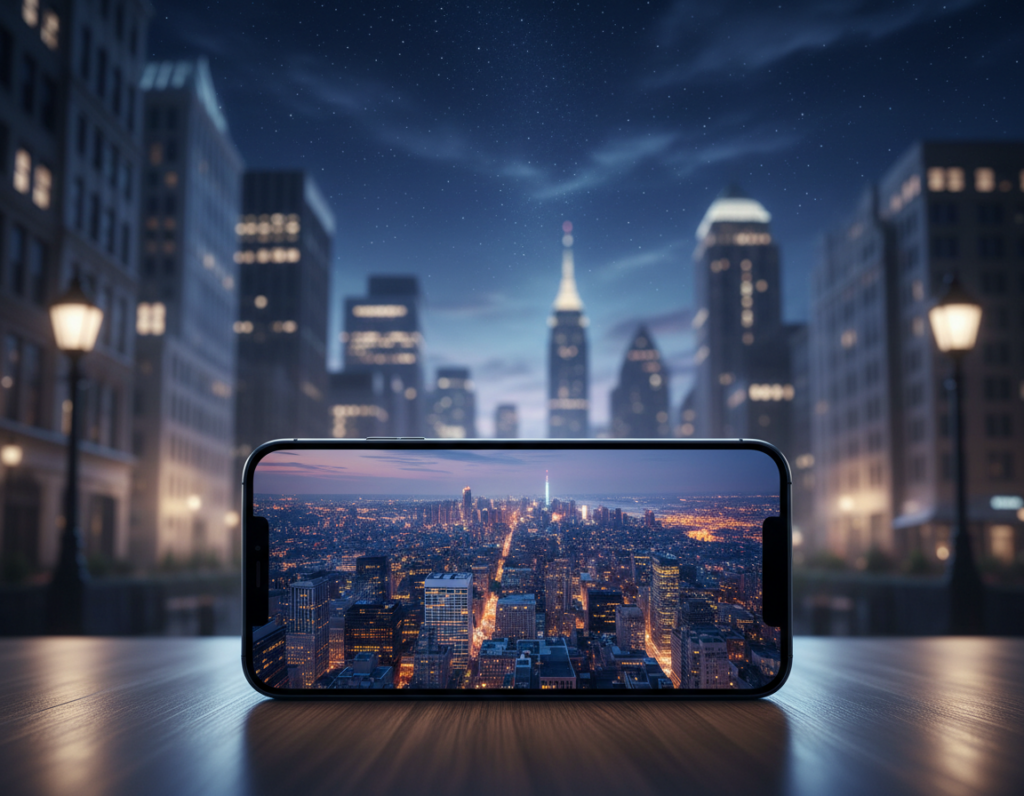
best file format low light smartphone photography export
Choosing the right save option changes how much detail you can recover after a night shoot.
Raw files (DNG) preserve the most sensor data. That makes lifting shadows, controlling noise, and correcting white balance easier in adobe lightroom. Use raw files as your edit master, then keep a high-quality copy for archiving.
TIFF for lossless editing headroom
TIFF keeps edits reversible and avoids banding in dark gradients. It creates large files, but TIFF is smart for final masters you plan to rework or print.
JPEG for quick sharing
JPEGS are smaller and widely supported in apps and social feeds. They compress detail, so avoid heavy editing after you save as a JPEG.
AVIF and JXL
Newer choices like AVIF and JXL can deliver HDR-ready results at smaller sizes. Compatibility varies across devices and browsers, so test before you rely on them.
Quick guide: Editing-first → shoot RAW/DNG. Share fast → high-quality JPEG. Print → TIFF. Archive → RAW plus a lossless master.
How to Export Low-Light Photos in Lightroom Mobile Without Losing Quality
A careful save workflow in Lightroom Mobile preserves the tonal range you worked to recover.
Quick steps: open the edited image, tap the Share icon, and choose “Export as…” when you need full control. Use “Save Copy to Device” for a fast camera-roll copy when quality choices aren’t necessary.

Quality slider and dimensions
For jpegs or AVIF, set the Quality slider to 100% so compression does the least harm. Next, choose “Largest Available Dimensions” to keep full resolution and avoid accidental downscaling.
TIFF bit depth and color space
When creating a TIFF master, pick 16-bit to preserve smooth night gradients and give extra headroom for future editing.
Use sRGB for web and social. Pick Adobe RGB when you send files to a print lab that accepts it.
Save copy vs Export as
“Save Copy to Device” is quick and fine for casual sharing. Use “Export as…” when you need precise settings for quality, dimensions, and color.
Batch export and presets
Batch exporting keeps a series consistent. Save an export preset in the app to reuse the same settings across multiple images and avoid manual errors.
Quick checklist: confirm exposure and white balance, zoom in to check noise or blur, then export with full dimensions, 100% quality, and the color space that matches your destination.
For a short guide to Instagram and Facebook settings, try this Lightroom Mobile export reference.
Best Export Settings by Use Case for Low-Light Smartphone Photography
Match your save choices to where the image will live next—feed, print, archive, or HDR screen. Decide up front and save a copy tuned to that destination so you avoid repeated recompression and quality loss.
Social platforms and messaging
Issue: many apps recompress uploads and crush shadow detail.
Tip: export at full dimensions with the highest quality and keep a separate copy for sharing. Store the original high-quality export in your camera roll or cloud, and post the copy to avoid repeated saves.
Print workflow and sharpening
TIFF is the go-to for lossless prints. Use 16-bit when possible and pick a print-friendly color space such as Adobe RGB if your lab supports it.
Adjust output sharpening by paper type: gloss shows more contrast, matte benefits from gentler sharpening.
Archiving and re-edits
Keep the RAW/DNG master plus a finished high-quality export. That preserves edit latitude and the data you may need later.
HDR viewing
Consider AVIF or JXL when preserving highlights on HDR displays, but test compatibility before relying on them.
Before you save: stabilization and correct exposure matter most—no setting can fix heavy blur or extreme noise.
- Quick matrix: Social → full dims + max quality. Print → TIFF 16-bit + Adobe RGB. Archive → RAW/DNG + master image. HDR → AVIF/JXL when supported.
- For a quick reference on saving for feeds, see this Lightroom export reference.
- Share workflow notes or your device and destination in the comments to get tailored tips.
Conclusion
Protecting detail begins before you tap the shutter and continues when you set output options. Start with steady framing, choose the right capture mode, and keep the lens clean so shadow and texture survive edits.
Keep a RAW/DNG master when possible for the greatest flexibility. For everyday use, make a high-quality JPEG copy; for prints or archives, produce a TIFF master with 16-bit color and the appropriate color space.
In Lightroom Mobile, use “Export as” for full control. Set JPEG or AVIF quality to 100% and choose Largest Available Dimensions to retain sharpness and detail.
Quick checklist: stabilize your smartphone or phone, keep ISO reasonable, avoid harsh flash, use ambient light creatively, and clean the lens before each shoot.
Last step: build two presets—one for social sharing and one for print/archiving—so your workflow stays fast and consistent across any camera and device.