Noise in night interiors, street scenes, or concerts shows up as grainy, blotchy, or smeared areas. It often means the sensor missed detail because there wasn’t enough light to record a clean file.
Phones have small sensors, so they gather less light than larger cameras. That makes fine detail harder to keep when the scene is dim.
Some grain is normal, but too much can be avoided by better capture choices: expose carefully, lower ISO when possible, stabilize the phone, and add or position light on the subject.
A cleaner starting file also makes later edits look more natural. Heavy post-processing or aggressive AI cleanup can introduce artifacts or waxy textures, especially in prints.
This guide is practical and phone-first. You’ll use screen controls, exposure lock, and simple settings, with optional apps if needed. For extra tips on technique and settings, see this short guide from The Next Web: tips for shooting in dim scenes.
Why low-light photos get noisy on smartphones
When a scene is dark, the camera must guess missing information, which creates grainy and blotchy results. This happens because the sensor records fewer photons, leaving gaps that processing tries to fill.
Luminance versus color artifacts and where each appears
Luminance looks like gritty texture across midtones and highlights. It gives skies and faces a rough, film-like grain. Color (chromatic) artifacts show as odd speckles or rainbow pixels, often in shadowy corners or on dark walls.
Missing information is the real cause
A small sensor captures less real data in dim conditions, so the processor must interpolate detail. That guessing produces mushy edges, blotchy color, or amplified grain instead of true detail.
Why underexposing to avoid higher ISO backfires
Deliberately underexposing to keep ISO down and then brightening later usually makes artifacts louder. Modern multi-frame processing can help, but movement or shake may smear fine detail.
- Key takeaway: Aim for proper exposure at capture—even if ISO rises—so images retain more real information and cleaner results.
How to prevent noise low light smartphone photography with better exposure
Expose in-camera—don’t plan to fix a dark frame later. A brighter capture holds more true detail and keeps heavy shadow artifacts from forming when you edit.
Expose to the right means nudging the exposure slider (sun icon) until highlights keep shape but don’t clip. On a phone, that translates to raising brightness until bright spots stay textured, not solid white.
Quick AE/AF lock steps
- Tap and hold the subject to lock focus and exposure.
- Use the screen slider to lift exposure so the subject’s face or main area is lit.
- If the scene is backlit, lock on the subject, not the background, to avoid noisy shadows.
Trust exposure data, histograms, or highlight warnings when the preview looks washed out. Displays can mislead at night.
Editing tip: It’s easier to lower brightness or tweak contrast than to recover detail from dark shadows. Capture more light, then use gentle noise reduction tools if needed.
Dial in camera settings for cleaner night shots
First decide if motion is your enemy. If people, cars, or pets will move, protect shutter speed. If the scene is still, favor longer exposure time for cleaner data.
ISO vs. shutter speed: what to change first in dim conditions
Raise ISO only to avoid underexposure; higher ISO brightens but adds grain. Slow the shutter to gather more photons for a cleaner result—when you can hold the camera steady.
Longer shutter for cleaner images and the blur tradeoff
Long exposures reduce the need for high ISO, yet they blur motion. Use a tripod or rest the device for static scenes like cityscapes.
Manual/pro controls on Android and iPhone
Many Android cameras include a Pro or Manual mode in the native app. iPhone users can get similar control via apps like VSCO, Obscura, or Manual. Manually set ISO and shutter to balance brightness and sharpness.
White balance and night mode tips
In mixed light, try WB presets or tweak temperature to avoid muddy orange or green shadows. Night mode stacks frames over time to reduce grain and improve dynamic range. Turn it off for moving subjects or when you need crisp texture.
- Decision rule: If motion matters, choose faster shutter. If not, lower ISO and lengthen exposure.
- Stabilization: Optical image stabilization helps, but steady support is still best.
Stabilization and shooting technique that reduces noise fast
A secure mount or steady surface lets your camera collect more light per shot. That simple step often beats heavy editing and gives cleaner results right from capture.

Use a tripod or solid support so you can keep ISO lower
Stabilize first. A compact tripod or tabletop stand lets you lengthen the shutter and lower ISO for clearer shots. If you don’t have one, brace the phone on a railing, backpack, or table edge.
Leverage image stabilization and avoid shaky hand-held exposures
Optical image stabilization helps with small wobble but it won’t freeze motion. For moving people or cars, keep a faster shutter speed so action stays sharp.
Don’t use digital zoom in the dark; move closer or crop later
Digital zoom magnifies grain and blur. Move nearer when you can, or take a wider shot and crop. That keeps resolution higher and reduces visible artifacts.
- Hand-held checklist: two-handed grip, elbows tucked, slow breath, gentle shutter press, use a timer or remote.
- Fastest quality win: stabilize to allow slower shutter and lower ISO for cleaner exposures.
- Apply this in concerts, restaurants, and street scenes for noticeably sharper shots.
Lighting choices and creative setups that improve quality in low light
Small changes in how you use available light can turn a dim scene into a clean, expressive shot.
Find and shape lighting at night. Move the subject near storefronts, signs, or streetlamps so faces catch usable illumination. Ask people to angle their head slightly so the face reads with modeled shadows instead of a dark mask.
Why deep shadows worsen results
When a face sits in heavy shadow, the camera boosts those areas and reveals color speckling and blotchy transitions. Better positioning reduces how much the sensor must guess, and that preserves real detail.
Making flash less harsh
On-camera flash can look flat and create odd skin tones. Step back and lower flash power when possible. Bounce off a wall, use a small diffuser, or soften with a piece of tissue to avoid blown highlights.
Practice prompts and creative techniques
- Backlit portraits with city lights behind for rim separation.
- Side-lit faces under a streetlamp for dramatic shape.
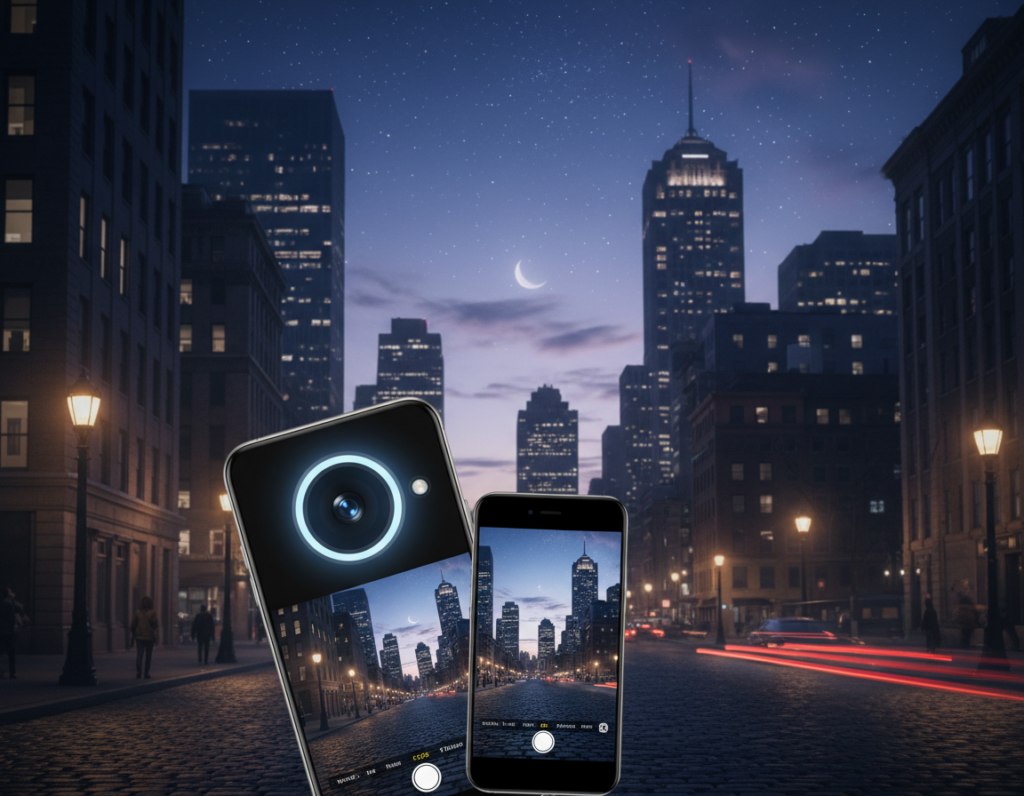
- Nighttime cityscapes during blue hour; use tripod and manual mode for long exposures and light trails.
- Light painting: move a small LED across a subject while the shutter stays open for intentional detail.
Tip: Shoot several shots, vary shutter and distance to the source, and review for sharpness and color. Iteration builds skill faster than one perfect attempt.
“Find the light, then make it work for the subject.”
Conclusion
Clear, usable photos start with how much real detail your camera captures at the moment of exposure.
Noise happens when a scene lacks information, so the fix begins with proper exposure and steady technique. Photographers who accept a bit more ISO or a longer shutter when stable get cleaner images and better quality files to edit.
Field checklist: stabilize, set and lock focus and exposure on the subject, lift exposure until highlights hold detail, then pick shutter/ISO for motion. Take several photos and compare.
Use noise reduction as a final polish only. Heavy cleanup can blur texture and make an image look fake. Practice the creative setups—backlit portraits, side-lit faces, cityscapes, light painting—and watch how better capture beats aggressive editing.
Takeaway: good in-camera choices save time and yield sharper photo results with less post work.