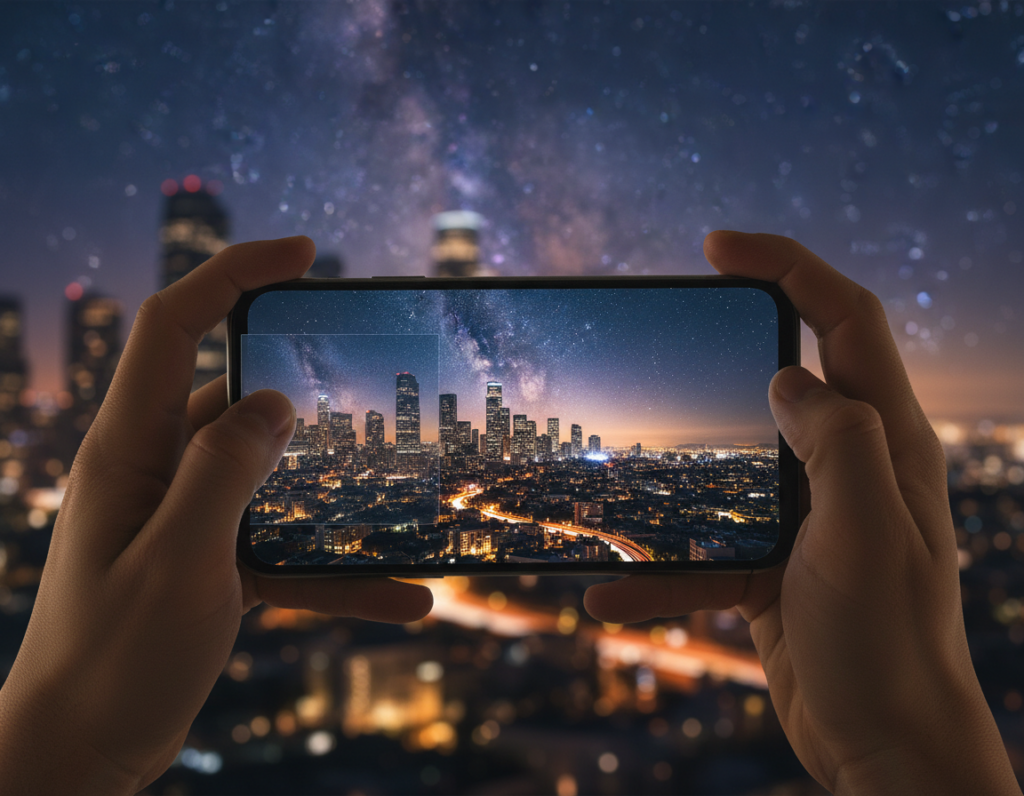
Why your late‑hour shots fall flat on feeds: Modern phones capture color and mood in low light, but low light forces trade‑offs. Long exposure or higher ISO, plus heavy processing, can leave noisy or smeared detail that social platforms exaggerate.
This guide shows a start‑to‑finish workflow that begins when you tap the shutter and ends when you share. The goal is cleaner source files so platform encoders keep color, highlight detail, and mood.
Expect practical steps on stabilization and Night Mode, manual settings for ISO, shutter, white balance, and focus, plus why shooting RAW helps. You’ll also get editing tips to reduce noise and platform‑aware export presets to keep quality and speed.
We reference common mobile tools like Lightroom Mobile, Snapseed, and VSCO, and pro apps such as ProShot, NightCap, and Expert RAW to speed results. Read on for clear, US‑focused advice to post better images across feeds, Stories, and Reels.
Why Night Smartphone Photos Break Down After Compression
When a sensor sees less light, the phone either lengthens the shutter or raises ISO—and both choices invite trouble online. That trade forces visible changes in the raw data your camera captures.
Noise versus motion blur
With low light the sensor collects fewer photons, so the camera uses longer shutter speed or boosts gain. Longer shutter picks up motion and causes blur.
Higher gain creates grainy noise that looks like busy texture. Encoders turn that texture into blotchy shadows and smeared micro details.
Mixed light and clipped highlights
Street lamps, LEDs, and neon mix color temperatures. Auto white balance can jump frame to frame and create odd patches after heavy reprocessing.
Bright bulbs often clip channels. Blown highlights produce hard edges that encode poorly and may show halos or banding.
Computational stacking pitfalls
Multi-frame stacking can reduce noise, but moving subjects or frame drift cause ghosting. The result is muddy details that look worse once platforms recompress.
Reduce noise, protect highlights, and avoid smear at capture so your edits stay light and the final file keeps better image quality.
- Less noise = cleaner shadows
- Stable frames = sharper edges
- Controlled highlights = smoother gradients
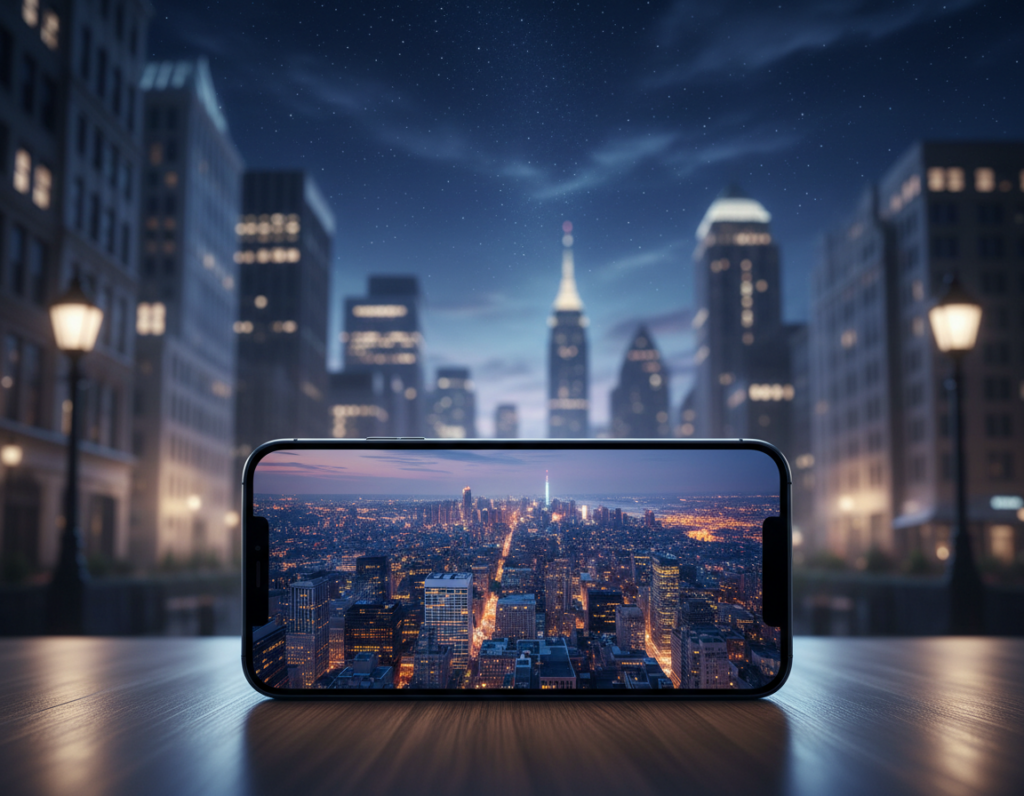
Capture for Smaller Files Without Sacrificing Image Quality
Start with steady frames and the right lens. A clean capture saves editing time and keeps files smaller while holding detail.
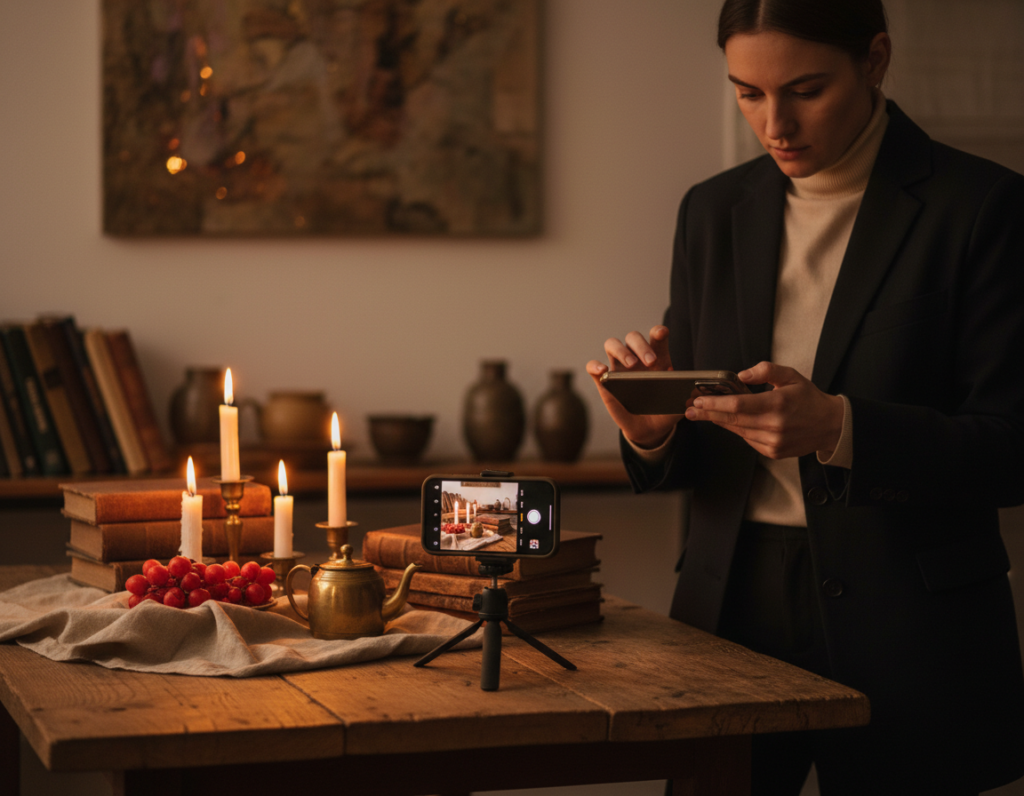
Stabilize first
Use a small tripod or a flexible one like a GorillaPod. Lean the phone on a railing or rest it on a backpack for quick support.
Set a 2–5 second timer so tap shake won’t blur the shot. Little measures at capture time cut visible noise later.
When to use multi-frame mode
Night mode (multi-frame stacking) helps static scenes: buildings, empty streets, and interiors with support. It backfires with moving people, cars, or wind‑blown trees by creating ghosting.
Lens, flash, and cleanliness
Prefer the main 1x lens on most phones and cameras. It gathers more light and avoids noisy digital zoom that makes files worse.
Turn off flash for natural light and fewer hard hotspots. Wipe the lens—fingerprints cause streaks and flare that amplify artifacts and haze.
- Capture checklist: tripod/support, 2–5 seconds timer, main lens, flash off, clean lens.
- Cleaner source files let you apply less noise reduction and lighter sharpening for better results.
For more on preparing images and video for mobile feeds, see mobile image and video guidance. These simple tips make a clear difference in final file size and visual way your photos render.
Manual Settings That Produce “Compression-Friendly” Night Shots
Take manual control so your source files avoid heavy grain and motion blur before any platform reprocessing.
ISO vs. shutter speed: choose less noise over unnecessary brightness
Use Pro or Manual mode to set ISO and shutter directly. Lower ISO gives cleaner shadows, but only if the shutter can hold steady.
Rule: prefer lower ISO when you can stabilize. Raise ISO only to prevent blur on a handheld frame.
Handheld shutter speed limits to avoid blur you can’t fix later
Start near 1/50s for handheld scenes. Faster speeds help with moving subjects; accept a bit more noise rather than smear.
Underexpose slightly to protect highlights
Slight negative exposure protects streetlights and neon. Preventing clipped highlights stops ugly blocks and halos once files are processed.
Manual focus strategies and white balance control
Lock manual focus on a bright edge or distant light to avoid hunting. Then recompose and shoot.
Set white balance for tungsten or mixed city light. Consistent color stops patchy shifts that encoders exaggerate.
- Quick checklist: Pro mode, steady support, ~1/50s handheld baseline, slight underexposure, locked focus.
- Sharp edges, preserved highlights, and stable color create simpler gradients and cleaner detail for better final files.
Shoot RAW on Your Smartphone to Protect Details Before You Compress
A RAW file holds more of what the sensor saw. Capture in RAW and you keep shadow and color information that a JPEG discards. That extra headroom lets you lift dark areas and correct white balance without the image breaking into artifacts.
Why RAW matters in practical terms
RAW stores sensor data so edits can reduce noise and recover subtle tones. You get cleaner edits and safer highlight recovery.
When to use RAW: city streets vs. dark skies
Urban night scenes often have ambient light. That lets you keep ISO moderate and use RAW to refine color and details.
Deeper nightscapes with little light demand higher ISO. RAW’s latitude matters more there for pulling shadow detail and keeping color shifts under control.
Apps and modes that enable RAW capture
Use built‑in Pro modes where available, Apple ProRAW on supported phones, or .DNG capture via Expert RAW, ProShot, ProCam, or NightCap. These apps give stronger manual control and file formats that edit well.
- Practical note: RAW files are larger while you edit, but export a smaller JPEG/HEIC for sharing.
- When to skip RAW: quick casual posts where speed beats maximal recovery—still aim for clean capture settings.
Next: with a solid RAW base, targeted editing can cut noise and file size together.
Editing Steps That Reduce Noise and File Size at the Same Time
A clear edit order keeps artifacts low and makes files easier for platforms to handle. Start by calming grain, then set tones and color, and finally recover fine detail.
Selective noise reduction to avoid the “plasticky” look
Target shadows and smooth areas first. Apply reduction locally rather than globally. That preserves texture on faces and fabrics.
Restore micro-contrast and edge detail without halos
After smoothing, bring back clarity and texture gently. Use low-strength texture or clarity sliders to avoid crunchy halos near lights.
Color correction for night scenes
Fix strong casts from tungsten or neon with white balance and selective color tools. Keep the scene’s mood while balancing skin tones and bright signs.
Use local adjustments to lift shadows
Lift a subject or foreground with a brush or mask instead of brightening the whole frame. Local edits keep contrast and reduce visible artifacts.
- Edit order: noise reduction → tonal balance → color → sharpening.
- Mobile tools: Lightroom Mobile masks, Snapseed selective, and VSCO tuning work well.
- Cleaner edits give smaller files at the same quality because gradients compress more predictably.
Optimize Compression Night Photography Smartphone Upload Settings
Match export choices to the platform and your scene so files keep detail and share faster.

Format first: use JPEG for widest compatibility. Prefer HEIC when your phone and the destination keep it—HEIC often yields smaller files at equal visual quality. Avoid PNG for photos; it inflates size without benefit.
- Resolution — downsize to platform display dimensions instead of sending oversized originals. Smaller dimensions reduce the chance of aggressive reprocessing and speed delivery.
- Quality slider — find the “artifact cliff” by testing one representative image. Stay just above the point where blocking or mosquito noise appears.
- High-noise scenes — clean the image first. Selective noise reduction plus conservative sharpening often results in a smaller final file with better visible details.
Protect gradients and colors: avoid extreme curve boosts that create banding in dark skies and shadows. Gentle tonal moves and a preserved color profile keep smooth transitions and reduce visible posterization.
Metadata choices: strip location and extra EXIF to shave bytes and speed sharing. Keep color profile and basic copyright if you want attribution. Example: “Export with metadata: copyright only.”
Platform-Aware Export Presets for Faster Social Sharing
Match export presets to where viewers will see your work. Different placements show photos at different sizes and may apply heavier processing. One-size settings can make a great image look soft or noisy in another context.
Feed posts vs. Stories/Reels
Feed posts are judged at medium sizes; Stories and Reels are full-screen vertical. Each needs a distinct preset for sharpening, crop, and quality to protect gradients and fine detail.
When to choose Wi‑Fi vs. cellular
Use Wi‑Fi for large batches or high-resolution files to cut failed posts and repeated attempts. For quick sharing on cellular, export smaller files to save time and reduce the chance the app downgrades quality.
Batch exporting for consistent sets
Preset logic: make a “Feed preset” and a “Story/Reel preset” with consistent sharpening, size, and quality targets in your editing tools.
- Edit a hero image first → save preset.
- Apply to the set → export batch.
- Review images at full-screen brightness to confirm consistent results.
Example: keep dimensions and strength uniform so shots in a carousel share the same look. Consistency is the best way to get predictable results across multiple images.
Tools and Apps to Speed Up Compression and Upload Workflows
Choose the right mix of capture and editing tools to speed your workflow and protect fine detail.
Mobile editors that handle tough low‑light edits
Lightroom Mobile gives masks, selective noise reduction, and precise export controls that directly affect final file quality.
Snapseed and VSCO are faster when you need simple tonal fixes and color tweaks before posting.
Pro capture apps for cleaner source files
Use ProShot, NightCap, or Expert RAW to set ISO, shutter speed, and manual focus and to capture .DNG files that keep more sensor data and details.
When stacking multiple shots helps
Blend several static exposures to raise signal-to-noise. For deep sky work, benchmark exposures can run 15–30 seconds and need a stable tripod plus a timer or remote.
Guardrail: stacking works best for architecture, landscapes, and star fields—avoid it for moving crowds unless you want motion blur effects.
- Capture apps: better source frames (.DNG, manual control)
- Editing tools: masks, selective noise reduction, export settings
- Stacking: reduce noise, preserve detail, smaller cleaner files
Conclusion
,
Great after‑dark shots rely on firm support, sensible exposure, and editing that preserves texture and color.
Stabilize the phone with a timer or tripod, favor the main lens, manage highlights, and set white balance before you edit. Shoot RAW when the scene needs headroom, then apply selective noise reduction and gentle sharpening to keep natural detail.
Cleaner source images suffer less when platforms recompress. That means your choices at capture shape the final image quality more than heavy fixes later.
Make export decisions part of the creative flow: pick format, resize for the destination, and test quality settings. Save two or three presets for feed and Stories/Reels so every photo posts fast and predictably.
Result: a repeatable way to share night images that keep the mood, color, and sharpness that mattered at the moment.