Night shots from a phone can show grainy texture, speckled color, and soft detail when shadows are underexposed. Check the histogram to avoid crushed blacks; lifting clipped shadows later makes the image look worse.
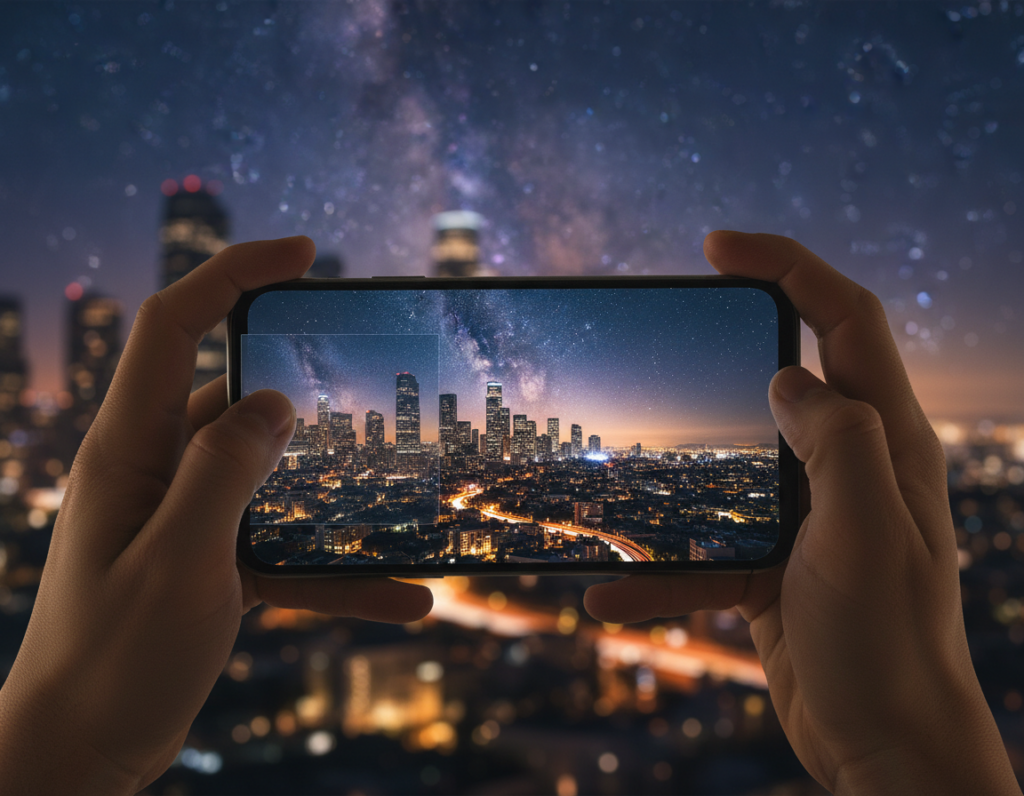
Start by getting a stronger exposure and steady support. A tripod or good brace and lower ISO help the camera keep detail. Manual apps that let you set shutter and ISO give more predictable results than auto modes.
Heavy smoothing often swaps grain for a waxy look. The best workflow pairs smarter capture choices—exposure, stability, modest lighting—with targeted edits like selective denoising and careful shadow work.
Goal: keep brick, window frames, and distant lights looking real while cutting visible grain. This guide will cover causes, shooting fixes, higher-level capture methods like stacking, and a practical post-process routine.
Why noise shows up in smartphone night photography
Small sensors struggle in dim scenes because they simply collect fewer photons. That scarce captured information forces the camera to boost gain, which makes artifacts far more obvious when you brighten shadows later.
Small sensors, sensitivity, and the ISO tradeoff
Smaller sensor area means less light per pixel. To compensate, the camera raises gain or ISO, which increases random variation. Higher ISO can make a subject look brighter but also reveals grain and color speckles.
Luminance versus chrominance in dark tones
Luminance manifests as grainy brightness shifts. Chrominance shows up as red, green, or blue specks in deep tones. These color artifacts often appear in the darkest parts of a scene, so lifting the shadows brings them out.
Heat and long exposure time as hidden factors
Extended exposures warm the sensor and can create fixed-pattern defects. Over a shooting session, added heat and longer exposure time increase the chance of visible artifacts in low light.
- Practical note: bright lamps next to dark alleys force compromises between clipped highlights or noisy shadows.
- Understanding these causes helps you pick better framing and exposure choices.
Everything you wanted to know about dives deeper into these technical points.
How to reduce noise city night photography smartphone while shooting
Aim to lock a clean in-camera exposure so you won’t push shadow detail later. Trust the histogram over your eyes; the screen looks bright in the dark and can trick you into underexposing. Proper exposure in-camera gives you far better detail than brightening shadows later.
Use the histogram and real exposure checks
Watch that the graph doesn’t touch the left edge. In low light most data sits left, but avoid clipped shadows. Enable highlight/shadow warnings or a live histogram in your camera mode.
Balance ISO, shutter, and exposure time
Lower ISO when possible and lengthen exposure time for static subjects. If that forces blur, accept a modest ISO bump rather than heavy shadow recovery in post.
Stabilize the phone and know handheld limits
Brace your elbows, use a timer or the volume button, and press the phone to a pole if needed. Below ~1/30s get a tripod or solid support; with OIS you can sometimes push to ~1/15s–1/10s for still scenes.
- Find better lighting: step toward storefront spill or frame near street lamps.
- Add foreground light: small LED panels, a flashlight bounced off a card, or light painting raise exposure without killing the mood.
Capture techniques that reduce noise without sacrificing image quality
A steady series of short shots can yield a smoother final image than one single marathon exposure. Stacking several aligned frames averages random speckles while keeping detail intact.

Frame stacking and image averaging
Take 10–20 matched frames with locked exposure and focus. Use Sequator (PC) or Starry Landscape Stacker (Mac) to align and average the files. The repeating scene stays sharp; random grain drops.
When a series beats one long exposure
Shorter shots limit sensor heat and cut hot pixels. A series also protects against a single ruined frame from wind or passing cars. It gives more flexibility in post.
Dark frame subtraction and LENR tradeoffs
Capture a dark frame (lens covered) with identical settings. In an editor, place it above the main image, set the blend to Difference, then lower opacity to blend out heat patterns.
Note: Long exposure noise reduction can double capture time and may require manufacturer software to be fully effective. Choose the best workflow for your cameras and files.
Post-processing workflow for cleaner night images from a phone camera
First, correct the exposure and contrast to reveal which areas actually need cleanup. Fixing base tone avoids heavy smoothing later and shows real problem zones.
Start with exposure and contrast before heavy cleanup
Set exposure so highlights hold and shadows keep some depth. Then nudge contrast to restore separation between bright lights and dark sky.
Use blacks and shadow control to hide visible speckles
Lowering the blacks slider often hides speckles faster than global reduction. If the foreground goes too dark, mask the sky and apply the change selectively.
Selective treatment and tool choices
Apply targeted noise reduction to the sky and deep shadows, and protect edges like brick and signage so detail stays crisp.
- Workflow: exposure → contrast → evaluate at 100% → selective cleanup → masked sharpening.
- Use Lightroom for base edits, Photoshop for layered masks, and plugins (Topaz DeNoise, Nik) when needed.
- Final check: judge at output size to avoid a smudgy final result.
Conclusion
, The clearest path to better low-light shots starts with smarter choices at the scene. Capture more usable light and keep ISO and shutter balanced to avoid heavy fixes later. This is the best way to limit visible noise and preserve detail.
On location, follow a short checklist: check the histogram, avoid crushed shadows, keep the phone steady, and use the lowest ISO that gives a usable shutter. When the amount of light is very low, combine a tripod with a short series for stacking rather than one very long exposure.
In editing, favor selective fixes over broad smoothing. Treat the sky or one problem part first. If artifacts cover the whole frame, plan for stronger capture next time and then apply restrained tool-based cleanup.