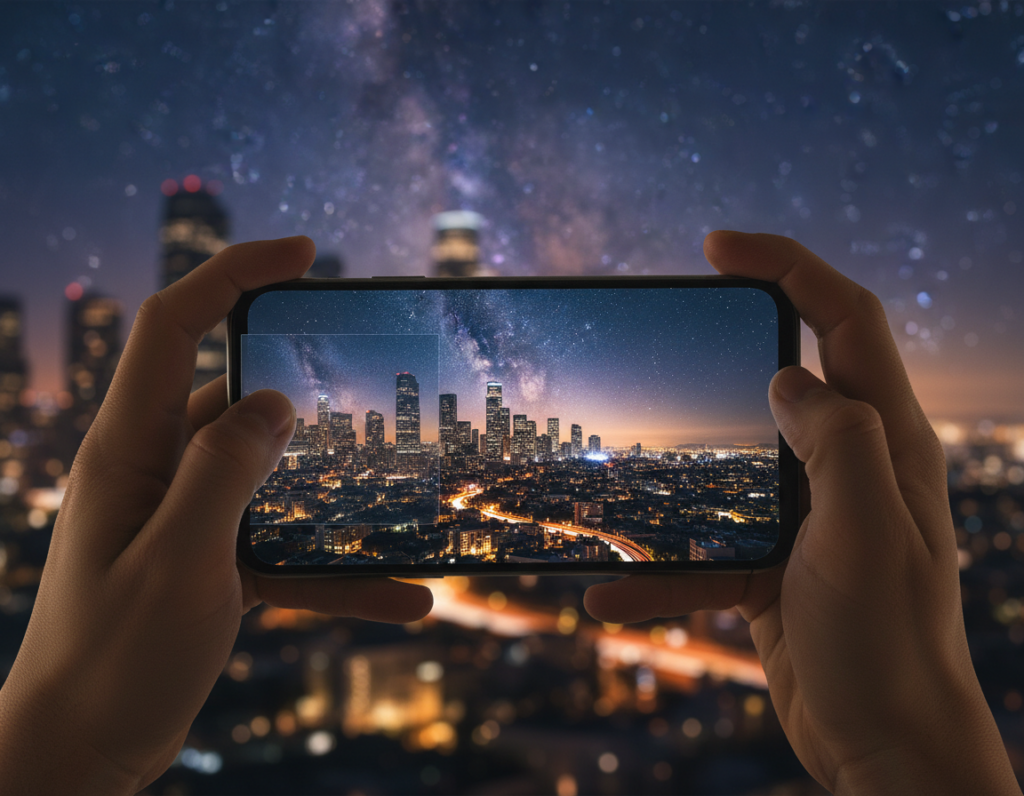
This short guide explains what moving light trails are and why they add motion to still city scenes. These streaks come from cars, trains, and reflections on water. They give a photo a sense of speed and atmosphere.
Your goal is simple: capture cleaner trails in-camera, then refine them with a mobile-first workflow so the final image looks intentional. Modern phones can make strong night images when you control exposure and steady the device.
We will walk through planning with sky and weather tools, camera setup for long exposures, stabilizing to keep city detail sharp, and masking and finishing edits for export. This is a practical, step-by-step how-to for U.S. creators shooting streets, bridges, and skylines.
Know where problems start. Capture issues include noise, clipped highlights, and color drift. Edit issues show as flat streaks, distracting spots, or uneven color. The rule to follow: keep trails bright and clean while preserving believable city color and texture.
Plan your night city light-trail shoot with the right scouting and sky apps
Good planning makes streaks look deliberate and saves time in post. Scout for safe sidewalks, consistent traffic flow, and simple compositions so the path of vehicles feels controlled.
Use PhotoPills Planner and Night AR on location
Drop a pin in PhotoPills to read rise/set and twilight windows. Then open Night AR to check how the moon and stars line up against buildings before you set up. The app saves settings for repeat sessions.
Preview sun and moon arcs with Sun Surveyor
Sun Surveyor shows a 3D arc that updates as you tilt the device. This helps place the brightest streaks relative to the skyline and pick the best facing direction for contrast.
Lock angles with The Photographer’s Ephemeris
TPE gives azimuth and rise/set data so you can return and reproduce a scene. Document angles to create a consistent series from the same place.
- Confirm safe footing and traffic direction
- Note where streaks enter and exit the frame
- Check hourly sky conditions on WeatherUnderground before you go
Practice runs with Pablo reveal how streaks build and whether a still or GIF better captures the moment. Good prep cuts down fixes like crooked horizons and blown highlights.
For a quick checklist you can reuse, see the scout checklist.
Set up your smartphone camera for cleaner trails before you start editing
Before you press the shutter, set your device so each exposure is predictable and repeatable.
Switch from auto to manual (Pro) mode and prioritize four controls: shutter speed, ISO, focus, and white balance. Lock exposure and white balance once composition feels right so brightness and color do not drift between frames.
On Android, check Camera2 API support. If your device fully supports Camera2, you get RAW capture and stronger manual control. If not, your app may limit ISO and shutter options, which hurts highlight and shadow recovery.
Use a simple test ladder: shoot 1, 2, 4, and 8 seconds from the same spot. Compare how streak length, saturation, and highlight clipping change. This repeatable routine makes it fast to pick the best baseline.
Keep ISO low. Extend the shutter before raising ISO to avoid noise in dark areas. Shoot RAW when available to preserve street lamp and signage detail.
- Shoot during blue hour for richer skies and better separation.
- If trails are too short, lengthen the shutter.
- If highlights clip, lower exposure or shorten the shutter time.
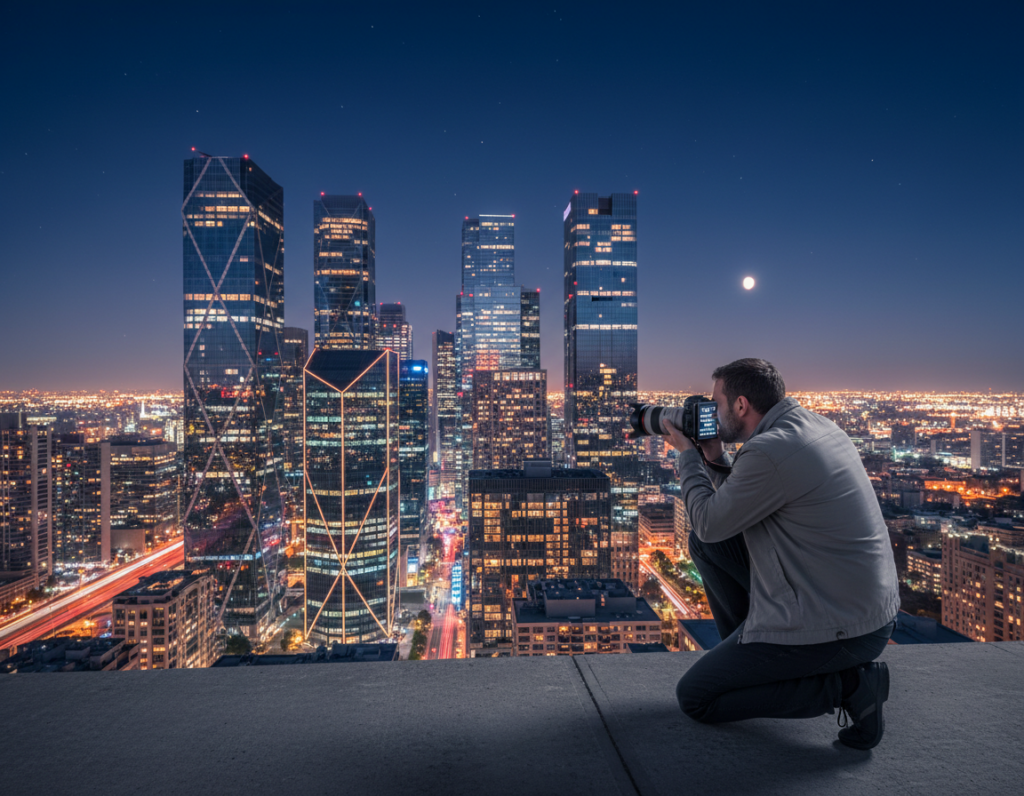
Stabilize your phone to control motion blur and keep city details sharp
A rock-steady rig turns intentional motion into a professional-looking image. Stabilization is non-negotiable: the goal is clear streaks while buildings, signs, and pavement stay sharp.
Use a sturdy support and follow best practices
Tripod choice matters. Fully lock the legs, avoid windy spots, and confirm the horizon before each shot. Long exposures amplify even the smallest shake, so treat the support as core gear.
Trigger without touch
Start the exposure with a 2–5 second timer or a Bluetooth remote. This simple technique removes hand vibration and keeps each shot consistent.
“A stable base means fewer fixes later — sharper frames need less aggressive noise reduction.”
- Clamp or mount the phone so framing does not slip.
- If no tripod, use a solid ledge and brace the device.
- Take 2–3 repeat shots and pick the cleanest result for final processing.
edit moving light trails night photography smartphone apps with a mobile-first workflow
First, organize your captures so the best streak shapes and exposures are easy to compare. Flag the top frames and use side-by-side view on the phone screen to judge entry and exit points.
Correct geometry next. Straighten the horizon and fix perspective so buildings sit level. Crooked architecture makes the trails feel accidental.
Now dial global tone: reduce highlights to protect street lamps, lift midtones to reveal building detail, and add contrast sparingly to keep the trail punchy without washing the scene.

Balance white points for mixed city lights. Start neutral, then nudge warmth or tint so reds and whites in the trail stay stable across photos.
Use subtle noise reduction in shadows and sky while preserving edge detail on facades. Then apply local adjustments to brighten the trail path without clipping signage.
Masking and presets
Mask leading lines to guide the eye along the route and tone down distractions. Save a custom preset to repeat the same look across a set of photos, then tweak per frame.
“A repeatable workflow speeds good results and keeps the series consistent.”
For mobile-first tool choices and workflow ideas, see this helpful resource: favorite phone and tablet solutions.
Enhance the “motion” look: make light trails pop while keeping the image natural
Focus on the path of movement: refine hue, clarity, and framing so the streaks guide the eye. Small, selective moves produce strong, believable results without turning colors into flat neon bands.
Shape color and saturation
Target clean reds and whites. Gently raise saturation for those tones only. Use local masks to avoid blowing highlights in lamps or signs.
Clarify without grit
Add modest clarity and micro-contrast to define edges on buildings and the streak path.
Stop before the sky becomes noisy. If grain grows, back off or apply selective noise reduction to dark areas.
Dim distracting bright sources
Lower highlights on competing signs and streetlights. This keeps the viewer focused on the trail as the primary subject.
Crop and compositional choices
- Commit to a single entry point at an edge or corner.
- Use leading lines to pull the eye along the path.
- Remove dead space that splits attention.
When to favor blur or clarity
If only the streaks are blurred, the effect is intentional. If the whole scene is soft, the device moved and results will suffer.
Rule of thumb: shorten shutter for defined streaks and fewer blown highlights; lengthen it for continuous lines only when your support and highlight control are strong.
“Zoom in for a final pass: check edges, clipping, and color consistency before export.”
Export, share, and back up your edits for consistent results across devices
Make sharing and archiving simple: choose reliable color profiles, practical export sizes, and clear file names so your work looks the same on phones, tablets, and desktop screens.
Export settings to avoid surprises. Always export in sRGB to keep colors consistent on social platforms. Pick social-friendly sizes like 1920×1080 for landscape posts and 1080×1350 for portrait-friendly feeds.
- Keep RAW originals untouched and export final JPGs separately.
- Use clear file names: LightTrailAndroid15YYYYMMDDRAW and LightTrailAndroid15YYYYMMDDEDIT01 as examples.
- Back up to cloud storage and an external drive—long-exposure series can be impossible to re-create.
Build a preset library. Save your best “night city trails” look as a preset. Apply it as a starting point across shoots and refine per frame to keep a cohesive series.
If you publish behind-the-scenes video, keep export settings consistent to maintain a unified feed. Over the years a consistent workflow helps a photographer present a steady visual identity online.
“A reliable export routine protects color, keeps files organized, and speeds future rework.”
Conclusion
Final tip, treat the whole process as one clear chain: plan with sky and weather tools, capture with manual control on a steady support, then apply selective adjustments that keep trails bright and city texture natural.
Key levers are simple: lock exposure and white balance, use low ISO with a tested shutter time, and secure solid stabilization to protect sharp architecture.
Start with intentional choices—map trail entry and exit, favor blue hour when possible, and save notes on successful shutter times and locations so you can repeat the result.
Practical next step: pick one spot, shoot a 1–8 second test set, select the best frame, and process it in a single mobile app to build a consistent look.