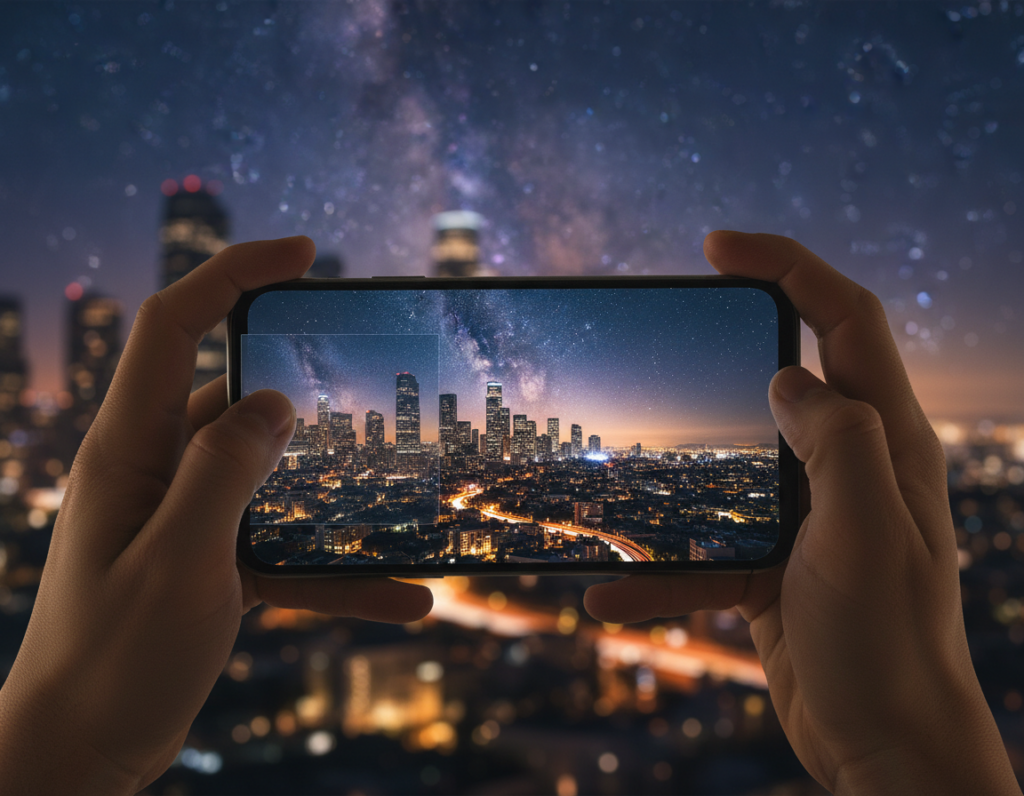
Night shooting on a phone can feel magical—the camera captures mood, texture, and subtle color that you want to keep. Many users find their files look crisp on the device but lose detail after they post.
Why this happens: low light forces longer exposure, higher ISO, and multi-frame stacking like Night Mode. Those choices affect fine detail, edges, and noise, and platforms may add compression that softens results.
This guide lays out a simple workflow you can follow: camera setup, exposure strategy, steady support, using available light, careful editing, and smart export choices that help your work stay true online.
Practical goal: get consistently sharp-looking night photos from your phone without expensive gear. Small technique changes and a basic support tool can improve results tonight.
Why mobile night photos lose sharpness online
When light is scarce, the camera must choose between longer exposure or boosting sensitivity — both have costs. That choice drives most of the problems you see after you post.
Longer exposure time gathers more light but magnifies handshake and subject motion. Even tiny movement over a few seconds turns crisp edges into blur.
Higher ISO brightens the frame but raises noise, and aggressive noise reduction can smooth away fine texture. The result often looks plasticky, even when focus is correct.
How Night Mode stacking and focus behavior affect the result
Night Mode captures many frames, aligns them, and blends them into one file. If you move during capture, alignment errors reduce edge definition.
Focus hunting in dim light can cause mid-capture refocus. That shift makes the merged image softer than any single frame.
What happens during upload and processing
- Platforms often resize and compress to standard sizes.
- Compression smears micro-texture like hair, brick, and foliage.
- Server-side noise reduction can further reduce perceived sharpness.
“Capture cleaner data—stable, lower noise, and accurate focus—so your images survive online processing.”
- Understand the exposure tradeoff.
- Keep movement and noise low when you can.
- Export thoughtfully to lessen platform compression impact.
Set up your smartphone camera for crisp night shots
Start your camera setup with choices that cut noise and lock detail before you tap the shutter. A short, repeatable routine inside the app gives you consistent results and makes it easier to tell if softness comes from capture or later processing.
Shoot RAW and enable a checklist
Enable RAW (or RAW+JPEG) in your camera app to retain more shadow and color information for editing. This step preserves data that compressors later discard.
Choose the main lens and avoid digital zoom
Use the primary 1x lens when light is low. The main lens usually has a larger sensor area and delivers more usable detail than ultra-wide or digital zoom lenses.
Turn off flash and lock focus
Avoid the built-in flash for natural texture. Flash flattens contrast and can create harsh highlights that hide micro detail.
Lock focus or switch to manual focus during multi-second captures so the camera stops hunting and the frames align cleanly.
Control white balance and pick a mode
Under mixed light sources, set white balance manually or lock it to keep believable color and prevent muddy tones.
Use Night Mode when handheld and the scene is still. Switch to Pro/Manual when you need direct control of ISO, shutter speed, and manual settings for the sharpest results.
“A consistent setup reduces variability, so you can diagnose capture issues versus processing effects.”
- Pre-shoot checklist: RAW on, main lens, flash off, focus locked, WB set.
- Keep notes on your camera settings so good setups are repeatable.
- Consistency makes it easier to improve your photography over time.
preserve sharpness upload night photos smartphone with the right exposure strategy
Manage your shutter and ISO so the camera records the cleanest data possible under dim skies. Good capture choices reduce the need for heavy edits and help images hold up after platform processing.
Balance shutter speed and ISO
Decision tree: first pick a shutter speed that avoids blur for your subject. If that speed is too dark, raise iso only enough to reach usable brightness.
When to lengthen exposures or keep ISO low
For still scenes, favor longer exposures with a mount. Aim to keep iso moderate (about ISO 400–800) for cleaner detail and less aggressive noise reduction.
Protect highlights and handle motion
Slight underexposure helps prevent clipped highlights from streetlamps and neon; clipped areas cannot be recovered and often look smeared after compression. For moving subjects, use a faster shutter and accept a higher ISO, then fix noise selectively in editing.
Star and Milky Way basics
Phones can capture the sky and milky way with long captures, but stability and light pollution matter. Test ranges of 15–30 seconds with ISO ~250–1600 depending on moon brightness deliver the best initial results.
- Urban scenes: shorter shutter speed, lower ISO.
- Remote dark sky: longer exposures, moderate ISO.
- Quick test shots at 100% reveal blur vs noise—iterate until you find the right balance.
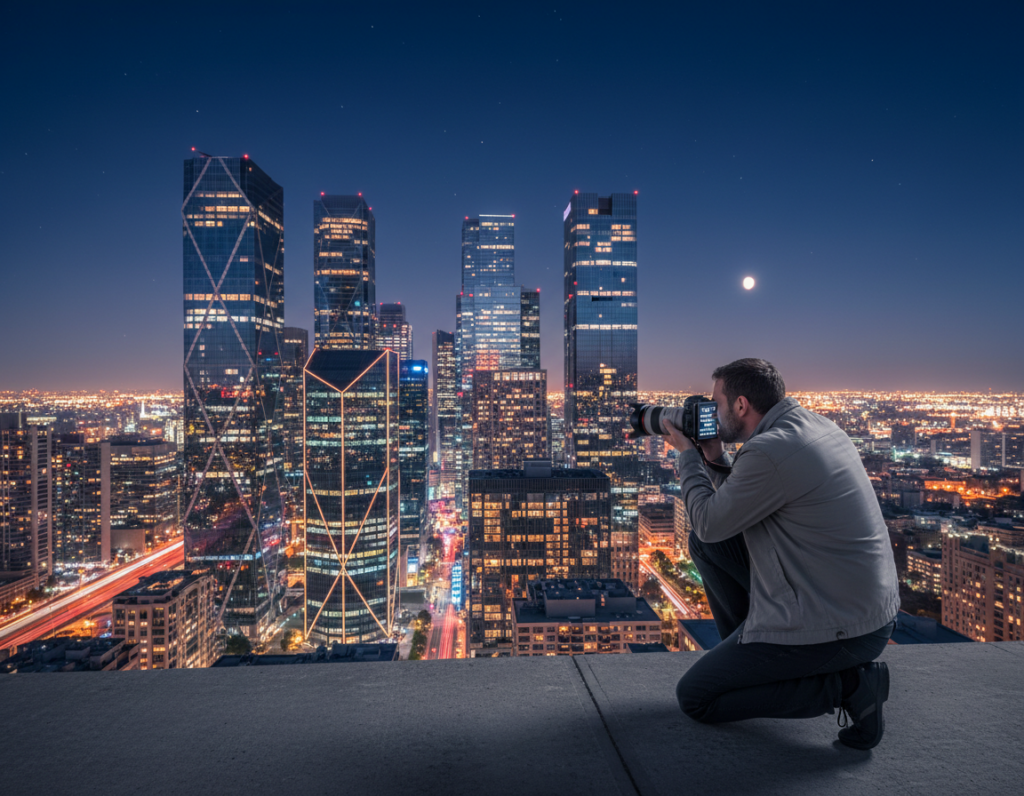
Stabilization techniques that prevent motion blur
A steady base lets you slow down the shutter and gather real detail. Stabilization is the single biggest upgrade for better low-light shots because it reduces the need for high ISO and aggressive noise fixes.
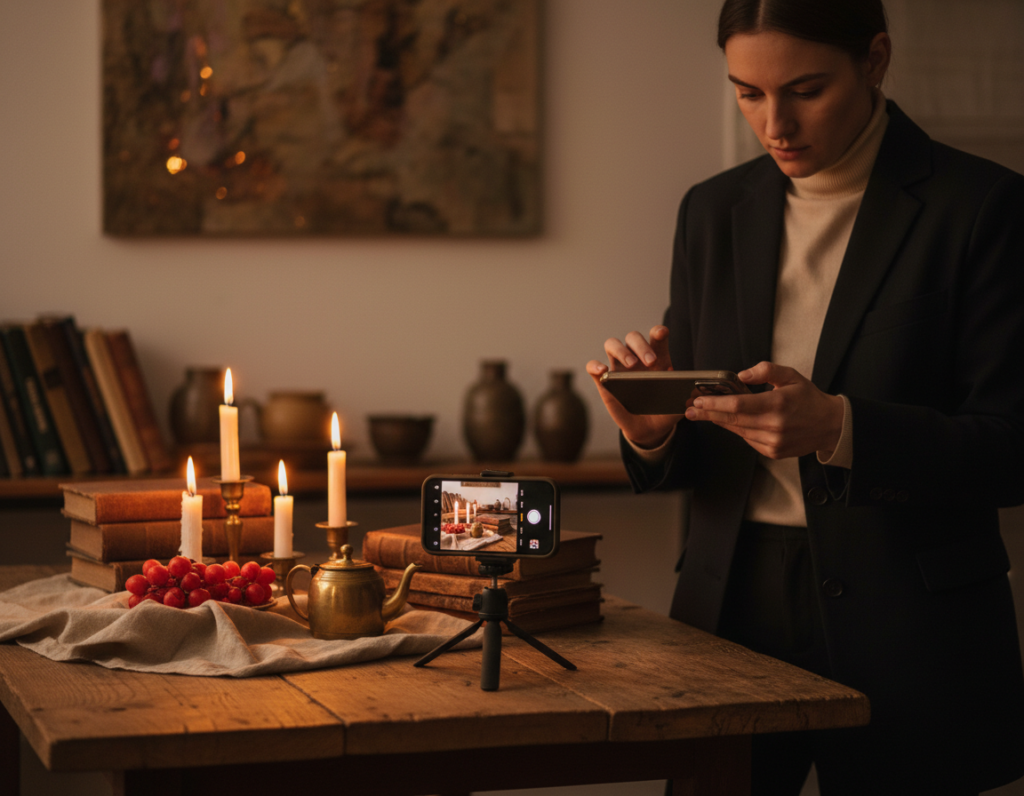
Use a small tripod or phone mount to unlock longer exposures cleanly
Recommendation: carry a compact tripod or a phone mount. This simple piece of gear lets you use a longer exposure at lower ISO for cleaner results on street scenes, skylines, and star attempts.
Improvise support when you have no gear
Wedge the phone against a wall, railing, or rock. Set it on a backpack or rest your elbows on a rail. These improvised supports work well for steady shots when you can’t carry a tripod.
Use a timer delay or remote shutter to avoid tap shake
Enable a 2–3 second timer, use earbuds or a remote, or press the volume button. That small delay stops the initial tap from introducing blur.
Hold through the full capture
Discipline matters: keep the phone perfectly still during the entire night mode capture so stacked frames align. Zoom in on fine edges—sign text or building lines—before you leave to confirm no motion blur.
“Cleaner originals survive online processing much better than slightly blurred files.”
- Tripod use reduces noise and lets you favor detail over speed.
- No-gear tricks give reliable steadiness in the field.
- Timer and remote methods eliminate tap shake for repeatable shots.
Use light sources to get sharper-looking night photos
Find where the lights fall and use those zones to sculpt form and texture in your frame. Start by walking the scene and noting street lamps, neon, tent lanterns, or moon glow that add contrast against the darkness.
Place subjects for shape and separation
Side light brings out texture in brick, fabric, and faces. Backlight creates a clean rim that separates a subject from the sky.
Avoid overhead-only lights that flatten detail. Move your subject a few feet left or right to test how the lights model form.
Use reflections and low angles
Wet pavement, puddles, and calm water mirror signs and street lights and boost perceived clarity. Shoot low to strengthen those reflections.
Keep horizons and building lines straight to make the whole scene read as crisp and intentional.
Light painting and controlled trails
During a long exposure, briefly sweep a dim flashlight over a foreground object to lift detail without creating hotspots.
When cars pass, plan for readable trails. Use a steady mount so moving lights add drama while stationary elements stay sharp.
“Better light lets the photographer use lower ISO and retain more usable detail.”
Edit for clean detail before you upload
Tackle noise and color casts early so your final file holds more real detail. Start edits with broad exposure and white balance fixes, then move into targeted processing so the image stays natural when platforms compress it.

Selective noise reduction
Reduce noise primarily in dark areas. Heavy global smoothing kills texture, so target shadows with masks or brushes.
Keep edges—buildings, eyes, and text—intact while cleaning background grain. This keeps perceived quality high without creating a plastic look.
Sharpen edges after noise work
Apply subtle sharpening and use edge masks to avoid halos. Do not sharpen noisy skies; they crumble after processing.
Fix color and white balance
Correct mixed color casts from street lamps and LEDs while holding a natural night mood. Small tweaks restore believable tones and boost overall photo quality.
Recover shadows and guide attention
Lift shadows to reveal texture but keep deep blacks for contrast. Use local tools—radial and graduated adjustments—to add micro-contrast on your subject and darken distractions in the frame.
“Work from broad fixes to local edits so images survive both viewing and server-side processing.”
- Correct exposure / white balance.
- Selective noise reduction (shadows first).
- Mask sharpening, then local micro-contrast.
Check edits at 100% and at screen size. For more advanced methods to enhance clarity, see enhance photo clarity.
Conclusion
End with a compact plan you can use on every shoot to get cleaner images from your phone camera.
Use the main lens, lock focus, and pick sensible settings before you press the shutter. Stabilize with a tripod or solid support and use a short timer to avoid tap shake.
Remember exposure balance: keep ISO as low as practical, lengthen shutter time for still scenes, and choose faster speed when subjects move.
For sky work, plan around moon brightness and light pollution. Test 15–30 seconds at ISO ~250–1600 with a 3‑second delay to check real detail.
Edit with restraint: apply selective noise reduction, careful sharpening, and subtle color fixes. Export at high quality and avoid extra app resaves so your images look good today and for years.