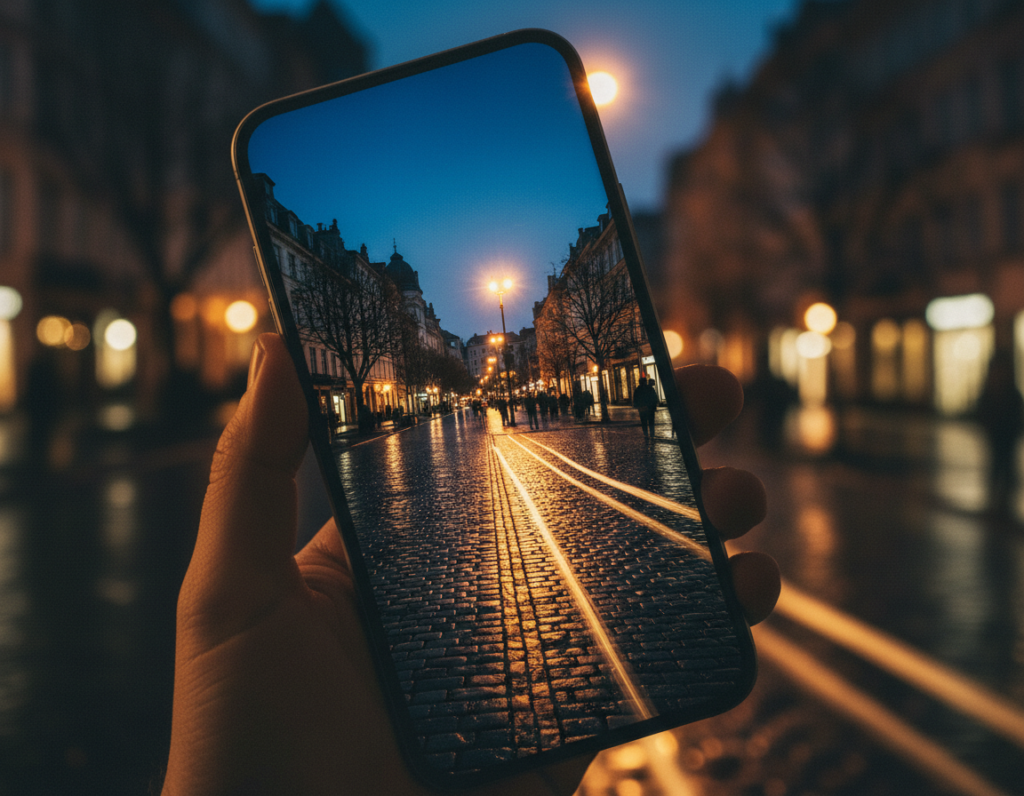
Why night photos often disappoint. Small sensors in phones gather little light. That forces higher ISO or longer exposure. The result is noise, blur, and muddy textures that hurt image quality and ruin good moments.
What this guide does for you. Read on to learn why your night photos look bad and how to get cleaner, more detailed shots without pro gear. This is a practical, U.S.-focused how-to that mixes theory and hands-on tips.
At a high level, modern phones capture several frames and merge them into one brighter, clearer shot. Night Mode and AI-driven processing cut noise and restore color. Still, good results need steady hands, the right exposure choices, and simple editing.
This article will first explain the physics and core challenges, then show how Night Mode works, offer field techniques, cover Pro controls, and finish with editing apps and workflows. Use the tools, but remember: lens choice, stability, and intent shape the final photo.
Why low light is hard for smartphone cameras in the first place
When scenes get dim, a phone’s sensor must either collect more light or boost the signal to produce a usable photo. Each choice brings trade-offs that shape the final image.
Small sensors and the ISO vs. shutter trade-off
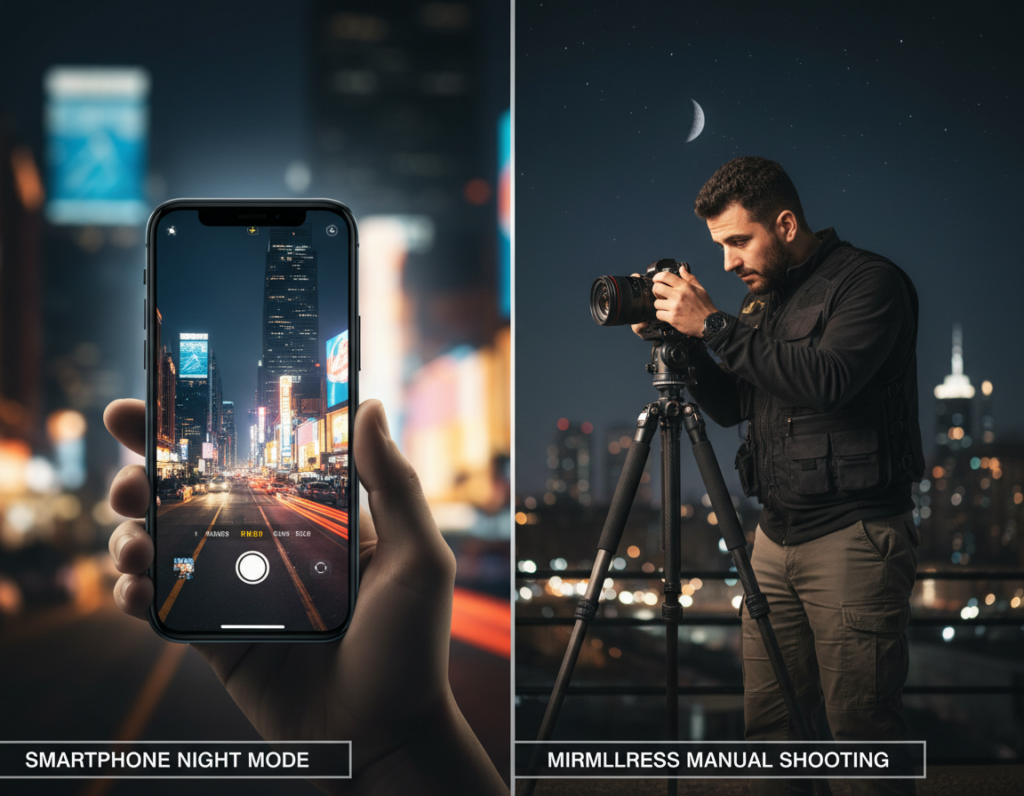
Phone sensors are tiny compared with mirrorless or DSLR sensors. They capture fewer photons, so phones push ISO or lengthen the shutter to reach proper exposure.
Higher ISO amplifies signal and noise. Longer shutter speed gathers more light but risks motion blur.
Noise, lost details, and clipped highlights
Under high ISO, images show grain and soft, mushy textures. Aggressive noise reduction can smear fine details.
Bright street lamps and neon often exceed a phone’s dynamic range, creating clipped whites. Deep shadows can also lose detail, especially in compressed JPEGs.
Mixed color sources and white balance problems
Tungsten bulbs, sodium streetlights, and LEDs cast different color tones. Auto white balance can shift and make skin or scenes look wrong.
- Small sensor = less light gathered
- ISO vs. shutter speed = noise vs. blur
- Mixed sources = color and balance issues
Bottom line: These are physical limits. That is why software stacking and HDR blending matter on phone cameras to recover detail and balance.
How computational photography works in modern Night Mode
Rather than one long exposure, today’s night modes shoot many quick frames and merge them for a cleaner result.
Multi-frame capture and stacking
Multi-frame stacking means the phone takes a burst of exposures across several seconds. The software aligns and averages those frames to boost brightness and cut visible noise.
This works because combining frames raises the true signal more than random sensor noise. Shadows become smoother and gradients look more natural without forcing ISO higher.
Aligning frames to reduce shake
Before merging, the phone must align each frame. Tiny hand motions cause misalignment that shows up as blur or ghosting in the final photo.
That is why Night Mode asks you to hold still. If alignment fails, the processor either drops bad frames or softens detail to hide artifacts.
HDR-style blending for wide dynamic range
Night Mode also applies HDR-style blending. It protects highlights like lamps while lifting shadow detail so a single scene keeps both bright signs and dark textures.
- Brighter output without blasting ISO
- Improved detail retention
- Fewer clipped highlights in high-contrast scenes
For a deeper look at the techniques behind this, read more about night mode approaches and trade-offs.
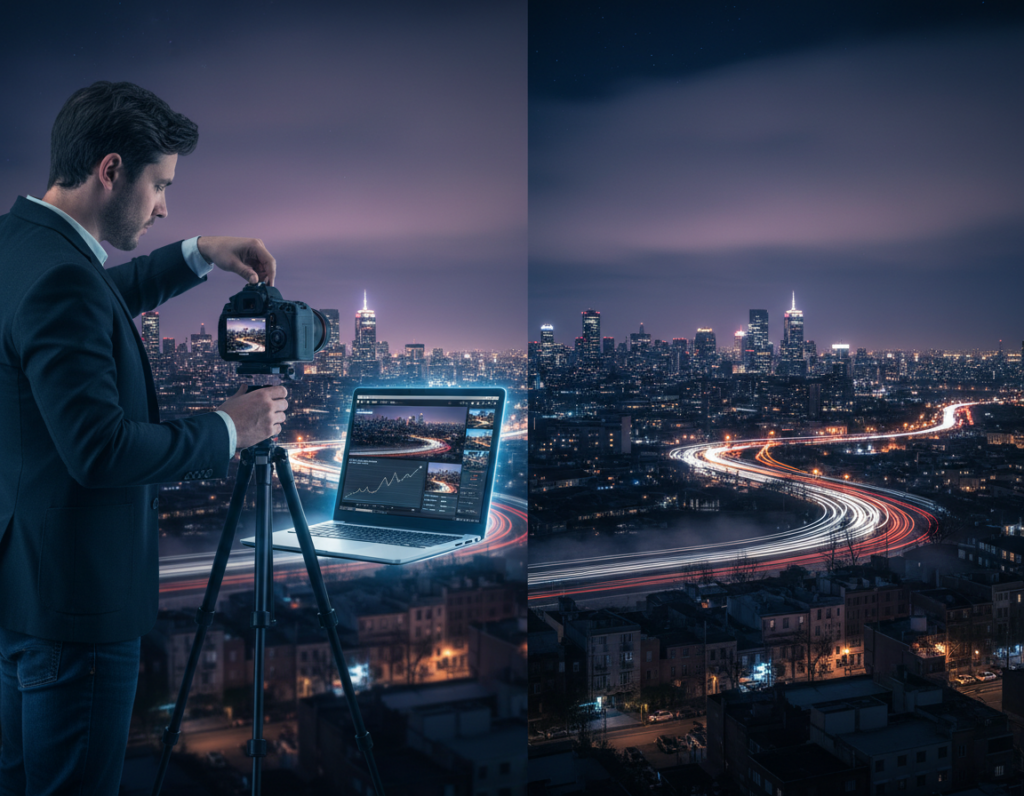
computational photography low light smartphone images explained through real-world results
Side-by-side night comparisons reveal the real gains and trade-offs of multi-frame phone processing.
What “better” looks like: cleaner shadows, more detail, and truer color
Improved photos often show darker areas that keep texture instead of turning to grain. Signs stay readable, and faces look less muddy.
Color shifts are tamed so neon and skin tones feel more natural. You get more usable detail and stronger contrast without blasting ISO.
- Cleaner shadows and readable texture
- Balanced color and preserved highlights
- Sharper edges with less visible noise
Where it can struggle: ghosting, smear, and over-processed textures
Stacking frames relies on matching content. Moving subjects, passing cars, or waving flags can create ghosting or doubled outlines.
“Moving people often leave faint ghosts when frames don’t align.”
Aggressive noise reduction may smooth foliage, brick, hair, or skin until they look waxy. Over-brightening can make a night scene feel like daytime, changing the mood.
Diagnostic tip: Judge results by contrast, edge clarity, and color realism — not just overall brightness. The best way to avoid artifacts is to set the phone on a steady surface and plan the shot before you tap the shutter.
Set up your phone for success before you press the shutter
Start with a quick pre-shot checklist so your final photos keep mood and detail.
Choose the main 1x lens. After dark, the main camera usually has the largest aperture and best sensor performance. Avoid ultra-wide or digital zoom; zooming crops and magnifies noise, which hurts night photos.
Turn off the flash to preserve ambient light and atmosphere. Use flash only when you want a hard, direct look that changes the scene.
Enable RAW capture when available. RAW preserves shadow and color data and pairs well with Lightroom Mobile for better recovery during editing.
Show grid lines to keep horizons straight and apply the rule of thirds. Grids help composition when the preview is dim and focus hunting is likely.
- Default to the main lens for best sensor performance
- Avoid digital zoom to keep details and reduce noise
- Turn flash off for natural atmosphere; use it selectively
- Enable RAW for more editing latitude in apps like Lightroom
- Use grid lines to improve composition in dark scenes
Master Night Mode in the field without introducing motion blur
When Night Mode runs for several seconds, stability becomes the make-or-break factor for sharp photos. The mode stacks frames, so any motion during capture creates blur or ghosting.
How to hold still and why patience matters
Handheld technique: use both hands, tuck elbows to your ribs, breathe out slowly, and press the shutter only when steady. Wait until the capture indicator finishes before you move.
Stabilization options that work
Reliable supports: a small tripod, a sturdy ledge, a wall brace, resting the phone on a backpack, or setting it on a tabletop. These tools cut micro-motion that ruins multi-second exposure stacks.
Trigger methods to avoid tap-induced shake
Pressing the on-screen shutter can cause tiny shake. Use a self-timer, a Bluetooth remote, or the volume-button shutter via wired earbuds to reduce that risk.
Lock focus and run a quick field check
Focus lock prevents autofocus hunting mid-capture and keeps edges crisp. After the shot, zoom to 100% and inspect for blur before you leave. Fixing blur later is much harder than preventing it.
- Core rule: stability matters more than settings.
- Use supports and trigger tools to avoid motion.
- Lock focus and verify sharpness on-site.
Take control with Pro mode: ISO, shutter speed, and exposure
When automated night processing fails or a scene moves, Pro mode gives clear controls to tune exposure and manage noise. Use manual settings to get predictable results from your camera and preserve mood under urban light.
Practical ISO ranges to manage noise while keeping detail
Keep sensitivity moderate. On many modern phones, ISO around 400–800 balances grain and color. Higher values lift brightness but add noise and smear fine details.
When to prioritize shutter speed
For moving subjects, favor a faster shutter speed to freeze motion and avoid motion blur. Accept a bit more noise if needed.
For static scenes, use a slower shutter and stabilize the camera to drop ISO and retain clean detail and contrast.
Protect highlights and use exposure compensation
Slight underexposure protects bright streetlights and neon. Shadows are easier to recover than clipped highlights.
Tap to focus/expose, then use the exposure slider to fine-tune brightness. This keeps focus locked while you balance overall exposure.
- Decision rule: moving subject = faster shutter + higher ISO; static scene = slower shutter + lower ISO.
- Use Pro mode when Night mode looks unnatural or there’s motion in the frame.
Work with available light to boost brightness and contrast naturally
Hunting for usable light changes a dim scene into a clear, textured photo. Look around first: windows, streetlamps, candles, and LEDs give directional glow that shapes your subject.
Find and use directional sources
Position the subject so the nearest lamp or window falls across a face or object. Directional illumination adds depth and natural contrast, making the scene read better without extra ISO.
Use reflections and mood shaping
Wet pavement, puddles, and water double sources and add structure. Compose with reflections to amplify brightness and to lead the eye through the photo.
Backlight, sidelighting, and gentle light painting
Backlight creates silhouettes; sidelighting reveals texture. For foreground detail, try a subtle sweep with a dim flashlight during a longer exposure. Keep the beam soft and move smoothly so the shot still reads as night.
- Hunt for light, don’t fight darkness.
- Use reflections to boost contrast and color.
- Light painting is a subtle tool—avoid overdoing it.
Good use of available light reduces reliance on heavy edits. For more on finding working sources, see finding working available light.
Editing workflow for cleaner night photos: noise reduction, detail, and color
A repeatable edit order turns random sliders into consistent results. Start each file with the same steps so you can judge changes clearly.
Exposure and contrast first. Brighten only enough to keep the night atmosphere. Protect highlights by pulling exposure down if lamps look blown.
Recover details using highlights and shadows. Pull down highlights around bright sources and raise shadows gently to reveal texture without flattening the scene.
Selective noise control
Apply noise reduction selectively. Target shadow areas more than faces and edges to avoid the plastic look that kills natural texture.
White balance and color balance
Correct white balance for mixed light while preserving mood. Neutralize strong color casts, but keep intentional warmth or coolness that suits the scene.
Local edits and sharpening
Use graduated filters for skies, radial tools for subjects, and small clarity boosts where detail matters. Finish with controlled sharpening—avoid halos and crunchy edges.
Export choices
For sharing, export a max-resolution JPEG to keep good quality and small file sizes for social or email.
For prints or archival work, save a TIFF to preserve detail and tone for high-quality output.
- Quick checklist: exposure → highlights/shadows → selective noise reduction → white balance → local tweaks → sharpening → export.
Best apps and tools for low-light smartphone photography in the US
The right apps and tools speed edits and raise the quality of night photos. Pick software that handles RAW files, tames noise, and keeps color natural.

Adobe Lightroom Mobile for RAW control and noise reduction
Lightroom Mobile is a top choice in the U.S. for RAW editing. It offers precise exposure, white balance, and selective noise reduction that rescue shadow detail.
Use its noise slider and detail panel to balance grain and sharpness before moving to creative edits.
Snapseed for targeted fixes and quick clarity adjustments
Snapseed is fast and forgiving. The selective brush, healing tool, and structure/clarity sliders fix specific problem areas without a steep learning curve.
VSCO for consistent color and subtle night-friendly presets
VSCO delivers film-like presets that keep the night mood intact. Apply a gentle preset for a cohesive look across a set of photos, then tweak exposure or color sparingly.
Practical stack: develop RAW in Lightroom, spot-fix in Snapseed, and finish with VSCO for style. Use restraint—small moves beat heavy processing. The right set of apps reduces editing time and yields consistent, print-ready results.
Conclusion
,
Key takeaway: Great night results come from three things: steady capture, smart exposure, and careful editing.
Use the main camera, stabilize the phone with a tripod or brace, and be patient when running night mode to avoid motion blur. Choose shutter speed by how much motion you expect and underexpose slightly to protect highlights and dynamic range.
Focus matters: tap to focus and lock it when needed to stop hunting that softens details. In editing, apply selective noise reduction, keep contrast to preserve mood, and correct color without overdoing it.
Try one repeatable night scene. Compare Night Mode vs Pro mode, fine-tune settings, and use Lightroom Mobile, Snapseed, and VSCO as your core tools to reach consistent quality.