This quick guide helps you pick the right approach for sharp, clean, atmospheric shots on lit city blocks. You will learn practical workflows and simple rules you can use on the go.
Night shooting boils down to two choices: gather more light with longer exposure or amplify the sensor signal. Each choice has trade-offs—motion blur versus image noise. Modern phones often stack frames in Night Mode, but you still need steady hands or support for crisp detail.
Expect to manage trade-offs in real time: noise, blur, clipped highlights, and color shifts. This article focuses on phone workflows—Pro mode, Night Mode, stabilization, and quick edits—not deep camera theory.
What you’ll get: practical recipes for common scenes, a short checklist to confirm exposure, and tips on when shutter control and stability beat raising sensitivity.
What changes at night on city streets and why ISO matters
When lights dim, your camera has fewer photons to work with and must compensate.
The sensor can collect more light by lengthening the exposure, boost signal gain (which adds noise), or rely on multi-frame processing. Each approach changes how the final image looks and how much editing will help later.
A major trade-off is simple: longer shutter times blur moving people and handheld shots. Higher gain brightens the frame but makes fine detail grainy. These are the core choices on low light scenes.
City frames often combine tiny, blazing lamps and deep shadows. That pushes a phone’s dynamic levels past what one shot can hold. Clipped highlights show as white blobs around lamps or blown neon and are hard to recover compared to lifted shadows.
- Fewer photons mean exposure, gain, or stacking must pick up the slack.
- Longer exposures risk motion blur; higher gain raises noise and lowers detail.
- Mixed artificial lights shift color and confuse auto white balance, causing odd tones between shots.
Understanding these limits links your ISO choice to highlight headroom, how much editing you need, and whether to favor stability over amplification.
Set up your smartphone camera for low-light success
Tweaking a few controls at the start helps preserve highlights and keep noise down. These setup steps cut how often you must push control iso and make sure camera behavior stays steady while you walk.
Use RAW or ProRAW when available
Enable RAW to preserve more dynamic range and color data. That extra headroom makes highlight and shadow recovery easier in post.
Skip the flash for atmosphere
Flash flattens scenes, creates shiny skin, and kills mood. Rely on ambient lights and a slower shutter or stacking mode to keep natural tones.
Pick the main lens and lock exposure
Most phones give the best image quality on the main 1x lens. Ultra-wide and digital zoom usually get noisier in dim conditions.
- Use AE/AF lock so the camera stops hunting when bright lamps enter the frame.
- Pull the exposure slider a hair darker if signage or lamps dominate to protect highlights.
Quick tip: For a practical walkthrough on handheld routines and modes, see better nighttime photos.
How to balance ISO, shutter speed, and exposure on a phone
Good low-light shots come from choosing how much to amplify the sensor and how long to gather light.
ISO as the “amplifier” and shutter speed as the “light collector”
ISO in phone terms acts like gain: it brightens the frame but also raises visible noise and lowers clean detail.
Shutter speed controls how long the sensor collects light. Longer speed brightens the scene but increases blur risk if you or subjects move.
When slight underexposure protects neon signs and lamps
Slight underexposure preserves blown highlights from neon and bright lamps. You can usually lift shadows later, but clipped lights rarely recover.
Rule of thumb: if the scene is static, prefer longer shutter and lower gain. If people or cars move, choose a faster shutter and accept more amplification.
Using the histogram and quick review to confirm you didn’t blow highlights
When your app shows a histogram, avoid a spike smashed against the right edge. Leave a little highlight headroom for safer edits.
Quick review tip: zoom into lamps and signage on the replay. Look for washed color channels or mushy detail and adjust exposure or speed before you move on.
- Define gain: brighter image, more visible noise.
- Define shutter: longer time = more light, higher blur risk.
- Decision rule: static = slower shutter/lower gain; moving = faster shutter/higher gain.
ideal iso sensitivity night street photography smartphone: practical ISO ranges that work
Start with field-tested gain ranges that match common urban light levels. These baselines help you hit a usable shutter while keeping grain and color under control.
Bright downtown blocks and cityscapes
Range: 200–800. In well-lit plazas and main avenues there is usually enough light to keep gain low.
That range preserves detail and color, so final image quality stays high.
Darker side streets and bar zones
Range: 1600–6400. Use this when you must keep a faster shutter for handheld shots or moving people.
Push gain only to reach a target like 1/60 sec for general handheld sharpness.
When to stop raising gain and what to do instead
Stop increasing amplification when faces lose texture, colors break, or edges look waxy. At that point, change approach.
- Stabilize: brace, tripod, or Night Mode with steady support.
- Adjust: recompose toward brighter areas or simplify contrast.
- Bracket: take multiple exposures for stacking or HDR later.
Dialing in shutter speed for sharp handheld night street photos
Choosing the right shutter speed is the single easiest step to reduce blur when shooting after dark. Set the speed before you tweak exposure and gain. That gives you a clearer trade-off between blur and noise.
Why 1/60 sec is the go-to minimum for many scenes
Use shutter speed 1/60 sec as a practical baseline for many handheld shots. It gathers useful light while giving most people a fair chance of a sharp frame.
This speed works well for static subjects and slow pedestrian flow. It also keeps ISO from climbing too high.
Faster speed for moving subjects: work toward 1/250 sec
When people, bikes, or cars move through the frame, push toward 1/125–1/250 sec. A fast shutter speed freezes action and keeps highlights cleaner.
Remember: every jump to a faster shutter usually forces higher gain unless the scene is bright.
When “as long as needed” makes sense with stable support
If you can mount on a tripod or brace the phone, use multi-second exposures. Long seconds let you drop gain and capture cleaner color and detail.
- Test workflow: shoot one at 1/60 sec, then one faster. Compare at 100% and pick the slowest speed that stays sharp.
- Decide if blur is creative or accidental; sometimes motion blur adds mood, not error.
- Balance shutter and gain: slower speed = lower noise; faster speed = less motion blur.
Manual mode, Pro mode, and Night Mode: when to trust each option
Knowing when to hand control to the camera or take over yourself saves time and reduces noisy mistakes.
How Night Mode stacking works and why steadiness matters
Night Mode blends several frames to lift shadows and cut visible noise. That stacking improves tone and color in darker areas.
But the composite punishes movement. If you or subjects move, the result goes soft or ghosted. Use it for static scenes or when you can brace the phone.
When to switch to manual or Pro for steady exposure
Use manual when mixed lamps and bright signs cause the camera to hunt. Pro mode keeps exposures consistent across a series of frames.
This is helpful for repeatable results when you edit a batch from the same block. It also helps with matching white balance across shots.
Quick control: aperture priority plus Auto ISO
Try aperture priority with Auto ISO to lock depth and let the phone choose gain while protecting a target shutter. Set sensible shutter limits in the app settings.
Set ISO limits to avoid sudden noisy jumps
Enable a maximum control iso value so the system stops before producing unusable noise. Consistent settings help when you shoot sequences for editing and reduce surprises in night photography.
Stabilization strategies that let you control ISO instead of fighting noise
Stability is the single easiest upgrade you can add to cut noise and sharpen low-light frames. With a steady base you can use longer shutter seconds and keep gain low for cleaner color and texture.
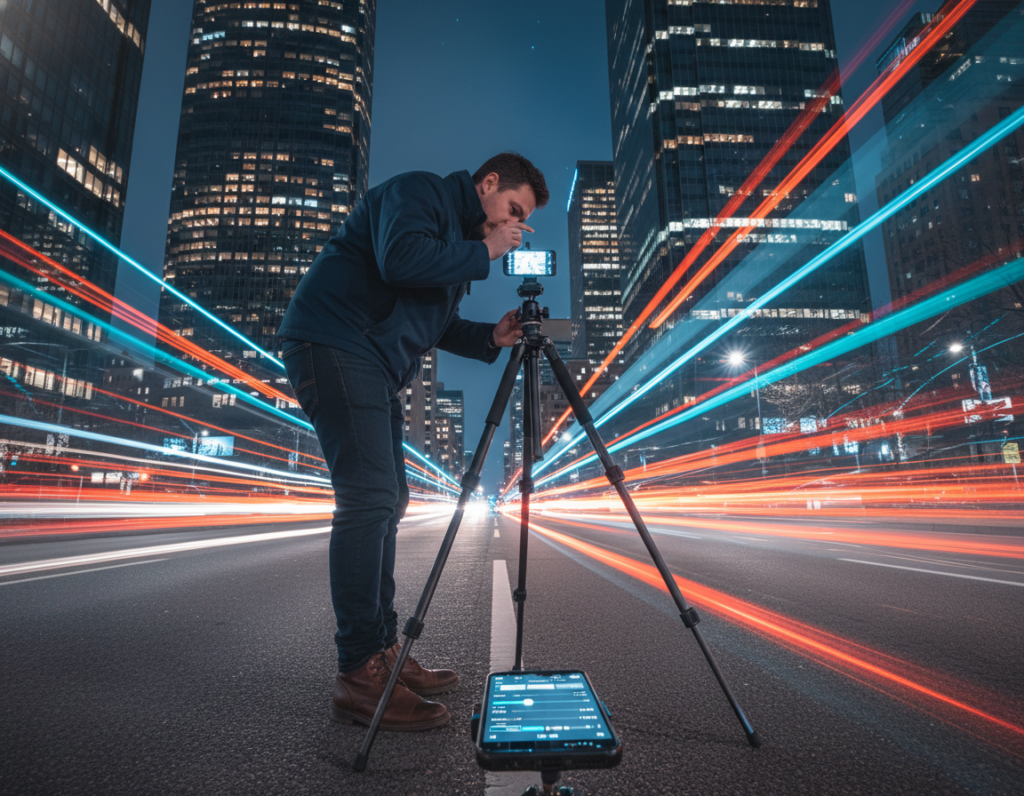
Tripod and phone mount basics for cleaner images
A compact tripod plus a simple mount is the most reliable way to get crisp, long exposures on city blocks. Use a small ball head to compose quickly and unlock multi-second shots without blur.
No-tripod tactics to steady your shot
If you’re without gear, brace the phone against a wall, lamp post, or ledge. Press elbows to your ribs or rest the device on a backpack for a stable platform.
Reduce tap shake with simple controls
Use a 2–3 second timer, a Bluetooth remote, or a wired volume-button shutter to avoid jiggling the phone when you tap. This also helps Night Mode stacking stay aligned so the final image stays sharp.
- Main benefit: stabilization lets you keep gain lower by allowing longer shutter speeds without blur.
- Equipment: compact tripod + mount = biggest quality jump.
- No-gear hacks: brace on objects, use backpack supports, lock your stance for handheld steadiness.
- Safety note: make sure camera placement keeps you clear of traffic and off unstable edges when composing at night.
Scene-based ISO recipes for illuminated streets
Use simple, recipe-style starts so you can shoot confidently when lights and motion change.

Neon signs, storefronts, and wet reflections
Recipe: pull the exposure a touch darker to protect bright signs, keep gain low, and use reflections to add brightness.
Lower your camera angle to strengthen reflections on wet pavement. Reflections act like extra light and let you use cleaner settings for better photos.
Backlit silhouettes under lamps and bus stops
Expose for the bright lamp to avoid blown halos. Let shadows fall naturally so silhouettes stay dramatic and texture remains.
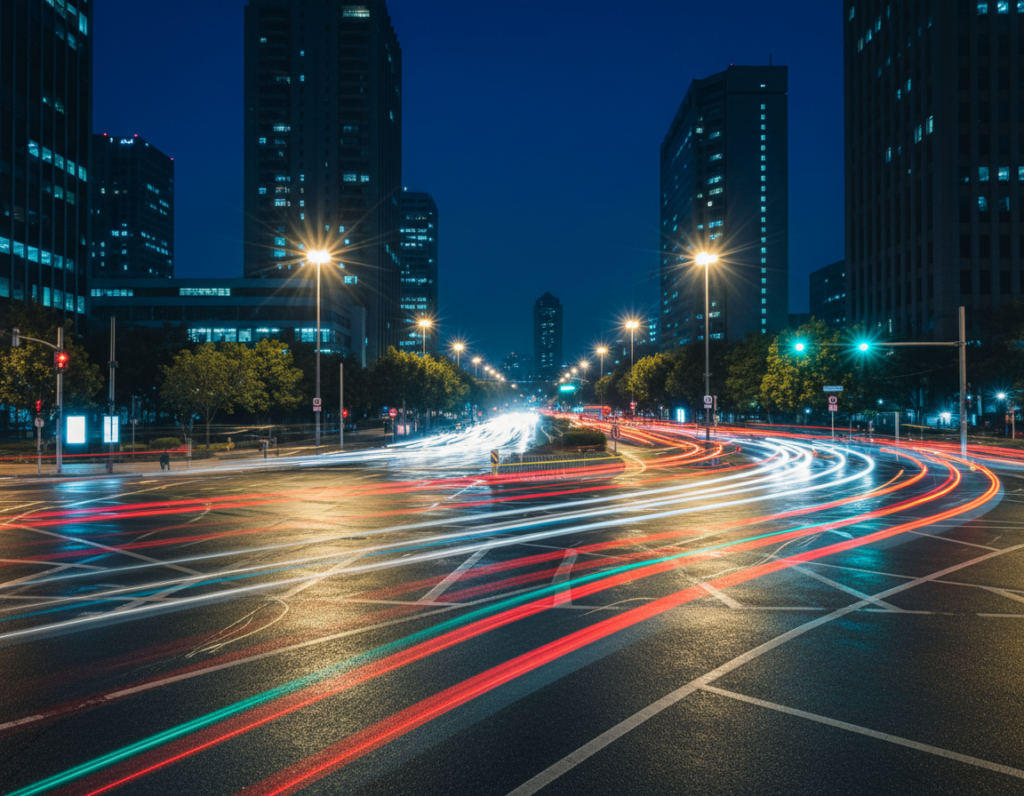
Light trails and intentional motion
For clean trails, use a multi-second shutter speed on a tripod or brace. Choose shutter speed seconds based on traffic pace so trails read as lines, not messy blur.
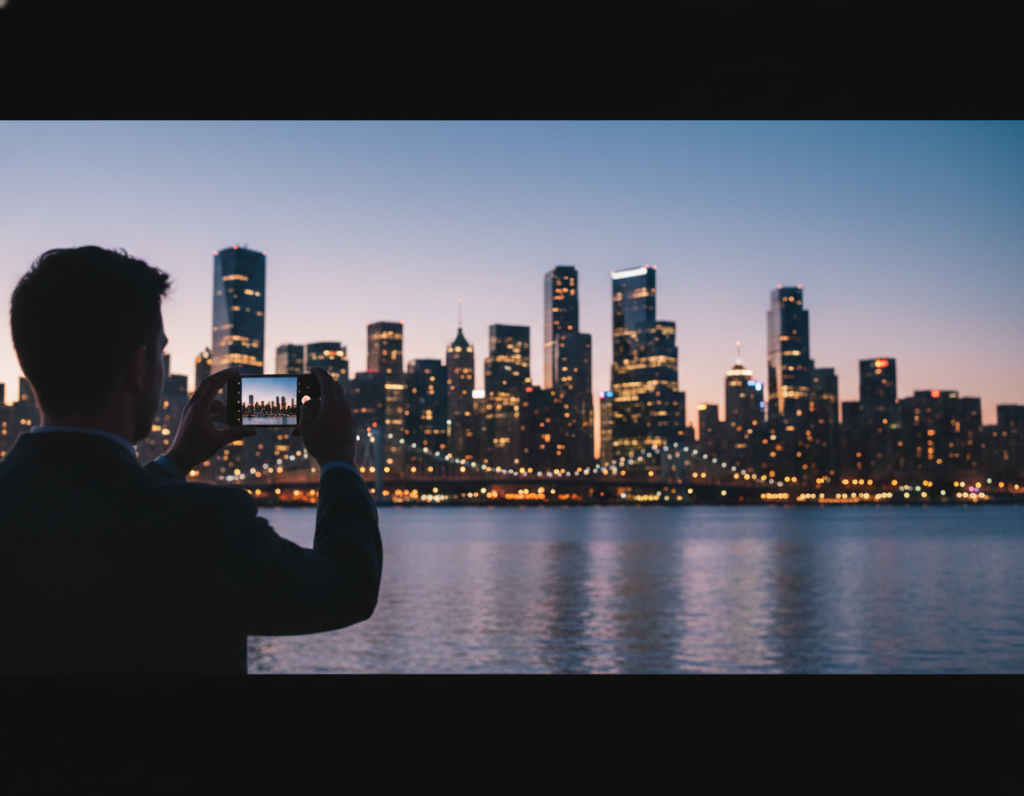
Urban landscapes vs fast street moments
When you can set up, slow down and lower gain for crisp landscapes. For spontaneous shots with moving people, accept higher gain and faster shutter to freeze the action.
- Quick checklist: protect highlights, use reflections, brace for multi-second exposures, and pick slower setups for landscapes.
Managing dynamic range and color under street lights
High-contrast urban scenes push a camera’s limits and force quick exposure choices. This short guide helps you spot clipped highlights, control mixed color casts, and use bracketing or HDR without producing ghosts.
Spotting and preventing clipped highlights from lamps and headlights
Check lamp edges, neon letters, and headlight centers at 100% on the preview. Detail-free white patches mean clipping.
Quick fix: bias exposure down slightly until highlights keep shape. If you shoot RAW, lift shadows later in post.
White balance control when sodium-vapor and LED lights mix
Mixed lights confuse Auto WB and may shift color frame to frame during a walk. Set a manual white balance in Pro mode when you can.
If you can’t, shoot RAW so you can correct color later without wrecking skin tones and neutral grays.
Bracketing and HDR basics for high-contrast night scenes
Use bracketing to capture multiple exposures for the same scene. Merge them with care.
- Keep a consistent stance to reduce ghosting from moving cars or people.
- When merging HDR, watch for halos and unnatural contrast.
- Favor natural results so the final image retains believable atmosphere.
Editing for clean night street photos without overprocessing
A clean edit can turn a moody dusk frame into a printable image without erasing the atmosphere.
Targeted noise reduction that preserves texture and detail
Start in post by lowering global exposure problems, then address noise selectively. Reduce noise more in deep shadows and smooth color gradients.
Keep texture on faces, signs, and edges so the result does not look plastic. Use masking to protect fine detail when applying aggressive denoise filters.
Highlights down, shadows up: the fastest way to balance exposure
Pulling highlights down restores color in lamps and neon. Then lift shadows slightly to reveal form without losing mood.
This baseline clears clipped areas and balances the overall image while keeping a natural dark feel.
Selective sharpening and micro-contrast to avoid halos
Apply sharpening only to the main subject and key edges. Add micro-contrast sparingly to increase perceived quality without creating halos around lights.
Always check at 100% zoom so you can see if noise reduction smeared detail or left blotchy color. The goal is clean, realistic photos that still read as night shots.
- Workflow: global exposure → targeted noise → local detail → final crop.
- Use RAW when possible for more latitude in highlight and shadow recovery.
- View your final edit at full size to confirm the shot holds up for prints or web use.
Common mistakes that ruin night street photography and how to avoid them
Many wrecked frames start with one small decision: trusting the camera to guess correctly in the dark. Full auto meters tend to overcompensate, which can produce blown highlights or a shutter speed that’s too slow for handheld shots.
Relying on full auto and getting blurry or over-bright results
Why it fails: the camera brightens shadows and may pick a slow shutter, causing blur or smeared noise reduction.
Fix: use manual mode or lock exposure and protect a minimum shutter speed — aim for a baseline like shutter speed 1/60 or 1/60 sec for handheld scenes. Raise gain only when needed.
Using the wrong lens or digital zoom in low light
Avoid digital zoom and weak secondary lenses after dark. The main lens usually gives better detail and lower noise.
Switching to a tele or ultra-wide can cut quality; prefer the primary lens and move closer when possible.
Underexposing too much and brightening later (noise explosion)
Cranking exposure down to save highlights, then pushing shadows up in post, often produces heavy banding and visible noise.
Instead, expose to protect bright areas while keeping midtones usable so edits remain gentle and clean.
Forgetting safety and stability in dark, busy areas
Safety matters as much as settings. Choose a stable spot, brace on solid surfaces, and avoid stepping into traffic or bike lanes while composing.
- Stay aware of surroundings and people.
- Use a short tripod or brace against fixed objects for better stabilization.
- Don’t back into the road while framing — pick safe shooting areas in busy zones.
Conclusion
Wrap your session by choosing one steady exposure plan and repeating it until it feels natural. Keep the gain as low as you can while still reaching a shutter speed that suits the scene: faster for moving people, slower for calm cityscapes.
Practical ranges: start around 200–800 in bright downtown blocks and accept 1600–6400 on darker lanes when you must protect shutter speed. Use a tripod, brace, or timer—the stability trick often beats raising gain for cleaner detail.
Protect highlights first—clipped lamps rarely recover, while shadows lift in RAW. Work in a short loop: pick lens, lock exposure, set shutter target, set a control iso limit, test, confirm highlights, then commit. With a few steady habits your low-light camera work becomes predictable and repeatable.