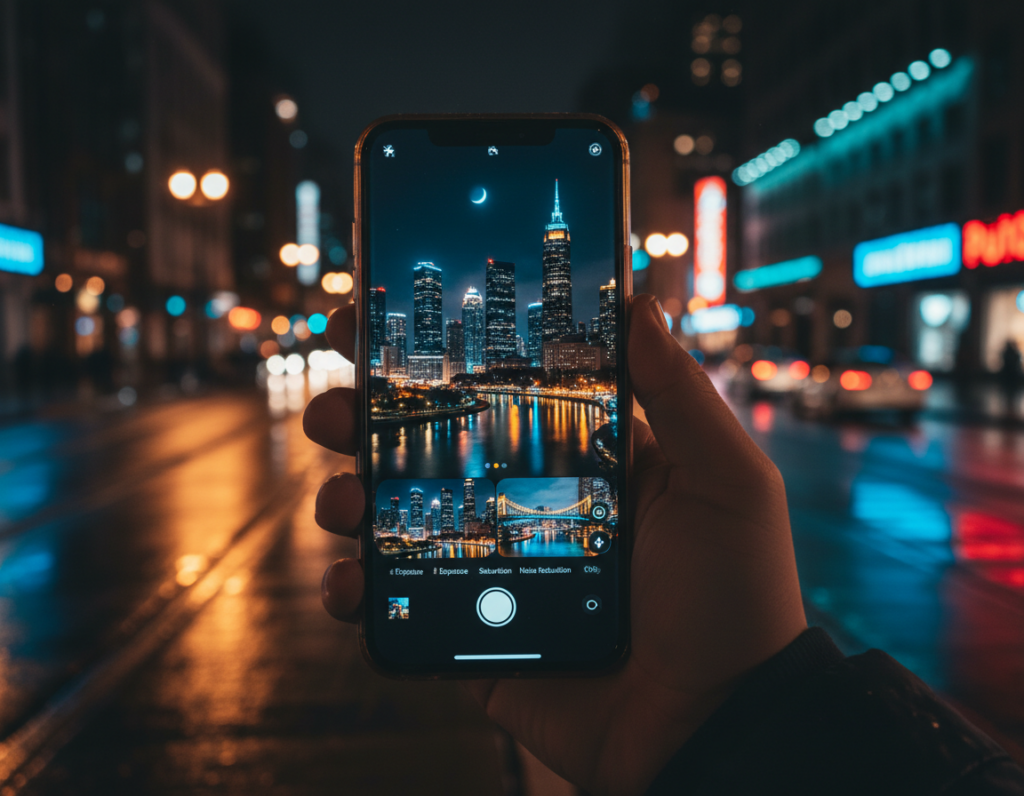
Goal: Make city signal bulbs read brighter and cinematic while keeping scenes believable. This short guide shows a clear before/after approach and a simple list of what we will tweak: exposure, contrast, bloom, and spill onto surfaces.
The workflow is practical. Start by darkening the frame so a new light source stands out. Then build a soft bloom by duplicating layers, adding Gaussian blur, and using Screen or Add blend modes in a layer-aware app like Photoshop Express or Lightroom Mobile.
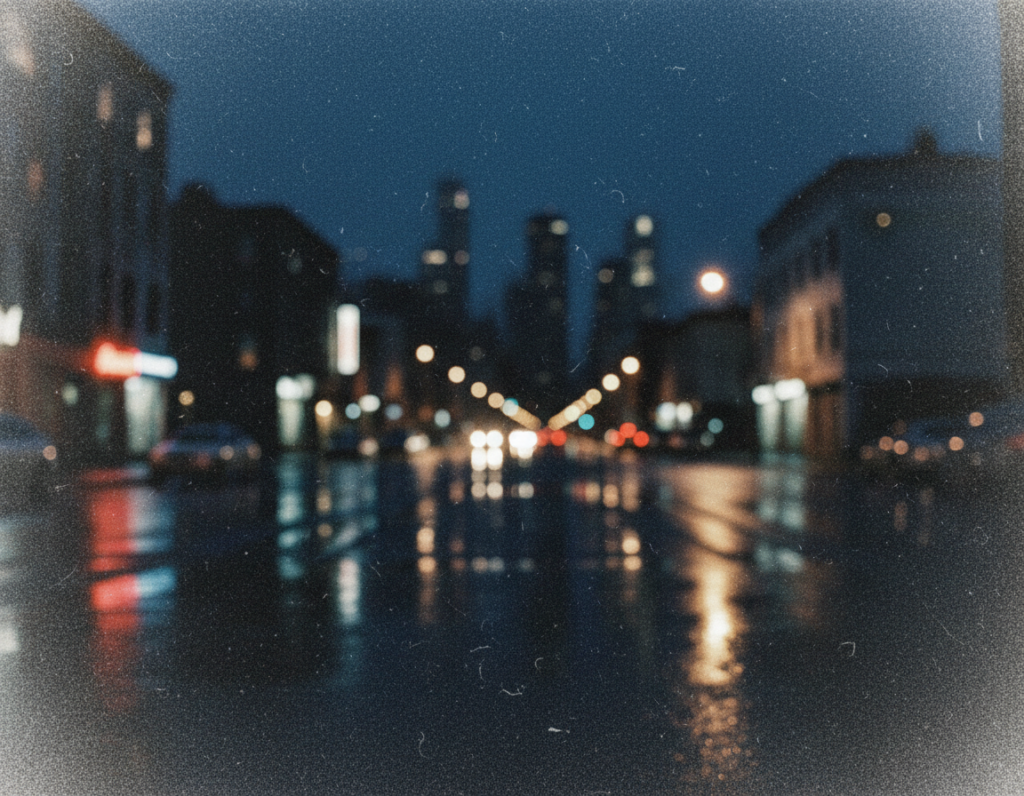
Capture matters. Use a steady camera, shoot RAW if possible, and keep highlights from clipping so the bright areas can bloom without turning white. A common example is a wet night intersection with headlamps and reflective pavement.
What you’ll follow: prep the image, create a controlled glow shape, stack blur passes, blend with Screen/Add, and mask reflections. The same ideas work on neon and brake signals. For a practical reference, see this visual example post.
What makes a traffic light glow look “real” in urban images
To make a glow feel authentic, treat the bulb as a light that interacts with air, surfaces, and existing highlights. A realistic result has a bright core at the lens and a soft bloom that fades into the scene while matching contrast and color balance.
Reading the light source and the scene
Locate the brightest pixel cluster — that is your primary light source. Note the direction of spill and nearby specular highlights on poles, signs, cars, and wet asphalt.
Match color and saturation close to the core, then let it desaturate as it spreads. When highlights are strong, the glow should “catch” those surfaces so the new light reads as part of the scene.
Common glow effect mistakes that flatten night photos
Avoid oversized uniform halos or perfect circular rings. These make images look pasted rather than natural.
- Pushing exposure globally instead of working locally.
- Using one flat ring with no variation in falloff or hue.
- Brightening without proper blend modes, which muddies color and lifts shadows.
Reality check: zoom out and ask whether the glow belongs to the same optics as the rest of the frame. If it does not, refine the mask, falloff, or color until it does.
Capture and prep for stronger glow before you edit
Get started by protecting highlight detail at capture so later work has room to breathe.
Expose for highlights so the light doesn’t clip
Tap to meter near the lamp and underexpose slightly. This keeps shape and color in the brightest pixels.
Check the histogram or highlight warning. Zoom in to confirm the core still shows hue and detail.
Set up your base: straighten, crop, and reduce distractions
Straighten verticals and correct perspective so poles and buildings feel natural.
Crop to emphasize the intersection geometry and remove bright storefronts or stray reflections that steal focus.
Darken the rest of the image to help the glow stand out
Apply a base grade: lower overall exposure and lift selective contrast to keep night depth.
Use a Levels or Curves-style adjustment (or basic sliders in your favorite tool) to pull down highlights/whites. This gives the glow headroom for later steps.
- Meter and capture with highlight headroom.
- Confirm clipping via histogram or zoom.
- Straighten, crop, and remove distractions.
- Do a subtle base adjustment with levels/curves.
enhance traffic lights glow mobile photo editing with blur, layers, and blend modes
Build a believable bloom by starting with a clean, color-matched shape placed right over the lamp. Keep this base on its own layer so every change stays editable.
Create the foundation
- Make a small soft-edged circle or oval that matches the lamp’s core color and lens size.
- Place it on a separate layer and name it so you can toggle visibility and opacity.
Duplicate the base layer several times instead of using one huge blur. A stack of subtle blurs reads more natural and keeps color intact.
Blur strategy and blend modes
Apply increasing Gaussian or soft blur radii across duplicates: small for near-bloom, larger for atmospheric spread. Set blurred copies to Screen or Add mode and lower each opacity to taste.
Avoid a perfect ring
Mask random areas on some duplicates with a large soft brush at low flow. This breaks uniform rings and adds believable falloff and variation.
Optional particle detail
For a subtle particle look, dab a custom brush near the brightest core, add faint outer glow, and keep grain minimal so the specks feel like sensor bloom. Finally, zoom in to refine edges and color balance, then zoom out to confirm the effect reads naturally at full-frame.
Masking and selective edits to integrate the glow into the photograph
Begin with a quick subject-based mask so the added illumination respects scene geometry. A proper mask makes the effect sit behind poles, signs, and tree branches. That simple step is what sells realism in any urban photograph.
On a phone or tablet, use subject or edge detection where available. Refine the selection with a soft brush to hide the glow where the subject blocks it. If the mask hides the wrong area, invert it so the light disappears only where objects overlap.

Paint thin edge highlights by sampling the lamp color and stroking along poles, housings, and seams. Keep strokes subtle and at low flow so the light appears reflected, not outlined. Spend time on bolts and seams — small details sell the illusion more than extra blur.
Use luminance-based masking (the mobile equivalent of “Blend If”) to limit added highlights to already bright areas. Then fine-tune levels and contrast so the added light matches the scene tonality. Lower the highlight output levels if brightness feels too strong.
- Why mask? It forces the effect to obey geometry and depth.
- Mobile tip: start with subject detection, then hand-refine.
- Final check: if the rest of the frame looks foggy, reduce the glow group opacity or deepen blacks to keep nighttime depth in mind.
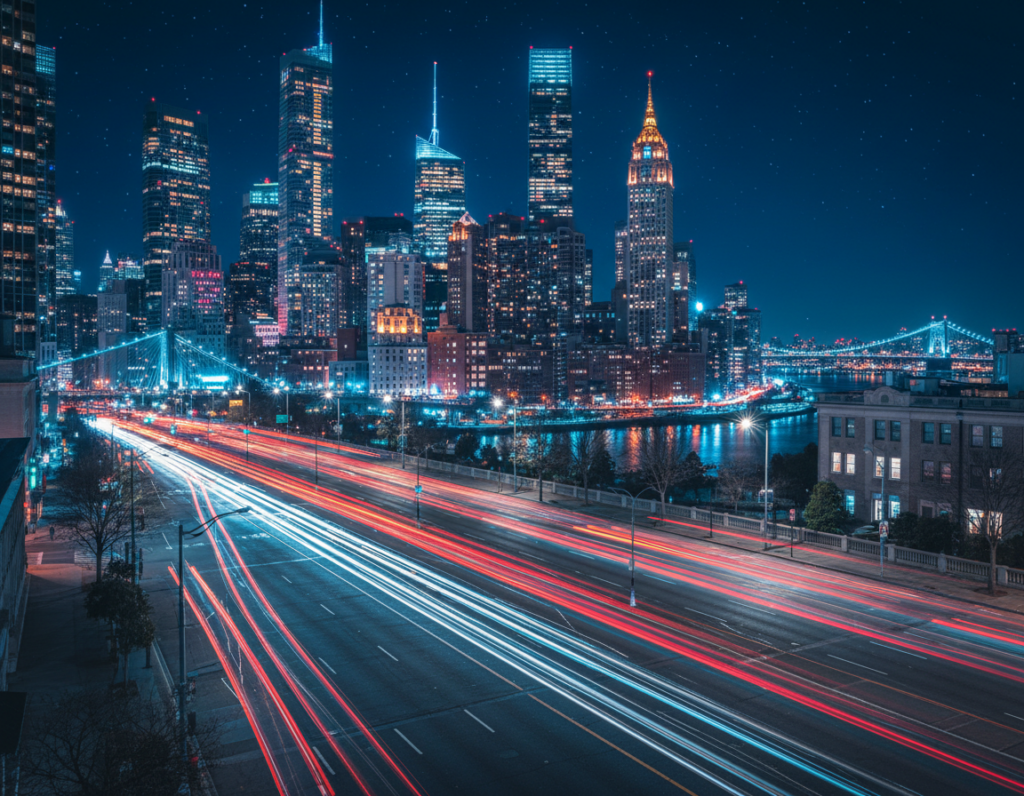
Make the glow affect the environment, not just the light
Real city lights change the scene around them. Add a bit of reflected illumination to pavement, car roofs, and signs so the edit reads cinematic and rooted in reality.
Reflections belong closest to the lamp and fade as they stretch across wet streets. Texture and road markings should break the spill into irregular patches rather than a solid smear.
Duplicate and align a spill that matches the plane
- Duplicate the whole glow group or layer set and transform it to match the street plane (scale, warp, rotate).
- Move the copy down toward reflections, lower opacity, and fill gaps so the result looks subtle.
- Use a luminance range or selection to keep spill visible on highlights and faint in deep blacks.
Mask carefully and add optional atmosphere
Paint with a soft black brush on the spill mask to hide light behind cars or under awnings. This keeps the scene from turning into a global wash.
For misty nights, add a faint particle pass using a dissolve-like speckle, then convert it to a normal layer by selecting the glow color and making a new filled layer. Toggle the whole set on and off to confirm the effects feel plausible.
Conclusion
Finish by checking balance: scan the full image at 100% and decide if the added glow feels natural or too strong. Duplicate the glow group only if you need a small lift, then reduce opacity and add a subtle blur to blend.
Follow a single repeatable sequence: capture to protect highlights, prep the image, build layered glow, integrate with masks, add environmental spill, then color-grade for cohesion. Keep the shape tight so the street keeps depth.
Realism checklist: a bright core with a soft bloom, imperfect ring falloff, correct occlusion behind subject objects, and believable reflections on nearby surfaces. If the effect overwhelms the frame, remove one blur layer or tighten the mask.
Save a preset in your favorite tool so series of images share settings. Finish with a quick Color Balance pass to harmonize the lamp hue with ambient scene color, then test the method across different camera captures (dusk vs night, dry vs wet) and tweak the blur radius and intensity accordingly.