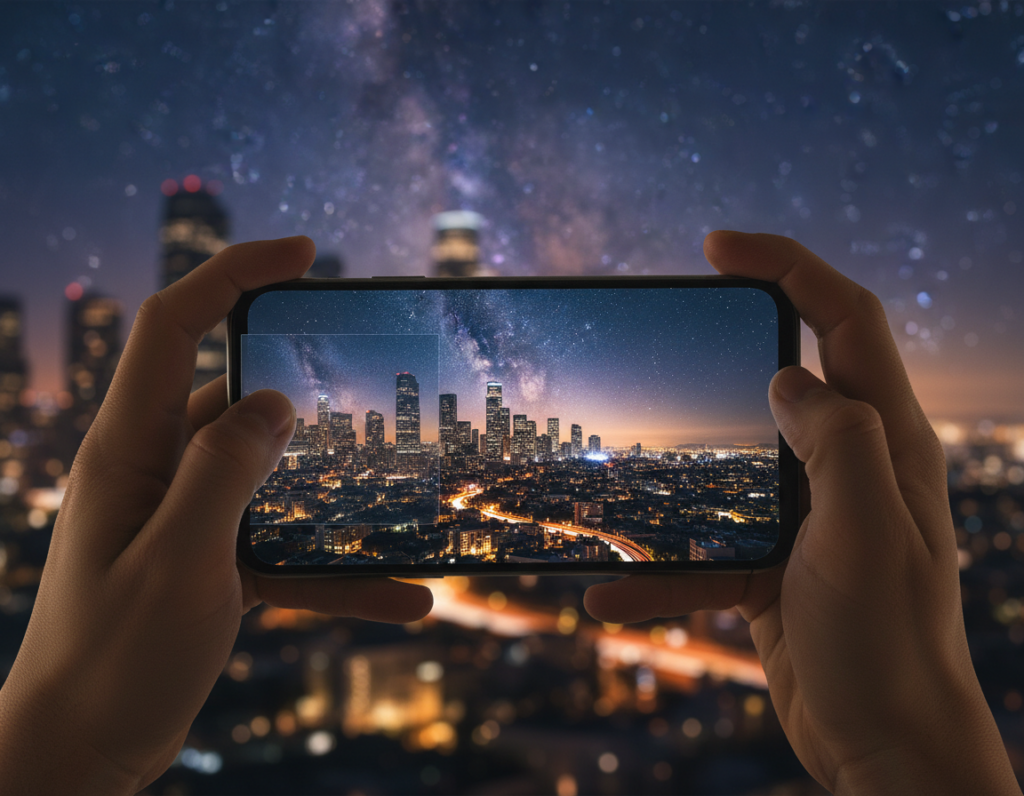
Practical tips for dealing with tint shifts in low light start with capture. Modern phone cameras and camera systems handled low-light better when you braced the device or used a tripod. Auto white balance sometimes neutralized warm scenes into gray or produced green and magenta shifts that felt wrong.
This guide sets expectations: stop problems at capture, then apply a repeatable edit workflow that keeps images natural. We’ll show how to spot a tint fast, choose steadier capture settings, shoot RAW when possible, and stabilize your phone.
Next you’ll learn global and selective edits that lead to believable skin tones and truer interior hues. The steps apply to iPhone and Android pipelines and common tools like Apple Photos and Adobe Lightroom.
Pay attention to composition and neutral objects in the frame. Those targets make diagnosis simple and speed up fixes. For a deeper technique on selective edits that saved tricky scenes, see this example workflow.
Why color cast happens in dark environment smartphone photography
Low-light scenes often fool a camera’s white balance algorithm, producing tones that don’t match what you saw. The AWB system makes a best guess at neutrality and, in dim conditions, that guess can cool a warm room or warm a cool scene.
How auto white balance misreads low light
AWB assumes there is a single neutral in the frame. When there isn’t, the algorithm swings toward a compromise. That change can make skin and fabrics look off and shift the overall mood of your images.
Common culprits in low-light interiors
Sodium vapor lamps can render a green cast in-camera even if they looked neutral to your eye. Fluorescent and mercury vapor fixtures push hues in other directions. Street lighting and mixed indoor sources each nudge colors away from natural.
- Mixed daylight through a window plus bulbs = no single balance for the whole frame.
- Underexposure then brightening amplifies tint errors in shadow areas.
- Small sensors gather less light, so noise reduction can smear subtle transitions and shift hues.
Sensor limits and exposure effects
Phone and compact cameras use heavy processing when data is thin. More noise leads to stronger algorithms that can alter tones and reduce fine detail between the subject and the background.
At dusk, a blue sky paired with warm lamps creates contrast that many devices “flatten,” changing the intended look and the final results.
Spotting a color cast before you edit
Before you open an editor, spend a few seconds checking the image on your phone to spot obvious tint shifts. A quick glance can tell you if whites, grays, or skin tones lean green, magenta, blue, or orange.
Fast on-screen checks
Do a two-second routine on the screen: look at any white napkin, paper, or plate first. Then check neutral grays and a face. If those items look off, the white balance likely needs work.
Use references in the frame
Scan edges and shadow areas for early signs of tint where noise and low brightness exaggerate shifts.
- Neutral objects: paper menus, stainless steel, or neutral clothing help judge balance by eye.
- People check: dull eyes or sickly skin usually point to a tint issue rather than exposure.
- Verify: toggle between edited and original views to confirm the change is real.
Tip: Include a small neutral item in your composition when you anticipate tricky lighting. That simple step makes later editing faster and more reliable.
Capture settings that prevent bad color in the first place
Start by locking the camera decisions that shape how tones render before you tap the shutter. Setting up the shot reduces surprises and makes edits faster.
When to switch off Auto White Balance
Turn off Auto White Balance when mixed light fools the meter—sodium lamps, fluorescent fixtures, or window plus lamp mixes are common offenders. Use Kelvin or presets if your app supports them.
How to use Kelvin and presets
Choose Incandescent/Tungsten, Fluorescent, Cloudy, or set a Kelvin value for steadier results. Kelvin gives finer control when RAW is not available.
Locking focus and exposure
Tap and hold on many phones to lock focus and exposure. This stops the frame-to-frame jumps when you recompose or lights flicker.
Shutter vs ISO tradeoff
Use a slower shutter with stabilization for still subjects to keep noise low. If the subject moves, raise ISO but accept more grain in shadows.
- Consistent approach: keep the same white balance and similar exposure across a series for uniform edits.
- Decision rule: still subject = slower shutter + stabilizer; moving subject = higher ISO and shorter shutter.
Shoot in RAW for better color correction latitude
RAW files keep the original sensor data. That means more usable tones and less in-camera baking than a JPEG or HEIF. With these files you recover tint and exposure without the banding and artifacts that often show after heavy edits.
Why RAW preserves more information
RAW files record a wider dynamic range and richer shadow detail. That extra data helps when you lift shadows or pull down highlights while fixing white balance.
How RAW fits into a non-destructive workflow
Editing RAW in Lightroom or similar keeps the original file intact. Changes are stored as instructions, so you can revisit white balance and exposure later without degrading the source.
- Better recovery of shadow tones vs JPEG/HEIF.
- Smoother gradients and fewer artifacts when adjusting tint.
- Choose RAW for important shoots; use standard files for casual photos to save space.
For multiple frames under the same lights, RAW gives consistent results across a set. Use a phone app for quick fixes, and move to a computer when you need batch editing.
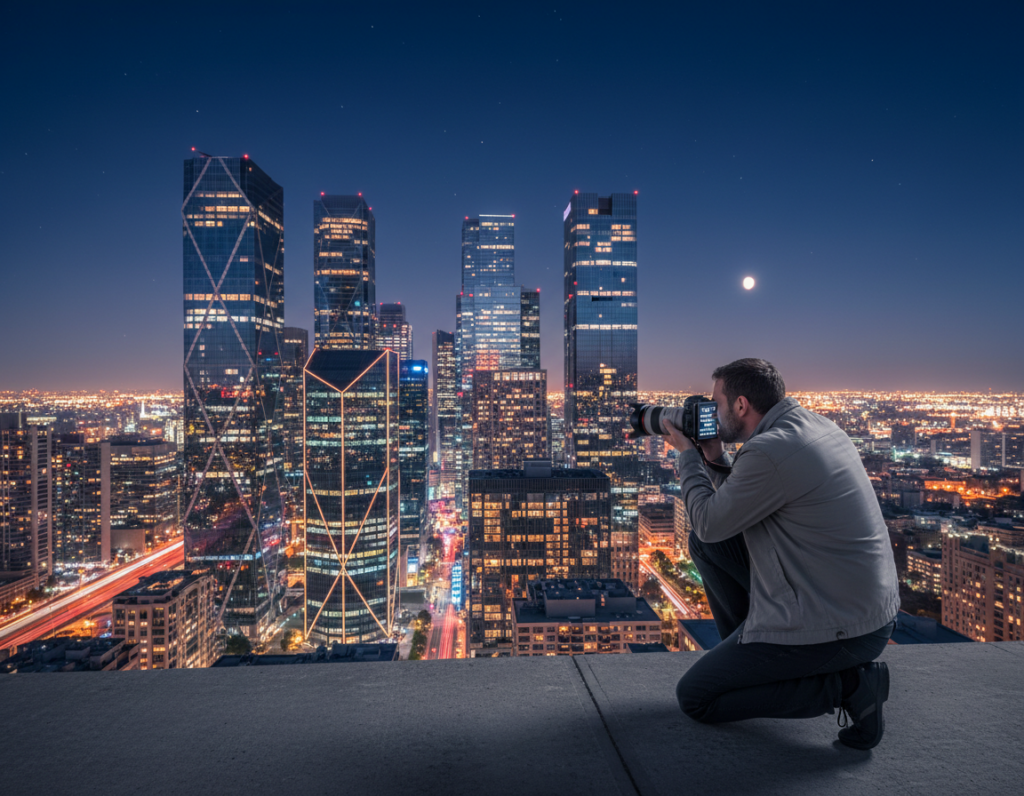
Stabilize your phone to improve exposure and color accuracy
A stable support changes more than sharpness — it gives your sensor time to gather cleaner data for truer hues. A steadier capture often lets the camera use a lower ISO or cleaner multi-frame stacking, which reduces heavy processing that shifts tones.
Use a small tripod or brace against solid surfaces
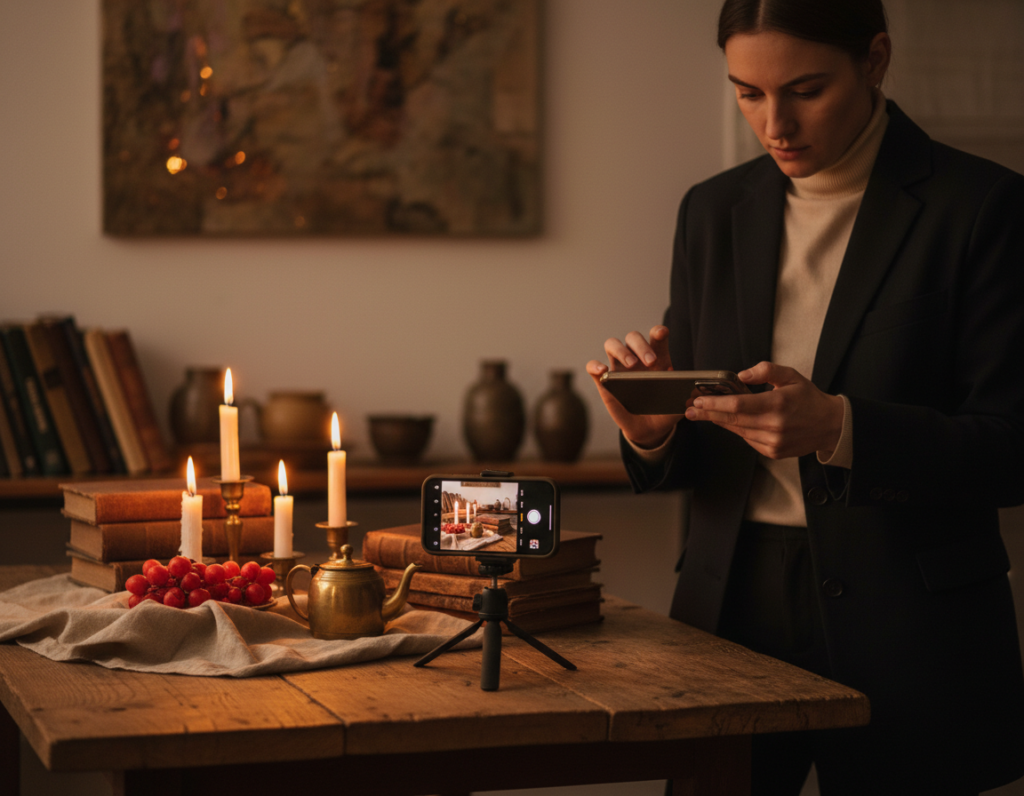
Bring a compact tripod as a simple tool for interiors like restaurants, museums, or tasting rooms where light is limited. When a tripod isn’t available, brace the phone on a table, column, or doorway.
Why steadier shots reduce noise reduction and smearing
Night modes and slow shutter routines stack frames over time. If the device senses motion it applies stronger noise reduction. That process can wipe subtle hue and texture in shadows.
- Lower ISO or cleaner stacking preserves natural tones.
- Steady frames keep multi-frame blending accurate across the frame.
- Reduced processing means less smearing and better texture in low light.
Stability checklist: tuck elbows, exhale, rest on a solid surface, wait a beat while the phone stacks frames, then press the shutter. These small habits improve exposure choices and cut the need to push brightness later in editing, saving time and producing more believable results for your photography.
Correct color cast dark environment smartphone photography with global edits
A simple global workflow makes large tint shifts manageable and repeatable. Start by setting the white point with a temperature slider, then nudge tint to remove a green or magenta lean.

Adjusting temperature and tint to remove green or magenta shifts
Set temperature first, then use tint to dial out green shifts from sodium-lit interiors or magenta from mixed bulbs. If you shot in raw files, the recovery is cleaner and less destructive.
Rebalancing exposure, highlights, and shadows without breaking color
After balance, adjust exposure and then refine highlights and shadows. Open shadows in small steps to avoid noise and hue shifts.
For window scenes, pull highlights down enough so bright daylight doesn’t force the whole frame into a wrong balance.
Using vibrance vs saturation to keep skin tones and interiors believable
Use vibrance for subtle lift; it protects skin and muted tones. Reserve saturation for tiny boosts only, since aggressive saturation can clip skin and make interiors look fake.
- Order: white balance → exposure → highlights/shadows → color intensity.
- Check neutral areas and the eyes or a neutral surface to confirm your edits.
- Add contrast sparingly; too much can exaggerate hue shifts in shadow regions.
Fix mixed lighting with selective color corrections
A single white balance rarely suits a scene lit by daylight and warm bulbs at once, so targeted fixes are needed. Mixed lighting can “wreak havoc” on auto white balance and leave one area neutral while another shifts toward green or magenta.
Why different light sources confuse Auto WB
One light, one solution doesn’t apply. A window can flood a frame with cool daylight while commercial fixtures add warm or green tones nearby. The algorithm finds a middle point and the whole image suffers.
Using selection tools to fix just the problem area
Open a selection tool in Lightroom Classic or Photoshop. Isolate the altar, face, or tabletop that looks off. Then adjust temperature and tint locally so the patch matches the rest of the scene.
Gradients and brushes for balance
Pull a linear gradient from a window to cool or warm that strip without touching the interior subject. Use a soft brush with feathered edges to refine faces or wall sections.
“For a chapel altar lit by commercial lamps, a quick local temperature shift fixed the green lean while the rest stayed natural.”
- Workflow: select → local temperature/tint → exposure → contrast → subtle saturation.
- Feather edges to avoid hard seams.
- Zoom in and check transitions; small repeated adjustments look more believable than one big change.
Best apps and tools for smartphone color cast correction
Pick tools that match the time you have and the precision you need. Some apps give instant fixes while others require more steps for exact results. Below are practical options for quick fixes, repeatable mobile workflows, and full desktop control.
Built-in Photos app: quick warmth and tint fixes
Use the native Photos app on iPhone or Android for fast edits. Adjust temperature and tint to remove obvious green or magenta leans.
Keep contrast and brightness changes subtle so skin and interiors stay believable.
Lightroom Mobile: predictable white point and repeatability
Lightroom Mobile offers more reliable white point settings and saves presets. That makes batch editing the same look across files easy and fast.
When to move to Lightroom Classic or Photoshop on a computer
Switch to desktop for layered masks, precise selections, and tough mixed-light scenes. A calibrated screen makes a big difference.
- Use Datacolor Spyder 5 or X-Rite ColorMunki to calibrate a monitor.
- Edit in a neutral workspace with at least 99% sRGB coverage.
- Spot-check final images on a phone, tablet, and computer to confirm how most people will see brightness and colors.
Conclusion
A short, repeatable review at the end of every edit keeps your workflow fast and reliable.
Checklist: diagnose any tint, lock in white balance at capture, shoot RAW when you can, stabilize the shot, then apply global and selective fixes. Keep changes gentle so skin and neutral areas stay believable.
The biggest takeaway: consistent quality of light matters more than a single heavy tweak. Mixed sources need local attention to avoid strange contrast shifts between the subject and background.
Final review habit: check eyes, skin, and a neutral object, then zoom out and confirm composition and mood match the scene. Even if Auto White Balance surprised you, steady capture choices and targeted edits deliver strong results for your photos and people.