Goal: share your night images online while keeping texture, sharp edges, and subtle color shifts intact.
Why this matters: low light makes noise, motion blur, and highlight clipping worse. These problems show up more after downsizing or heavy compression.
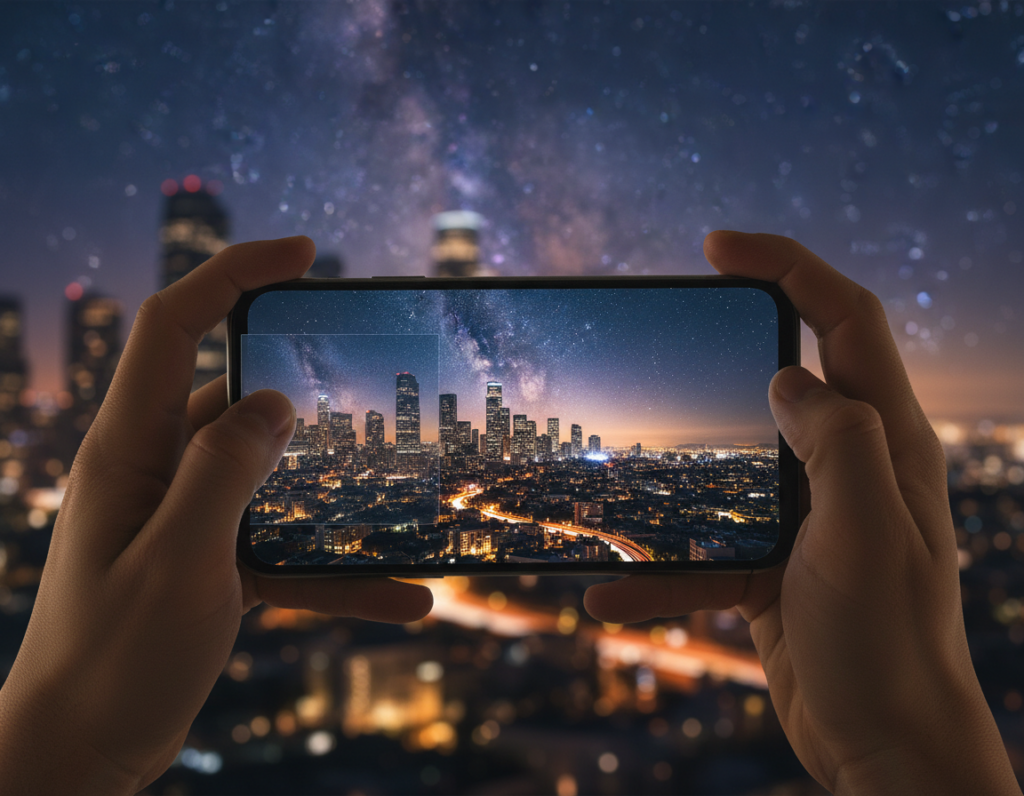
Start with solid capture on an iPhone, Google Pixel, Samsung Galaxy, or similar camera app. Use a steady hand and basic night technique. Then edit in a workflow that preserves detail.
What this guide promises: clear steps to keep a full original file, make a separate share copy, and pick the right pixel dimensions, JPEG quality, and color profile for each platform.
Recommendations cover screen sharing first — pixel sizes and compression — then printing targets like 300 DPI without unnecessary upscaling. Advice fits common editors such as Lightroom and Snapseed.
What “export resolution” really means for night photos
Understanding pixels and file choices helps you keep the parts of a dark image that matter most. Each pixel is a tiny block of data that holds color and light information. Megapixels are just the total number of those blocks. When you downsize, you discard many blocks and with them go fine texture and crisp edges.
Pixels, megapixels, and why detail disappears when you downsize
Reducing width and height removes pixel-level information. In low light, shadow noise blends with real texture. Resizing or heavy compression can smear that noise and make smooth gradients blotchy.
DPI vs pixel dimensions for screens and print
DPI tells a printer how large to place pixels on paper. For screens, only pixel width and height control clarity. If you target print, calculate needed pixels for the inch size at 300 DPI. For social feeds, focus on pixel dimensions instead.
Compression vs pixel count: how JPEG settings affect sharpness
JPEG compression reduces file size by discarding subtle information. Lower settings cause blocky artifacts and edge halos, especially around lights and high-contrast lines. The same file can look low-detail for three reasons: too few pixels, too much compression, or soft capture from the sensor.
Make export choices based on destination so you keep crisp lights, clean edges, and smooth shadow transitions when viewers look at your photos.
Choose the right capture settings to protect detail before you export
Capture matters more than any later setting. Set your camera to the largest image size your phone offers so you start with the most pixels. That gives you room to crop, sharpen, and reduce noise without losing important texture.
RAW vs JPEG: shoot RAW when you plan to edit heavily. RAW holds extra data for shadow recovery, white balance fixes, and safer noise reduction. Use JPEG only for quick sharing or when you need small files.
Prefer the main 1x lens for dim scenes. The primary lens usually performs best in low light and keeps noise lower than ultrawide or tele modules. Avoid digital zoom— it crops the file inside the camera and steals pixels before any editing.
Lock both focus and exposure before you press the shutter. In low light, automatic adjustments can refocus or change brightness mid-frame, producing soft or inconsistent results that no export setting can fix.
Practical picks and tools
- Set camera size: choose the largest/“Large” option in your phone’s settings.
- RAW when editing: pick RAW for heavy edits; pick JPEG for fast sharing.
- Main lens only: use 1x for best low-light capture; skip digital zoom.
- Lock controls: tap-and-hold to fix focus and exposure, or use manual lock in third-party apps.
Apps that help: Lightroom Mobile, Camera+ 2, ProCamera, and Camera FV‑5 add reliable RAW capture and manual locks when your stock camera app falls short.
Stabilization basics that make exported images look sharper
Steady framing prevents blur and preserves the fine detail you want to keep when you reduce size or compress files. Think of stabilization as a hidden setting: a crisper original tolerates downsizing and compression far better than a soft one.
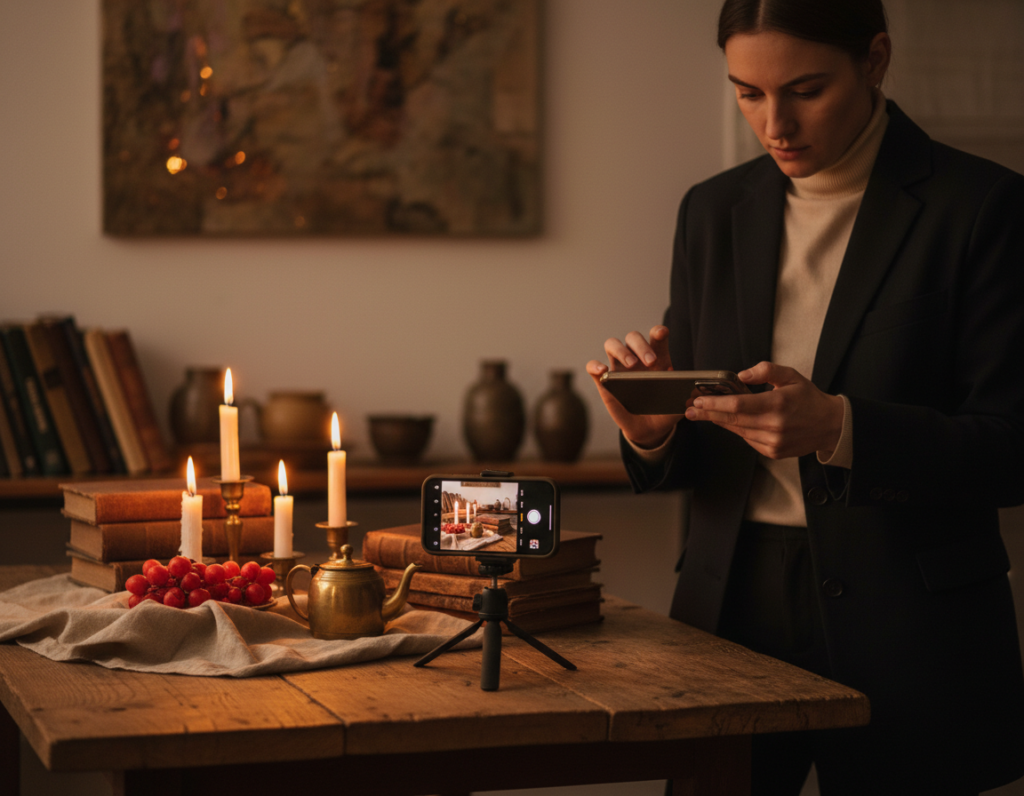
Tripod or stand options that reduce motion blur
Use a small tripod or stand to unlock longer exposures at lower ISO for cleaner detail. Portable choices like the UBeesize stand or the Manfrotto PIXI Mini Tripod Kit work well in the U.S.
If you use a standard tripod, add a smartphone clamp or clip so the phone mounts securely.
Use a self-timer or wireless remote
Tap-induced shake can ruin a long exposure. Set a 2–5 second self-timer or use a Bluetooth remote such as the CamKix remote to trip the shutter without touching the device.
How Night Mode and multi-frame stacking depend on stability
Computational stacking blends multiple frames. Drift between frames creates a soft composite even when the output looks brighter.
Check sharpness on location: zoom in on sign lettering or branches to confirm true detail. Consistent stability yields uniform results when you share multiple night images in an album or post.
Clarity tools and workflow tips can help, but they start with a steady capture.
Exposure choices that reduce noise and preserve fine detail at night
Good exposure starts with balance. Think of ISO as amplification: it boosts signal but also raises noise. Shutter speed gathers light, but too slow it blurs motion.
Practical ISO target: aim for moderate ISO values, often around 400–800 when your setup is stable. That range keeps texture and color separation without excessive noise.
Balance ISO and shutter speed
Use a slower shutter speed when the scene is static and you have a tripod or steady hand. If people or cars move, accept a faster shutter speed and slightly higher ISO to avoid smear. Protect sharp edges over absolute brightness when motion matters.
Underexpose to save highlights
Slight underexposure often helps in city shots with bright lights. Bright streetlights and neon clip easily and cannot be recovered. It is safer to lift shadows later than to repair blown highlights.
White balance for mixed lighting
Mixed lights confuse auto white balance. Set WB manually or apply local corrections in editing to keep colors accurate. Consistent white balance keeps contrast and apparent detail when you compress and share images.
- Quick check: use the histogram or preview to protect bright peaks.
- Tip: fewer blown highlights and less noise compress cleaner in JPEG and look crisper when shared.
Editing workflow that keeps nighttime smartphone photos high quality
How you sequence adjustments will decide whether details survive downsizing and compression. Start with non‑destructive tools so the original file stays untouched. That lets you make multiple share copies without compressing the master.
Non‑destructive first
Use editors like Lightroom or similar apps that preserve the original. Work on RAW when possible. This protects pixels and keeps options open for future edits.
Noise reduction before sharpening
Apply noise reduction early and target shadow areas. Reducing grain first stops sharpening from making a crunchy, unnatural texture.
Keep noise controls subtle so edges and small detail remain intact.
Micro‑contrast and selective sharpening
After noise work, add micro‑contrast to boost local separation. Then sharpen only where needed: edges, text, and fine structures.
Check edits at 100% on the screen to spot halos, stair‑steps, or smeared gradients.
Crop with care
Every crop discards pixels. Heavy cropping lowers how large an image can be shown crisply. If you must crop, plan export size and avoid extreme trims.
- Order: global exposure and white balance → targeted noise reduction → micro‑contrast → selective sharpening.
- Apps: Lightroom for non‑destructive RAW workflows; Snapseed for mobile selective adjustments.
- Rule of thumb: less is more—preserve texture, avoid plasticky smoothing.
Export resolution smartphone night photos high quality: recommended settings for sharing
Choose output sizes that balance visible detail with fast load times on mobile networks. For general sharing, resize the long edge to about 2000–3000 pixels. That range keeps texture and sharp edges while keeping uploads and loads reasonable for viewers in the United States.

When to pick 3000 px vs 2000 px
Use the upper end (~3000 px) for detailed cityscapes, busy scenes with fine texture, or when people will pinch‑zoom on modern large screens. Choose ~2000 px for quick messaging, albums, or when file size limits matter.
JPEG slider and why 90–100% is safest
Set JPEG quality between 90–100% to reduce compression artifacts. Dark gradients and shadow noise break apart at lower settings. Higher values yield larger files but prevent banding and blockiness in skies and dim areas.
Color profile and a final check
Export in sRGB so colors stay consistent across iPhone and Android displays and on social platforms. After saving, open the file on your phone and zoom into edges and lights to confirm the final result matches your edited preview.
- Default preset: long edge 2000–3000 px, JPEG 90–100%, sRGB.
- Higher end: use near 3000 px for textured scenes or zooming viewers.
- Lower end: use near 2000 px for fast sharing or strict size limits.
Pick the right file format for your goal: share, archive, or print
Choose a format that matches the end use. The right pick keeps vital detail and avoids needless steps. Think about what information you must preserve and how the file will be used.
JPEG for sharing: smallest files with strong results when exported correctly
JPEG makes fast sharing simple. At high quality settings it retains smooth tones and sharp edges well for web and messaging.
Be careful: repeated edits and saves in JPEG add visible artifacts in dark areas. Make a share copy from your master to avoid compounding loss.
PNG or TIFF for maximum preservation and minimal compression
PNG suits graphic-like scenes with hard edges and few gradients. It avoids lossy compression and keeps clean shapes.
TIFF stores the most data and works for archival masters and serious print workflows. Save TIFF when you need full color information for large prints.
When to keep a full-resolution original vs a resized “share” copy
Keep the master. Store RAW or the largest editable master so you can re-edit or print later without losing pixels.
Create a separate share version sized for the platform. This keeps uploads lean and preserves your master from repeated compression.
- Posting tonight: create a JPEG share copy sized for the platform.
- Saving for later: keep RAW + a TIFF/PNG master for archive and print.
- Rule: one master, many share copies—this protects color transitions and shadow detail.
Export presets for common use cases in the United States
Use tailored presets so your shared images load fast while keeping visible detail. Below are ready-to-use settings for social feeds, messaging, email, cloud backup, and print. Follow the “final check” at the end to catch artifacts before posting.
Social and messaging: fast-loading exports that still hold detail
Social feed / stories: long edge 2200–2800 px, JPEG 92–95%, sRGB. This keeps texture for pinch-zoom and large screens on popular apps.
Messaging / quick share: long edge 1600–2000 px, JPEG 90%, sRGB. Smaller files send faster but still preserve edges and subtle lighting.
Email and cloud sharing: balancing file size limits with sharpness
For attachments, try 1600–2400 px at 92–95% JPEG first. Only reduce pixels if an email cap blocks sending; lowering size harms dark gradients more than small drops in percent quality.
Cloud backup: upload a full master (RAW or TIFF) for archive, and maintain a separate smaller album for quick sending. This gives recipients sharp files without large downloads.
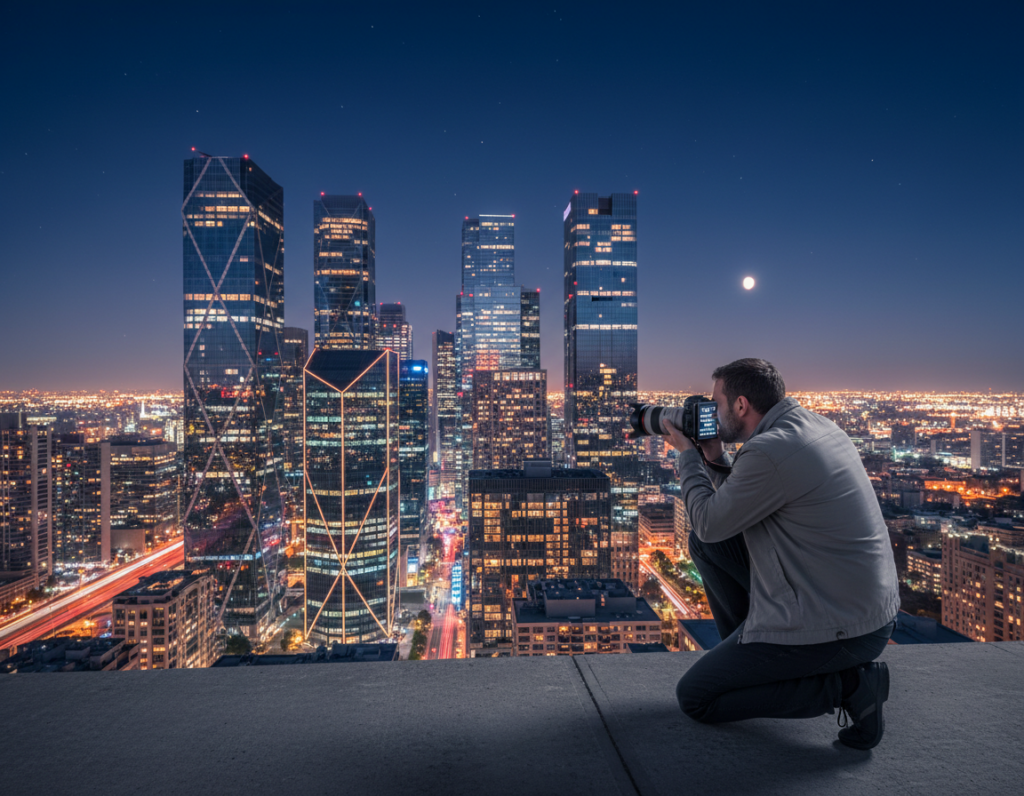
Printing your best night shots: target 300 DPI without upscaling
Do the math in plain terms: multiply inches by 300. For a 8×10 print you need 2400×3000 pixels. If your phone model (iPhone 8+, Pixel 2+, Galaxy S8+) captured that many pixels, you can print without artificial upscaling.
Rule: avoid upscaling—real pixels keep texture and true edges. If the master is smaller, choose a smaller print size or reframe and reshoot with longer shutter time and steadier support.
Checking results on your phone screen before posting
Final check routine: open the exported file on your phone, zoom to 100%, and look for banding in skies, blocky shadows, or halos around lights.
Remember platforms may recompress uploads. Starting with a clean, well-sized file helps the posted image stay sharp. For format choices, see this guide on best file types for saving images: best file formats.
Conclusion
Finish each shoot by saving a full master and making a lean share copy sized for screens. Treat low‑light photography as a light‑management task first: get the right exposure, use the main lens, and lock focus and exposure before you press the shutter.
Stabilize the frame, edit non‑destructively, then export with sensible pixels and mild compression. Aim for a long edge near 2000–3000 px, JPEG at about 90–100%, and sRGB so images look consistent across devices.
Keep one master file and create platform copies so detail does not degrade from repeated saves. Before posting, run this quick checklist: stable support, controlled exposure, conservative noise reduction, selective sharpening, smart resizing, and a final on‑device review.