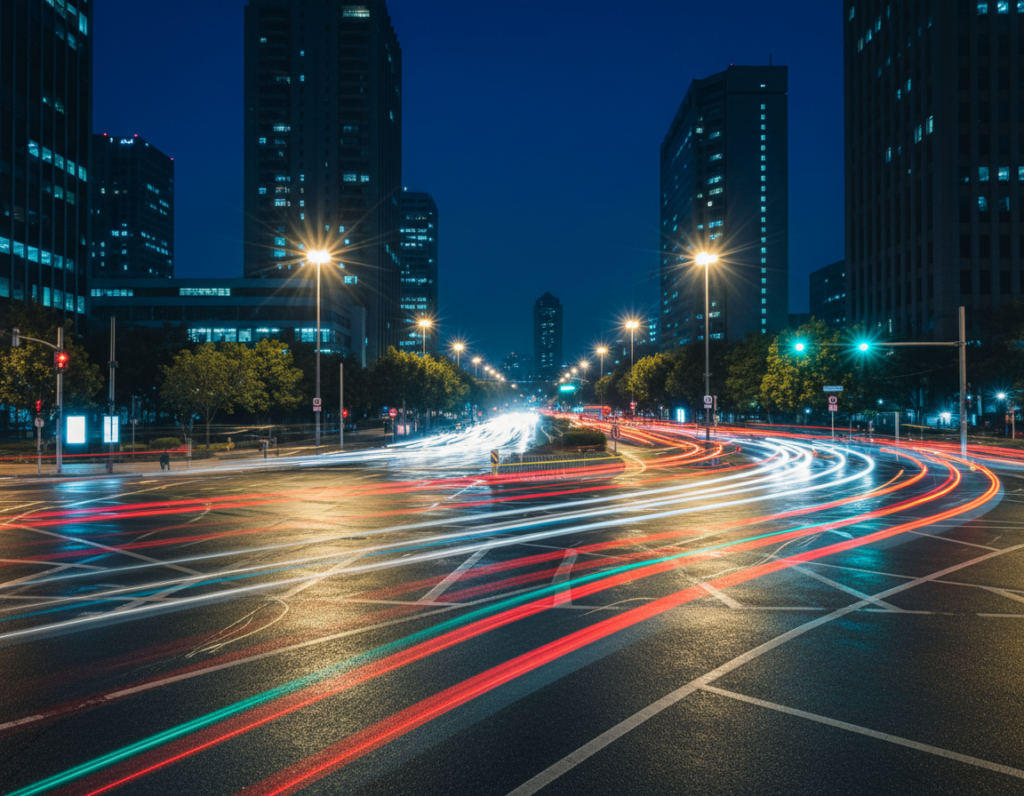
Goal: Get consistently sharp city-light night photos with your phone camera when autofocus fails. In very low light, the auto system often hunts. That makes small point sources look like blobs instead of pinpoints.
This short guide shows a clear workflow you can use now. Use a faraway artificial light as a target (about 100 feet / 30 meters or more) to approximate infinity. Then switch to manual controls and use on-screen magnification until that tiny point is smallest and sharpest.
What precise results look like: city points become small, clean dots and skyline edges stay crisp. Prep the phone, pick a good target, set Pro or mode, lock exposure, stabilize, and take a test shot. Technique and steady support beat random taps.
Key takeaways: rely on repeatable steps, use current phone features like Night Mode or RAW when available, and adapt when a device lacks pro controls.
Why city lights are hard to focus on at night with a phone camera
Urban light sources can trick a phone camera, making sharp pinpoints hard to capture. In low light the sensor sees mainly tiny bright spots and wide dark areas. That leaves little midtone detail for the system to use when locking a shot.
Autofocus struggles in low light and high-contrast scenes
Autofocus hunts when the scene lacks texture. Small lamps against black sky offer few edges to measure, so the lens shifts and never settles. High contrast makes this worse; the camera chases highlights and then swings back to shadows.
Infinity focus isn’t always true on mobile lenses
- Optical limits: tiny lenses and temperature changes can move the point marked as infinity.
- Software behavior: phone algorithms may nudge focus for perceived sharpness rather than real distance.
How clipped highlights and deep shadows trick your exposure and judgment
When highlights clip, the camera loses edge detail it would use to judge sharpness. Deep shadows offer almost no texture to lock on. Always check the image after capture and use a fixed target and locked exposure or mode to prevent the phone from re-deciding between shots.
Prep your phone for sharp night photography results
Small checks before you shoot make a big difference. A fast routine helps you get repeatable results in low light without guessing at settings.
Clean the lens and remove smudges
Fingerprints and oils create haze and flare that turn pinpoints into soft glows. Wipe the lens with a microfiber cloth kept in your camera bag or a small bag pocket.
- Clean before each session and after handling the phone.
- Re-check if you switch pockets or gloves—smudges appear fast.
- Keep an extra cloth where you store the phone for quick touch-ups.
Use the main camera lens for best low light quality
The primary 1x lens usually has the largest sensor and best optics. That gives cleaner detail and lower noise than ultra-wide or heavy digital crop.
Tip: Save tele or wide lenses for well-lit scenes. For low light, stick with the main lens to preserve fine points and contrast.
Decide when to shoot RAW for edit-friendly photos
Shooting RAW preserves more shadow detail and color data. That helps recover mixed white balance and control noise reduction in post.
RAW is worth it when you plan to edit. Skip RAW for quick social posts or when the camera’s JPEG output already matches your desired look. Before you head out, confirm Pro features and RAW mode are enabled so you don’t waste time adjusting settings on location.
For a short workflow checklist and extra tips, see how to take sharp nighttime photos.
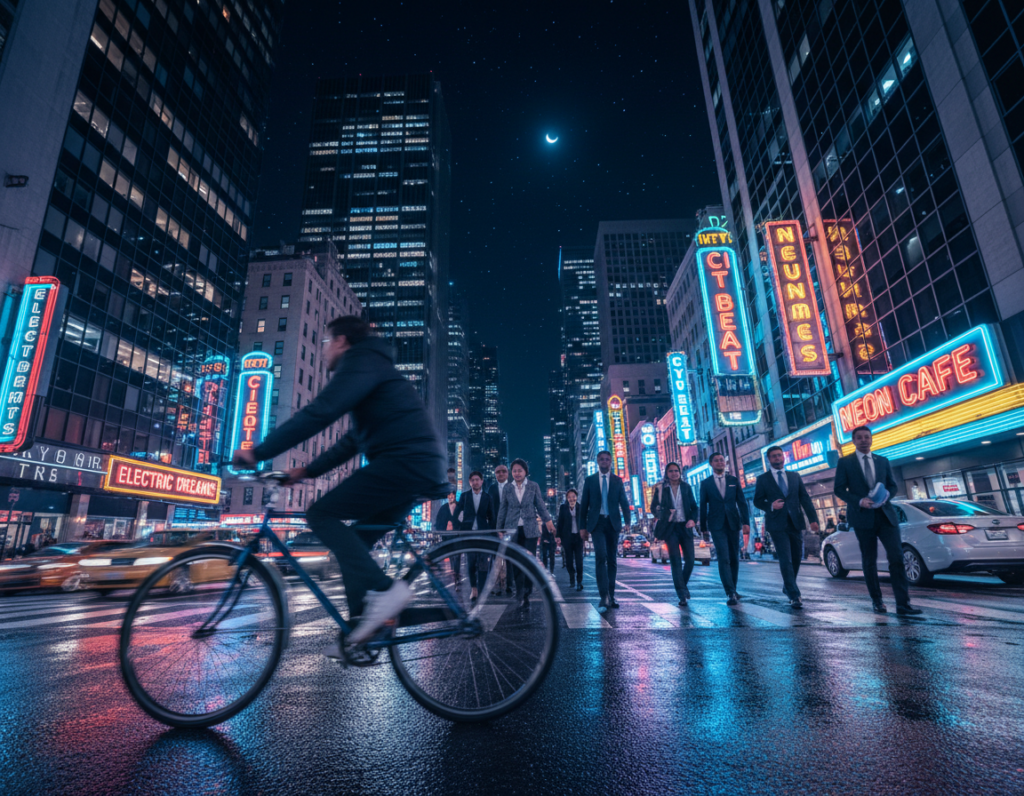
Choose the right distant light sources to focus on
Start by picking a single bright point far away; it makes getting a sharp image much easier. A lone, high-contrast light gives the camera a clear reference that behaves like infinity, so the lens stops hunting in low light.
Pick a bright, far target to simulate infinity
Why it works: one tiny, bright point has strong contrast against dark sky and acts like a true distant reference for focus. That helps the phone lock near infinity with less guessing.
Practical examples and placement
- Use far street lamps, a row of building windows, or an illuminated sign with sharp edges as reliable light sources.
- Try a bright star, planet, or town glow across water when available.
Distance rule and quick workflow
Make sure the target sits at least 100 feet (30 meters) away so the camera can settle near true infinity. Place the target near the center first, lock in your point, then recompose.
Field note: if the scene lacks a clear target, aim at any other far light, lock it, then return to your composition and take one quick shot to confirm sharpness. These techniques save time and produce repeatable shots for the careful photographer.
manual focus distant lights smartphone night photography in Pro/Manual mode
Switching to Pro controls gives you steady, repeatable results when autofocus fails in very low light. Start by entering manual mode so the lens stops hunting and the camera accepts your adjustments.
Enable on-device control and prevent chasing
Open the mode menu and pick Pro or Manual. Change AF to MF (the lens will stop searching). If your phone shows a distance slider, nudge toward infinity, then fine-tune in small steps.
Use live magnification on the screen
Activate on-screen magnify or focus assist. Zoom the live view and watch the tiny point. Adjust until the point is the smallest and most pinpoint, not a soft halo.
Confirm, then lock exposure and focus
Take a test shot and zoom in to check sharp detail. When satisfied, engage AF/AE lock or the camera’s hold control. That keeps settings stable for each subsequent shot and for stitched panoramas.
- Tip: small increments win—tweak the slider back and forth until the light looks tight.
- Repeat: shoot, check, and lock to get consistent results.
Dial in exposure settings that keep lights crisp, not blown out
Get exposure settings right so city highlights stay crisp instead of blown into white blobs. In low light you must choose between gathering more light with the shutter or amplifying the signal with ISO. Each choice affects noise, blur, and final contrast.
Balance shutter speed and ISO for bright urban points
The shutter (shutter time) controls how much light the sensor collects. Faster shutter speeds freeze motion and reduce handshake. Slower shutters capture detail but need steady support.
Protect highlights by slight underexposure
Start by nudging exposure down to avoid clipping bulbs and neon. You can lift shadows later, but blown highlights are unrecoverable. This keeps contrast manageable across the whole scene.
When to use longer exposures versus higher ISO
Use longer exposures for static skylines on a tripod to keep noise low. Choose higher ISO when you must freeze moving cars or people. Aim for a moderate ISO, then increase only as needed.
Set white balance for mixed artificial sources
Mixed LEDs, sodium, and signs confuse auto white balance. Set a manual white balance or pick a Kelvin preset to keep colors true. That improves overall results and reduces post-edit guesswork.
“Protect highlights first; shadows can be recovered, but clipped lights cannot.”
- Think of exposure as a triangle: shutter time, ISO, and how they shape noise and blur.
- Favor slight underexposure to preserve bright points and contrast.
- Use the exposure checklist to confirm settings before you shoot.
Stabilization techniques for sharp focus during longer exposures
Stability wins more sharp shots than any setting tweak you can make. For multi-second captures and Night Mode stacking, even tiny motion blurs detail. Use reliable support before you touch exposure or ISO.
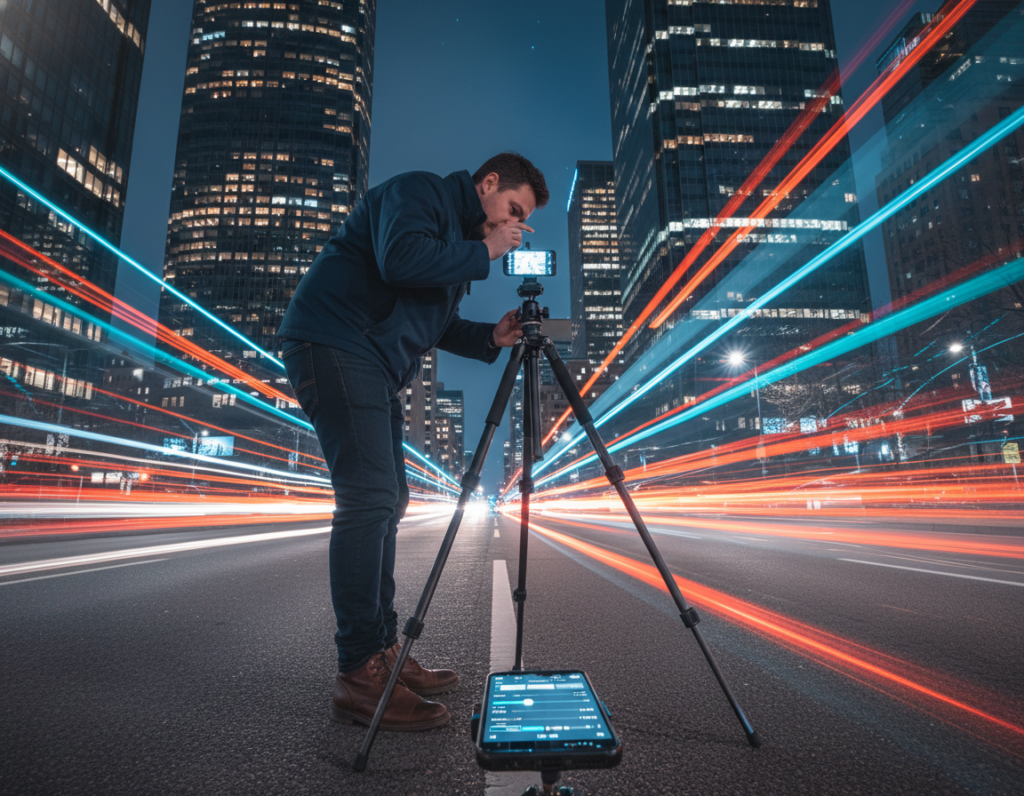
Use a tripod or mini tripod to eliminate motion blur
A tripod is the single biggest upgrade for cityscapes when shutter time grows. A small or mini tripod adds steadiness without bulk. Mount the phone, set the shutter speed, and let the camera gather light without shake.
Trigger the shutter without touching the screen
Tap-induced vibration ruins careful setups. Use these touch-free methods to release the shutter:
- Self-timer (2–5 second delay)
- Wired earbuds or volume button as a remote
- Bluetooth remote or voice shutter if available
Improvise support with walls, ledges, or a camera bag
If you lack a tripod, brace the phone on a steady surface. Press it against a wall, rest it on a stone ledge, or wedge it into a camera bag to hold position. Avoid thin railings or surfaces that sway from foot traffic or wind.
Make sure to take two or three identical shots. Small vibrations or a passing truck can ruin one exposure, but multiple tries improve your results.
“Even perfect settings can’t save a shot if the phone moves during capture.”
When to use Night Mode and when to override it
Computational stacking can rescue dark scenes—but only if the phone remains still. Night mode merges several short frames into a single brighter image. That gives cleaner exposure and less noise, yet it requires stability during capture.
How multi-frame stacking affects sharpness
When frames move between captures, the merge can smear fine detail. Moving elements turn into soft streaks. Even tiny hand tremors affect point sources and edges.
Scenes where this mode helps versus when it hurts
Use night mode for static skylines, building facades, and dim streets when you can brace the phone. It improves dynamic range and reduces noise for these shots.
Override the mode when cars, people, or wind create motion. In those cases, a single faster exposure often yields crisper single-frame results.
Quick decision checklist and steady-hold tips
- If the camera asks you to “hold steady” and you can’t, switch to a faster mode or lower shutter time.
- Tuck elbows, press the phone to a railing, and use a 2–3s timer to avoid tap vibration.
- Use a mini tripod or steady surface when long stacking is required.
“If you can’t hold still, skip stacking; sharp single frames beat smeared composites.”
Always review the final image after processing. Stacking artifacts often appear only after the camera finishes merging frames, so check the full-resolution file before you move on.
Run a fast “shoot, check, refine” focus workflow on location
Run a quick on-location loop: shoot, inspect, and fix what’s off before you move on. This short routine saves time and helps get consistent results during a session.
Take a test shot and zoom in to confirm sharp detail
Make one test shot and open it at full size on the screen. Don’t trust thumbnails; zoom to 100% and check whether distant points are tight and the main edges are crisp.
Look for tiny halos, smeared points, or softened window patterns. If anything looks soft, adjust and repeat once or twice.
Check corners and edges for lens softness
Inspect the frame corners and side edges. Many phone lenses and secondary lenses soften there in low light.
- Take a test shot, zoom to 100% on the screen, then check distant lights, building edges, and window details.
- If corners are weak, recompose or use a slight zoom with the main camera to improve edge quality.
- Watch for small shifts between shots from accidental taps or AF re-engage; confirm settings stay locked.
- Capture one known-good reference frame early. Use it to compare later shots and keep quality steady.
“A quick shoot-check-refine loop prevents wasted time and helps get printable photos every session.”
Troubleshooting common problems with distant city lights
If pinprick lights blur into blobs, follow a short checklist to find and fix the cause fast. These checks target the usual suspects so you can get usable results without wasting time on trial and error.

Lights look like blobs instead of points
Blobs often mean missed focus, a dirty lens, or a target that’s too close. Wipe the lens with a microfiber cloth and recompose on a far bright point.
Quick fix: pick a far lamp, zoom in with on-screen magnification, adjust until the point is smallest, then lock your settings.
Focus keeps shifting between shots
If the camera re-locks every time you reframe, engage AF/AE lock or use manual focus controls in the mode menu. That prevents the phone from hunting mid-session.
Your image is sharp but looks noisy or over-processed
Noise comes from higher ISO and aggressive stacking. Lower ISO when possible and use a tripod for longer shutter times to keep noise down.
Tip: shoot RAW when you plan to edit; it gives cleaner noise control than heavy in-camera processing.
Digital zoom and ultra-wide softness in low light
Ultra-wide and digital zoom often soften points in low light. Switch to the main lens and crop later for better detail and contrast.
Halos, flare, and reduced contrast from bright sources
Smudges and bulbs just off-frame cause halos and lower contrast. Clean the lens again, nudge the composition so bright bulbs aren’t on the edge, and slightly underexpose to protect highlights.
Quick reset checklist for photographers in the field
- Confirm main lens is selected.
- Confirm focus lock and exposure compensation.
- Take two test photos and check them at 100% on the screen.
- If issues persist, add a tripod or increase shutter speed and try again.
“Protect highlights, steady the camera, and verify at full size to save time and get repeatable results.”
Conclusion
, The clearest path to repeatable city work is a short ritual you can run in under a minute.
Prep the camera, pick a far bright target, use manual mode with magnification until the point is smallest, then lock exposure and focus. Stabilize on a tripod or solid support before you hit the shutter.
Protect highlights first; you can lift shadows later in RAW edits. Use the quick shoot–check–refine loop: test, zoom to confirm sharp points, adjust, and repeat if needed.
These steps improve image quality and save time. They come from multiple reputable sources and will remain useful for years across phones and camera apps.