The basics of image capture have stayed steady for many years ago, even as tools moved from simple mechanics to smart systems. This introduction maps the shift and why it matters to photographers working in dim conditions.
The modern field blends software with hardware. Modern photography uses powerful chips and algorithms that change how a camera reads light and builds an image.
Understanding the balance between system-driven modes and hands-on settings is key. This guide explains how each approach affects control, speed, and result quality.
We will explore technical links between sensors, lenses, and processing. Learn when to rely on automated tools and when to take creative control for the best outcomes in low-light scenes.
- Core idea: Physics of light are unchanged; tools evolved.
- Choice matters: Software helps, hands-on control refines creativity.
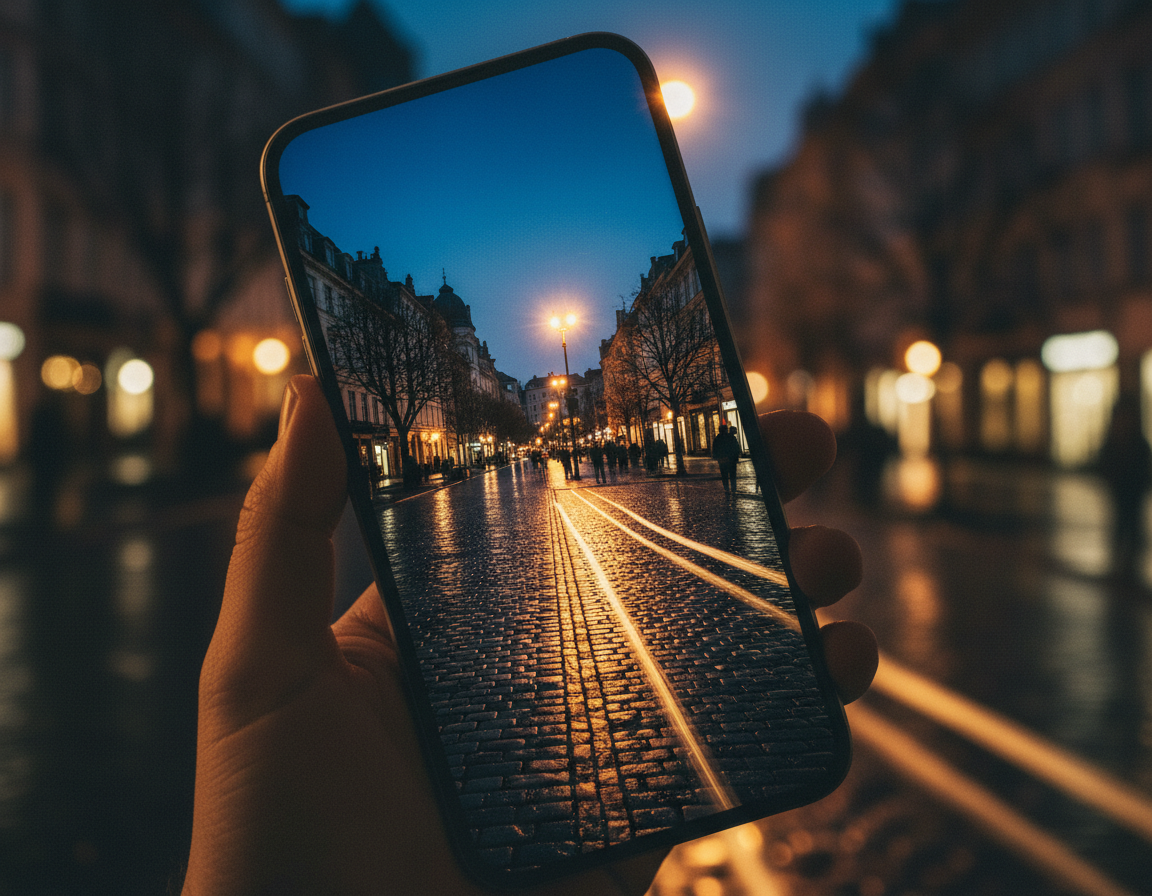
The Evolution of Low-Light Photography
Low-light capture has moved from a craft of patient technique to a blend of optics and smart processing. This shift changed the way makers record dim scenes and the tools they pick over time.
For a long time, capturing a dim scene meant long shutter times and fast lenses. Early methods traded speed for light and demanded steady hands or heavy tripods.
Then phones arrived and altered that balance. Modern phones use real-time algorithms that stack frames and reduce noise. Today a single phone can match results that once needed bulky cameras and deep technical skill.
The result is more creative freedom. New modes let enthusiasts try techniques without years of training. By understanding this evolution, photographers can pair classic optics with modern processing for better images at night.
- Key idea: Hardware and software now work together.
- Impact: More people can shoot low-light scenes with confidence.
Understanding Computational Photography vs Manual Exposure Night Techniques
Low-light shooting splits into two practical workflows: frame merging with smart algorithms and hands-on control at the lens.
The mechanics of stacking let a camera combine many short frames into one clean image. This reduces noise and keeps motion from smearing fine detail. Phones and some cameras collect dozens of frames, align them, then merge for strong results in dim scenes.
The Mechanics of Stacking
Stacking is effective because it treats each frame as part of a whole. The process preserves highlights and lowers grain without long single exposures. Live Composite modes can run from a few seconds up to six hours to catch light trails.
The Precision of Manual Settings
When you press shutter buttons in pro mode, you control shutter speed and aperture. Using a tripod and careful focus often beats automatic modes for creative long exposures. For example, Samsung Galaxy A16 night mode may limit shots to two seconds, which shows why pro controls remain vital for some results.
- Stacking merges frames to reduce noise and keep scene integrity.
- Tripods with intentional shutter speed choices give precise focus and tone.
- Know your camera and phone features to choose the right mode for the shot.
The Physics of Noise and Signal in Dim Environments
In dim scenes, the battle between useful signal and random interference defines image quality. Shot noise comes from the random arrival of photons at the sensor. Read noise appears later, during electronic conversion inside the camera.
The signal-to-noise ratio (SNR) is the key metric. Higher SNR means the subject stands out from electronic hiss. Low brightness lowers the signal and makes noise more obvious.
“Every sensor has physical limits; no amount of software can produce photons that aren’t there.”
- Shot noise is inherent; it varies with the number of photons that hit the sensor.
- When a scene is very dim, read noise can overwhelm the true signal from the lens and sensor.
- Longer exposures raise the signal level, improving SNR and yielding cleaner shadow detail.
Modern phones and pro cameras use advanced processing to reduce visible grain and lift shadow detail. For a closer look at how phones handle low light, see how modern phones improve low-light images.
How Computational Photography Algorithms Process Light
Behind a clean dim shot is a fast pipeline that weighs frames, motion, and color in real time. Modern algorithms blend many brief captures to create one image with more detail and less noise.
HDR and Multi-Frame Merging
Multi-frame merging expands dynamic range. The OM-1’s True Pic X processor, for example, can merge multiple short exposures in real time to hold highlights and reveal shadow detail.
Stacking and HDR combine frames so a single shot keeps both bright and dark areas intact.
Motion Metering and Blur Reduction
When you press shutter buttons on a Pixel 3, motion metering steps in. The phone detects movement and shifts exposure times to avoid blur.
Pixel 3 can capture up to 15 frames at 1/15 second or 6 frames at 1 second, then reject misaligned frames to keep the final shot sharp.
Learning-Based White Balancing
AI-driven white balance studies the field and corrects color temperature from artificial light. This ability keeps skin tones and scene colors natural in dim scenes.
- Real-time merging reduces noise whether handheld or on a tripod.
- Frame rejection improves focus and clarity when motion occurs.
- These features give phones and cameras a practical way to lift low-light images.
Mastering Manual Exposure Control for Night Scenes
Taking control of settings at the camera gives you direct influence over how a dim scene is rendered. Use the brightness slider to tame highlights and pull detail from deep shadows. That one adjustment can change contrast and the mood of the image.
Shutter speed and ISO work together. Slower shutter speed brings more light but risks motion. Lower ISO keeps noise down and yields cleaner tones.
Using a tripod is the easiest way to stay sharp on long shots. A steady base lets you drop ISO and keep the subject clear without extra grain.
- Choose shutter speed to control motion and preserve detail.
- Use the brightness slider to protect highlights and keep shadows moody.
- Pro mode on a phone can be the best way to fine-tune contrast when auto mode fails.
- Manual focus lets you place light exactly where the shot needs it.
“Every deliberate shot in hand-tuned mode teaches you how light behaves in the dark.”
Practice each setting and review results. Over time you will learn a reliable way to make low-light photos that match your vision.
The Role of Sensor Technology and Image Stabilization
Modern sensors and steadiness systems form the core of today’s low-light camera performance.
Sensor design and image stabilization work together to gather more light and cut blur. A larger, more efficient sensor raises the signal and lowers visible noise. That change alone improves final image quality across many shooting modes.
The Impact of Optical Image Stabilization
Optical image stabilization (OIS) is a vital feature in many cameras and phones. It compensates for small hand movement. This lets you use longer exposure times without a tripod.
When a high-quality sensor pairs with good OIS, results look cleaner. You capture more light and keep detail while limiting grain. In practice, this combo defines the performance of professional systems and compact phone designs alike.
- Advanced sensor tech gathers photons more efficiently and reduces noise.
- Built-in image stabilization enables steadier long shots and fewer blurred frames.
- Integrating these features in the body helps photographers get sharp results in low light.
“Hardware-based gains in sensor and stabilization remain essential for professional results.”
Creative Applications of Long Exposure Techniques
Long exposures turn moving points of light into flowing lines that reveal time in a single frame. This approach makes ordinary scenes feel cinematic.
Use a tripod to keep the camera steady. A solid base lets you open the shutter and capture light trails without blur. That stability is the key to clean, dramatic images after dark.
Choose your lens with intent. Wide-angle glass often gives sweeping perspectives. A longer lens can compress trails and isolate details. Both choices change how motion reads in the final image.
- Slow shutter speed captures the passage of time and turns moving lights into trails.
- Set very slow exposure for smooth water or soft cloud motion to get a painterly result.
- Many modern phones include a long-mode that simplifies this creative work for handheld rigs.
Mastering shutter speed is the most important skill. Test settings, review the results, and adjust until the motion in your image matches the vision you had in mind.
Balancing Dynamic Range and Color Accuracy
Balancing dynamic range is the main challenge when you shoot dim scenes. You must keep bright highlights from clipping while keeping deep shadows rich and textured. This part of the workflow decides whether a shot looks natural or flat.
Managing Highlights and Shadows
Highlights and shadows need equal care. Protect bright areas by dialing a gentler mode or lowering the peak values. At the same time, lift dark areas just enough to reveal detail without adding grain.
Use highlights control to keep color accuracy intact. That one step helps an image retain hue in bright parts and avoids washed-out tones.
Tone Mapping for Night Atmosphere
Tone mapping compresses wide ranges of light so the final image reads like the original scene. It keeps contrast believable and builds atmosphere without overdoing the look.
- Balance: Treat bright and dark parts as layers to craft mood.
- Subtlety: Small tone moves preserve skin tones and street colors.
- Control: Apply local adjustments rather than global pushes for better focus on problem areas.
“Good tone mapping makes a high-contrast scene feel like the moment you saw.”
When to Rely on Automated Night Modes
Automated tools can save a shot when you have seconds, not setup time. If you lack a tripod and the scene moves, the camera will often make the best call in real time.
Night Sight and similar mode features use fast stacking and smart frame selection to cut noise and lift brightness. Modern phones and some cameras process many frames and merge them to produce a usable image with less blur.
These modes shine when you need a quick photo in very low light. They handle motion, adjust shutter choices, and tune sensor gains so you get a clear image in seconds.
“When time is short, let the mode work and keep shooting.”
- Fast results: Great for candid shots without a tripod.
- Noise control: Stacking reduces grain and preserves shadows.
- Fallback plan: Use auto mode when manual setup would cost the shot.
Know your phone’s limits and switch to hands-on control when you need a specific artistic result or extended shutter times. That way you get the best of both approaches.
Overcoming Focus Limitations in Near-Darkness
In very dim conditions a camera can struggle to lock on, leaving the photographer to step in. This problem is common when the scene lacks contrast or the subject sits in deep shadow.
Manual focus overrides give you control when autofocus fails. Turn the lens ring or engage the focus clutch and place the plane of sharpness where the subject will be.
Practical steps to secure sharp shots
Use a simple routine:
- Switch to focus assist and zoom in on the live view to refine focus.
- For distant subjects, set the lens to hyperfocal distance so most of the field stays sharp — a good example for landscapes.
- If motion risks blur, increase shutter speed or pre-focus on the spot where action will pass.
- When a phone fails to lock, try tapping to focus then lock or use a small torch to add temporary light for the AF system.
Every camera has limits. Learning to override the AF and use the lens directly will help you consistently get sharp images of your subject in the quiet of the night.
Conclusion
Find a workflow that blends your device’s smart features with deliberate technique. Use your phone tools when speed matters, and step in with hands-on control when you need a specific look. This balance strengthens your photography and widens creative options.
Look for light, not just brightness. Seek scenes where highlights and shadow shape mood. Practice making small adjustments and compare results to learn what each approach gives you.
Head out, linger by lamplight, and try these ideas. The streets and stories of the night are waiting for you. With patience and practice, the dark becomes a canvas for your vision.