Capture crisp city lights with simple gear and steady hands. This short guide defines what a great post-sunset city shot looks like: sharp lines, controlled highlights, and clean color in the sky. Expect clear contrast between bright towers and darker streets, and learn what good exposure means for a glowing facade.
Phones today can handle low light better than ever. The workflow is easy: prep your phone and pick a stable spot, shoot with steady technique, then refine using Night Mode or Pro settings. This sequence helps you tame blown-out windows, noisy shadows, and blur from handshake.
Follow a repeatable process for rooftop, bridge, or street-level shots. By the end you’ll have a reliable method to get consistent results when shooting city lights after dark.
Get ready before you shoot: phone setup, stability, and the right spot
Prep matters: a clean lens, the right screen brightness, and a steady base make or break after-sunset city shots. Wipe the glass with a soft cotton or microfiber cloth to remove fingerprints and haze. This small step reduces blur and keeps details sharp.
Quick pre-shoot checklist
Open the camera app and confirm the main camera is selected, not a lower-quality zoom. Raise the screen brightness just enough to frame straight edges without tricking exposure. Disable any digital zoom for the cleanest detail.
Find night mode and flash
On iPhone, look for the moon icon for night mode and the lightning bolt for flash. On Pixel use “Night Sight.” On Samsung go to More → Night. Check the flash control so it does not fire unexpectedly; flash rarely helps distant buildings but can light a close foreground.
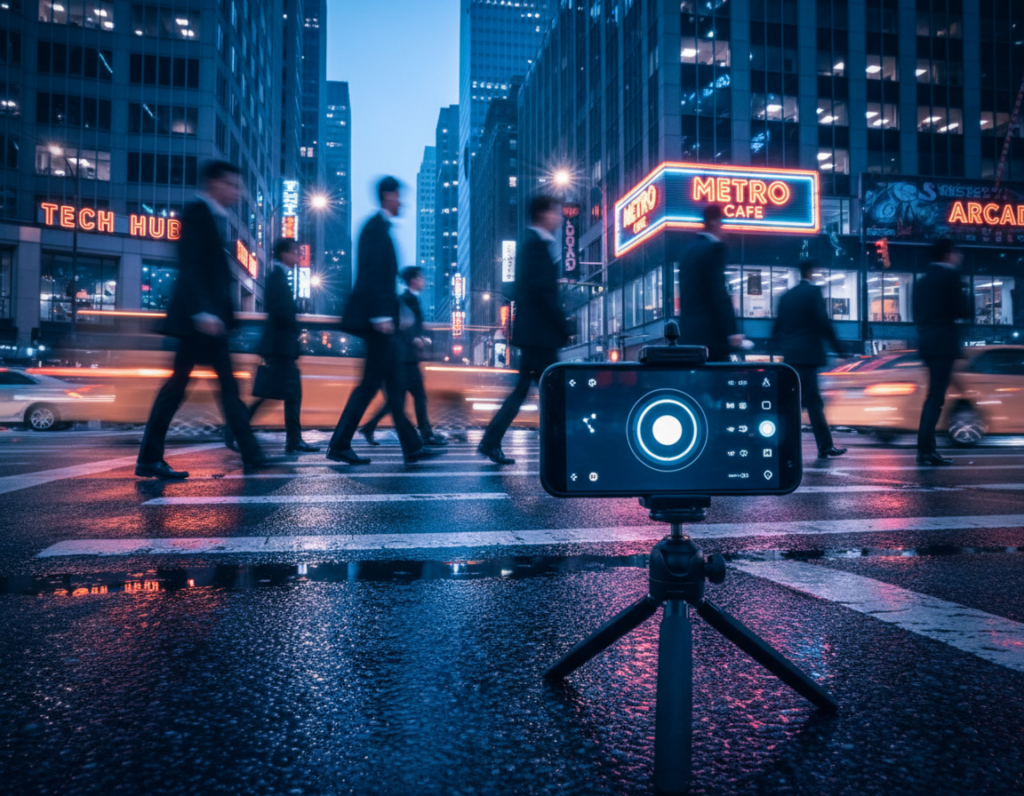
Stability: tripod, timer, and bracing
Stability is the biggest quality multiplier. Use a small tripod, clamp, or MagSafe stand when possible. If not, brace the phone on a ledge and set a 2–3 second timer or use a remote shutter to avoid shake.
Scout viewpoints and manage light pollution
Choose angles with clean lines, reflections, and minimal street flare. Aim higher into darker sky areas or use nearby buildings to block bright districts. Reducing light pollution preserves color and contrast so you need less editing later.
- Wipe lens, confirm main camera, no zoom.
- Set screen brightness and frame accurately.
- Enable night mode, check flash, and test quickly.
- Stabilize with tripod or 2–3 second timer.
- Pick a viewpoint that limits pollution and adds reflection.
Good preparation saves time in editing and helps you keep natural-looking city lights for the next set of camera techniques.
illuminated skyscraper night photography smartphone techniques for sharp, vivid city lights
Frame your subject so the brightest lights sit beside, not behind, people or foreground objects. This avoids unwanted dark faces unless you want a silhouette.
Avoid backlighting and balance bright building lights with darker streets
Spot backlighting by scanning for sources directly behind your subject. Move a step left or right when a tower or sign sits in the same axis as a person.
To protect highlights, meter on a mid-bright area of the building and pull exposure down slightly. This keeps LED color and window detail from blowing out.
Lock focus and fine-tune exposure with tap-to-focus
Tap a crisp corner or bright edge on the building to set focus. Hold to lock focus/exposure, then drag the on-screen sun slider to adjust brightness without recomposing.
If edges look soft, re-lock on a brighter line and reshoot.
Compose for scale and reduce motion blur
Use a foreground silhouette—person, railing, or tree—to show height. Add leading lines like streets or river edges to guide the eye to the tower crown.
Leave clean sky negative space above the skyline to make structures feel taller and less crowded.
- Time shots between pedestrian waves.
- Brace your stance or use a small tripod for steadier shooting.
- Shoot bursts so one frame lands perfectly sharp.
“Patience and stability make city lights behave like stars.”
Think like an astrophotography person: small points of light smear when exposure or movement is off. If lights blow out, reduce exposure and try again, or tap a brighter edge to re-lock focus.
For deeper settings and technical options, see a practical guide to settings for night photography and a quick primer on composition at urban shot basics.
Master night mode, pro settings, and long exposure for cleaner images

Pick the right capture mode first: automatic stacking helps handheld shots, while manual control gives exact shutter and ISO choices.
Choose a mode for motion and light
Night mode is great when you’re handheld or people move. It blends frames to lower noise and lift shadows fast.
Pro/manual is the option when you need exact control over shutter and exposure time to protect bright windows or signs.
Dial in shutter and exposure time
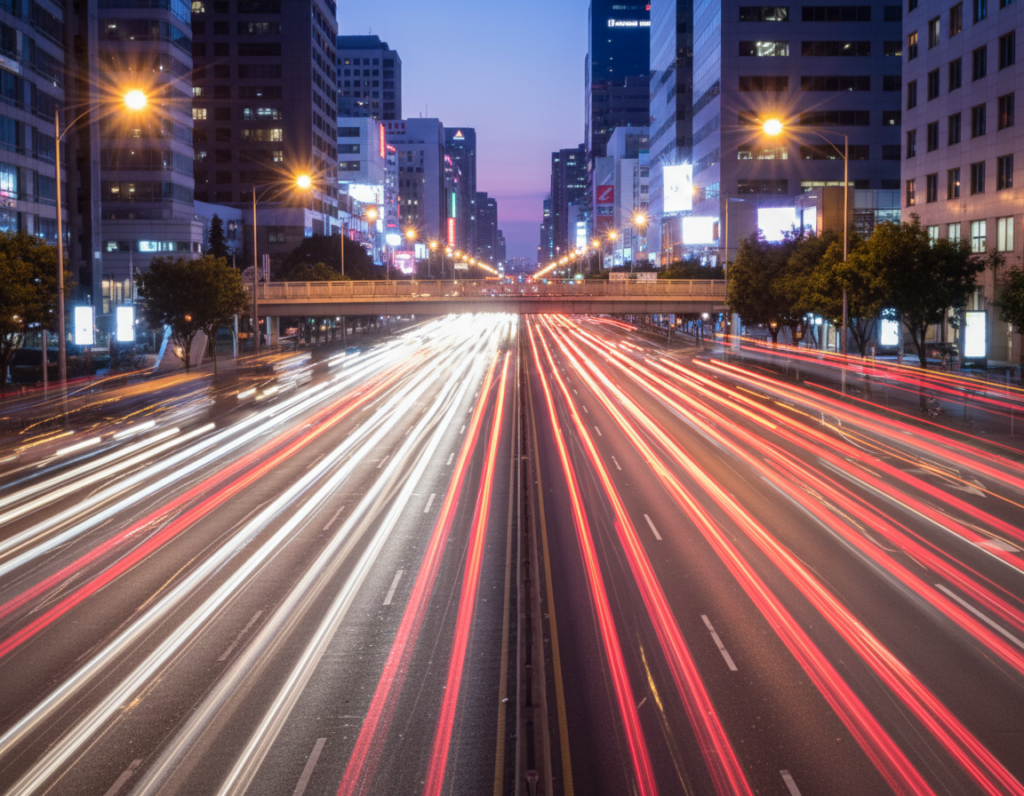
Use shorter shutter speeds for crisp cars and people. Use longer exposure for smooth street glow or light trails.
On a tripod try 10–30 seconds to lift dark streets while watching highlights. Use a 2–3 second timer or remote to avoid vibration.
ISO, focus, RAW, and stacking
Keep ISO low in bright downtown areas (800–1600 max) to control noise. Set manual infinity or tap a bright edge to lock focus.
Shoot RAW when your phone supports it for better recovery in post. Stacking or computational modes combine frames to reduce grain and boost detail.
Reduce pollution and edit lightly
Aim toward darker sky or higher overhead to avoid light pollution. Use nearby buildings to block harsh glare.
- Choose mode: night mode for handheld, pro for exact control.
- Set shutter/exposure time to match motion and protect highlights.
- Shoot RAW and use stacking; edit gently in Lightroom Mobile or Snapseed.
“Stacking frames removes grain while keeping window detail intact.”
Conclusion
Wrap up your session with a simple routine so your phone will take cleaner city photos every time. Prep the lens, set screen brightness, and secure the camera before you shoot.
Two things control most results: stability with a tripod or timer, and exposure discipline to protect bright lights and window detail.
Before you leave home: charge your phone, pack a small stand, and clean the lens. Once you arrive: brace the device, lock focus, and bracket a few frames with slight exposure shifts.
Take multiple shots with small framing and exposure changes. Try Night Mode first; switch to Pro when highlights look smeary or blown out. Edit lightly to keep natural city light.