Goal: This guide shows how to capture mirror-like wet asphalt reflections night photography smartphone images right after rain using only your phone and simple technique.
What makes the wow look: strong lights, dark pavement, a low viewpoint, and controlled exposure so street lights keep color without blowing out.
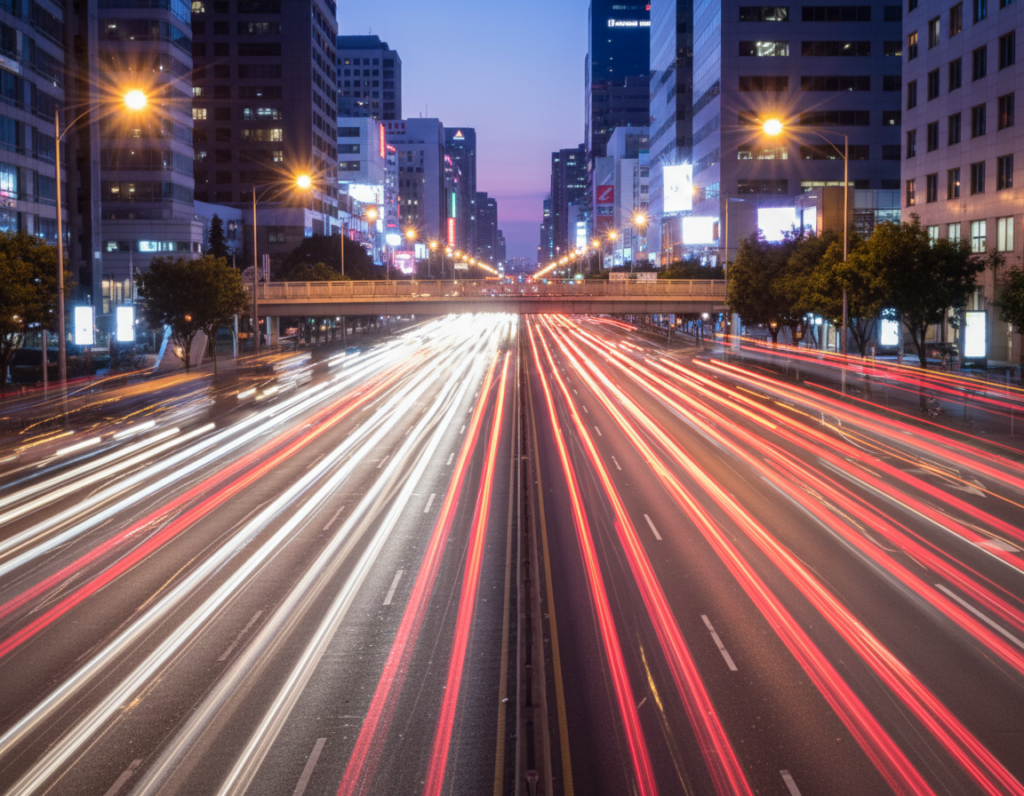
The glossy pavement turns the road into a reflective surface that doubles neon and city lights. That effect adds cinematic color and depth to the scene and background.
Timing matters. Shoot just after rain or during a light drizzle when puddles settle but the street stays glossy. This short window gives the best mirror effect.
Preview: we will cover understanding reflections, setting up camera tools like Night mode and exposure lock, field techniques on a wet road, composition tips, and subtle editing to keep looks natural.
Safety note: Stay on sidewalks or curbs, watch traffic, and travel light so you can move quickly between striking street scenes.
What Makes Wet Pavement Reflections So Striking in a Night City Scene
When rain leaves a thin film on the road, urban lights gain a second life on the surface below.
Simple physics: a smooth layer of water creates a more mirror-like plane than dry ground. That means city lights and neon lights hit the surface and bounce back with clearer color and longer streaks.
Why a night city works: dense point sources—storefront LEDs, traffic signals, and signs—make clean specular highlights. These read as bold bands when the camera sits low and the reflective area fills the frame.
Moisture darkens the pavement tone and raises contrast. On a rainy night, saturated neon stands out against deep blacks, giving images a cinematic, layered view.
What to look for
- Glossy surface with a thin film of water
- Visible city lights and neon lights grouped or aligned
- A darker background to boost contrast
- Continuous water across lanes for long, leading lines
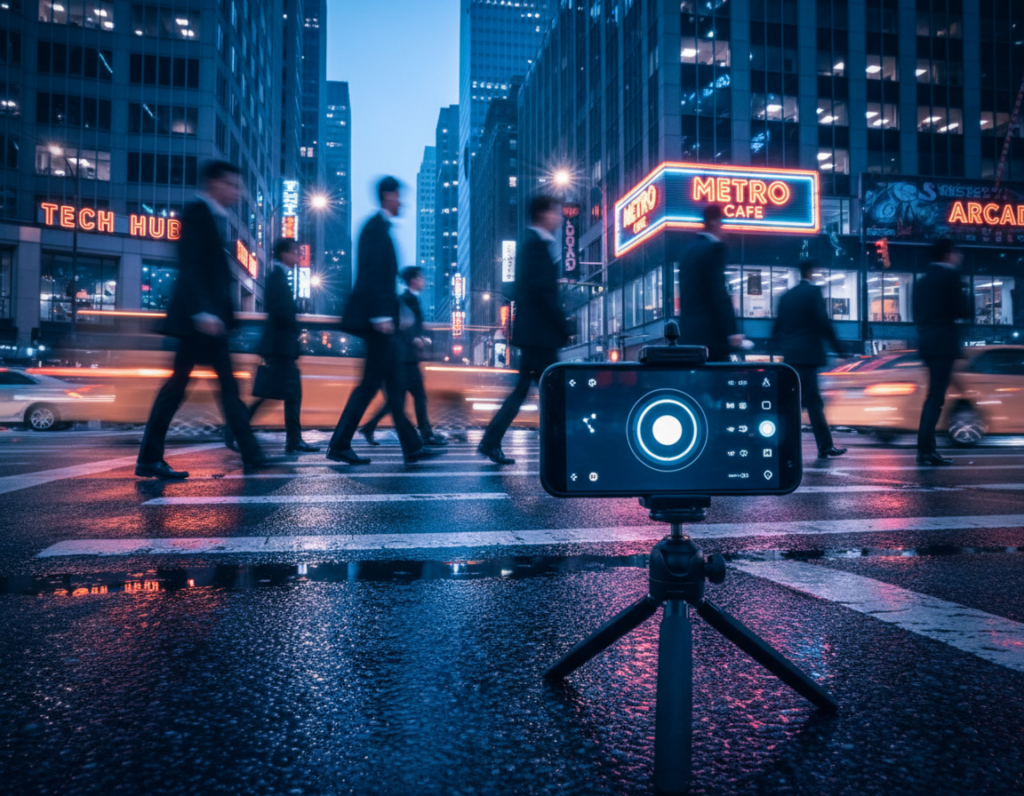
Gear and Phone Setup for Shooting a Wet Street at Night
A few smart adjustments to your phone and a small tripod turn ordinary curb shots into cinematic city frames.
Helpful camera features: enable Night mode, optical image stabilization, and AE/AF lock. Switch to RAW or Pro mode when available and use exposure compensation to protect bright street lights. Keep a tele lens option for tighter framing from the curb and a wide lens for long bands of pavement and city context.
Quick pre-walk setup
- Clean the lens with a microfiber cloth—rain mist causes glare.
- Turn on gridlines for strong street geometry.
- Set a camera quick-access shortcut so you can launch fast.
Stabilization and blur control
Use a mini tripod, compact grip, or brace the phone on a railing. Stability matters because longer exposures at night soften details and make the pavement look mushy.
To get a crisp reflection plane with a blurred background, stabilize the device, tap-focus on the reflective plane, and nudge exposure slightly negative. For busy traffic, zoom from the sidewalk rather than stepping into the wet road.
Practical extras: carry a small umbrella, water-resistant case, and spare cloth. Keep hands free and stay on the curb for safety while you frame city lights and shapes.
wet asphalt reflections night photography smartphone Techniques That Work After Rain
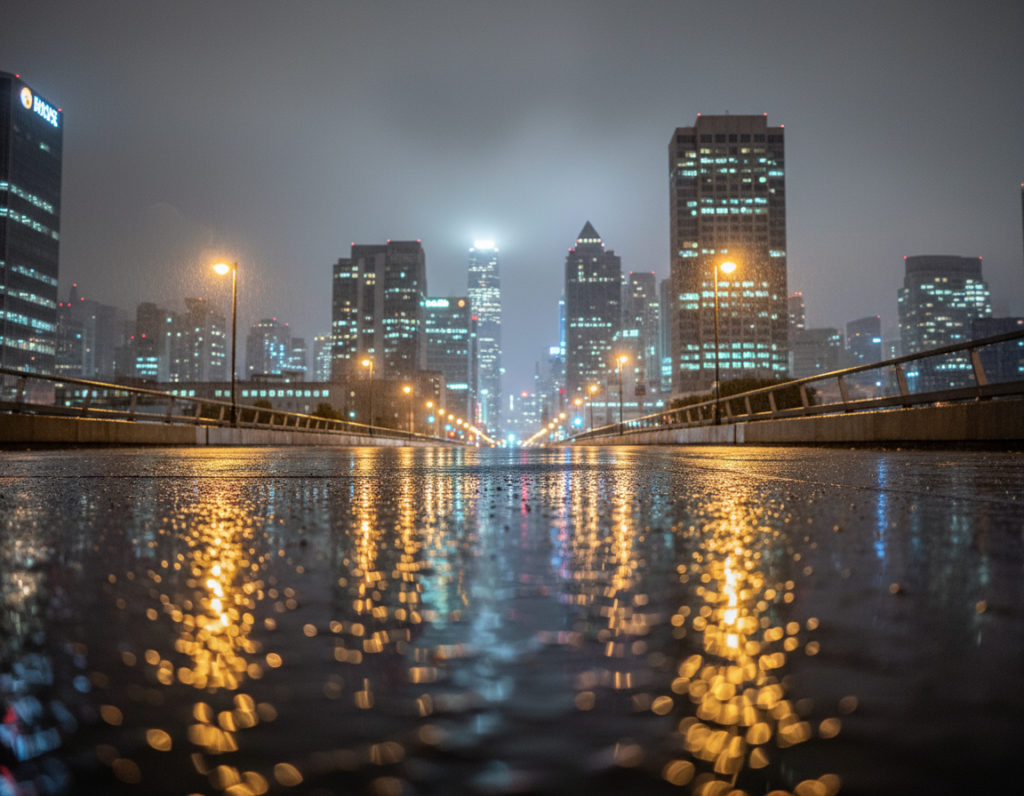
Find quick, high-impact spots after a shower by scanning the road for smooth bands, shallow puddles, and seams where water pools.
Scan the street: move slowly and look for freshly resurfaced lanes, curbside puddles, and continuous seams that create long mirror planes. Shallow puddle water gives a clean mirror; rippled pools add texture. Use both depending on whether you want precise reflection neon lights or a painterly texture.
Positioning and angle
Shoot low—near knee height—and keep the phone parallel to the surface. Back up to stretch reflected trails. Tiny height or tilt changes can catch or lose key lights reflecting wet, so tweak while watching live preview.
Exposure, focus and color
Tap-and-hold to lock AE/AF on the brightest patch of reflected neon, then pull exposure down to protect highlights. Focus on the reflection plane to keep reflection neon lights crisp while the background blurs naturally. Fix white balance or adjust later in RAW so neon looks vivid without shifting the pavement color.
- Use pedestrian crossing lines and lane markings as leading lines toward a bright sign.
- Shoot quickly after rain; surfaces dry fast and looks change minute to minute.
For more on creative puddle use, see using puddles to create reflection photos.
Composition Ideas for Reflection Wet Pavement Photos in a City Street Setting
Anchor your frame with foreground water, then align street elements so the view flows toward a strong light source.
Build depth: place a shallow puddle in the foreground to give the frame an immediate point of interest. Let that puddle and the reflection wet pavement form a leading line into the midground city street. Position a bright sign or a cluster of neon lights in the distant background to finish the visual path.
Layer the scene: foreground detail, midground subjects like taxis and storefronts, and distant lights create a clear sense of place without clutter. Keep each layer distinct by locking exposure on the foreground plane and slightly underexposing the background to protect highlights.
Frame with geometry:
- Use curbs and storefront edges as vertical borders.
- Align lane markings to organize the reflection wet area.
- Center the street for symmetry or move off-center for an editorial feel.
Try low sidewalk shots, corner viewpoints looking down the road, and small elevations from steps. In evening traffic, use moving headlights as dynamic lights while stabilizing the camera so the reflection area stays sharp.

Editing Your Smartphone Photos for Dramatic Reflections Without Overdoing It
Subtle adjustments reveal glowing bands on the road while keeping the rest of the scene honest.
Start with an ordered workflow:
- Set exposure, then adjust contrast/curves.
- Refine color, then apply local edits to reflection bands.
- Finish with targeted noise reduction and sharpening.
Enhance reflected wet highlights without clipping: pull down highlights and raise shadows a touch. Use a gentle S-curve to keep blacks clean and preserve separation in the street background.
Emphasize reflection neon: boost vibrance or HSL for specific hues, not global saturation. Add local clarity to the reflected bands so neon and reflection neon lights pop without making the asphalt look crunchy.
Control noise but keep texture: denoise buildings and sky first, then mask so the road texture stays realistic. This keeps grain where it helps mood and smooths the background where it distracts.
Apps and legal note: Lightroom Mobile and Snapseed work well for masks and HSL. For quick fixes, use Apple Photos or Google Photos. If you add overlays or stock photos, follow license rules. If a Vecteezy asset requires attribution, include “Vecteezy.com” in final credits and use the supplied code.
Conclusion
Wrap each outing with a short review and a plan for the next rain visit.
Core method: find the best wet pavement after rain, get low, frame to catch the mirror bands, and protect highlights so the lights retain color. Keep a note of which blocks and angles worked.
Big three for dramatic results: pick a reflective surface, keep the phone steady, and hold exposure back to save bright areas—strong, control beats heavy editing.
Practice the loop: revisit the same city blocks after different showers. Puddles, traffic, and evening lighting change the scene and the view each time.
Quick checklist: clean lens, low angle, lock focus/exposure, slight underexposure, use leading lines, and edit with restraint. With this approach, your mobile shots can achieve professional-looking reflections and neon color while staying true to the street mood.