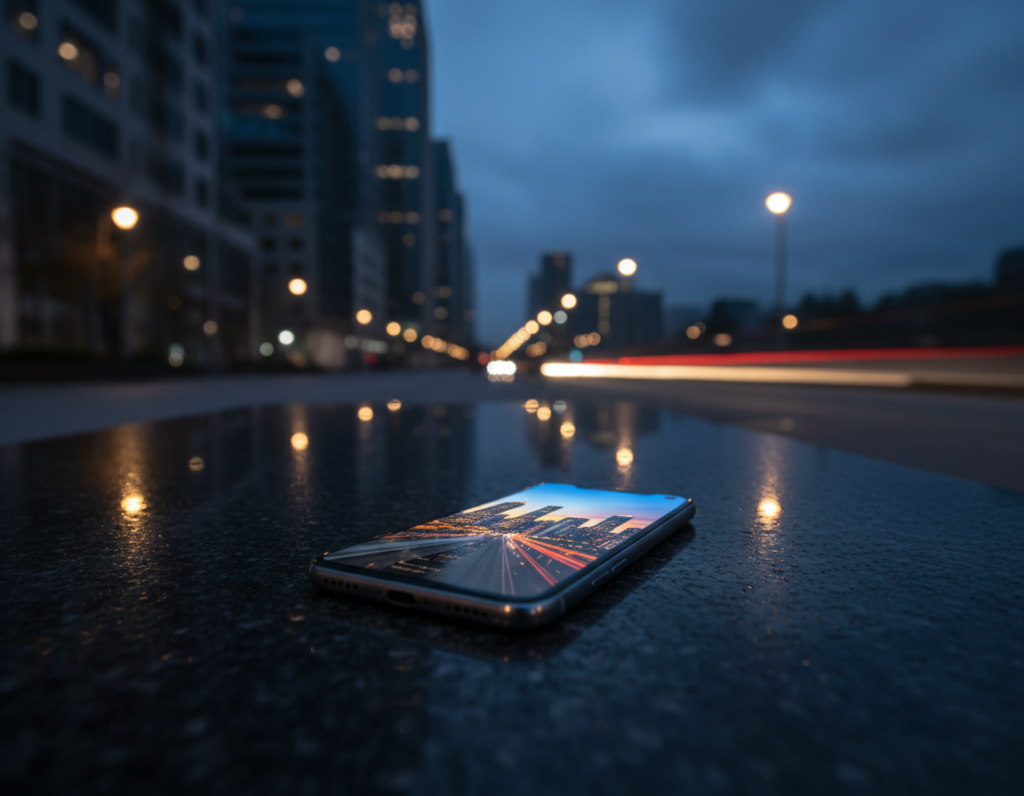
Smartphone camera performance has come a long way over the years, yet shooting in low light still tests even the best models. This intro shows what to expect when a phone image looks soft after dark and how small things often make a big difference.
Define the problem: a blurred night shot on a modern phone usually means a smear from movement, a smudged lens, or missed focus. Marketing images promise perfect results, but real-world low light is tougher.
We’ll preview common categories: smudged lens, missed focus, hand shake, and subject motion. Knowing the category helps you pick the right fix fast.
Quick takeaway: more light + steadier camera + correct focus is the winning combination. This guide aims to help you diagnose the issue in seconds and apply fixes that work on both iPhone and Android.
Keep this simple rule in mind: one small fingerprint or a tiny hand movement can ruin an otherwise great image. Learn to spot the sign, then use the right solution.
Why night photos blur on smartphones in the first place
When available light falls, a phone must work harder to record an image. The camera often increases exposure time so the sensor gets more light. That extra time makes tiny movements show up clearly.
Longer exposure and tiny motion
In low light the sensor may need a quarter of a second or more of exposure. That sounds short, but breathing, shifting weight, or tapping the shutter can introduce blur.
What Night mode actually does
Night mode stacks multiple frames, brightens shadows, and reduces noise. It works best in steady, mildly dark scenes. In super-dark or mixed lights (streetlamps, signs, headlights) color and brightness can shift during capture, which strains processing and sharpness.
Motion blur versus focus blur
Motion blur has direction — streaks or smears from camera or subject movement. Focus blur is uniformly soft with no crisp edges.
The lens and autofocus need contrast to lock focus. In low light there is less contrast, so focus hunting is common.
- Quick check: look for directional streaks for motion or a uniformly soft image for focus failure.
Next: you can diagnose the root problem fast by checking lens cleanliness, focus lock, and whether the scene moved during the exposure.
blurry night photos smartphone causes you can diagnose in seconds
Quick checks will tell you what went wrong and how to fix it fast. Start with the lens, then move to focus and motion. These simple steps take less than 30 seconds and often save a retake.

A dirty lens from fingerprints and pocket smudges
Look for haze, a glow around lights, or low contrast. Finger oils and lint make the lens scatter light and soften the image.
Autofocus misses in low light and close-ups with a distant background
Tap to focus on the subject. If no edge is sharp—no street sign or eyelash—it’s likely a focus error.
Hand shake during shutter press when the camera needs more time
Longer exposure time lets tiny movements blur the scene. A slight double edge or overall softness points to camera motion.
Moving subjects and changing lights
People walking, passing cars, and shifting street lights change usable light and create streaks that stabilization can’t remove.
- 30-second checklist: wipe the lens, tap to focus, steady your phone, wait for a pause in movement, then shoot.
- For more troubleshooting tips, see fix phone camera problems.
How to fix blurry night photos on your phone step by step
Small habits—like wiping the lens—yield major gains for evening camera work. Follow this short routine to sharpen results fast.
Clean the camera lens with a soft cloth before you shoot
Wipe the lens with a microfiber cloth. Even a tiny smudge creates glow, haze, and softness around bright lights. Do a test photo after cleaning to check improvement.
Use tap to focus to lock focus on the subject
Tap the subject on screen and hold if your app offers focus lock. This stops the camera from choosing a distant background and restores sharp edges in close shots.
Stabilize the phone and match exposure time
Brace elbows, lean on a wall, or rest the phone on a stable surface. At low light the sensor may need a quarter second or more, so steady hands cut motion blur.
Use built-in stabilization and Night mode correctly
Enable OIS where available and hold still while Night mode captures. OIS reduces hand shake, but it won’t freeze a moving subject in long exposures.
Adjust lights and handle motion
- Move closer to a light or face the subject toward lights to raise the amount of usable light.
- Shoot when people pause, or use burst mode to catch a sharp frame.
- Compare results over a few hours of practice to learn what works for your phone.
Conclusion
Before you give up on a weak capture, run three fast checks that usually fix it. Wipe the lens, tap to lock focus, and hold the phone steady for the full exposure.
Quick summary: common sources of blur are a smudged lens, missed focus, hand shake during longer exposures, and moving subjects. A clean lens and a steady hand often solve most issues.
Remember: Night mode helps, but it works best with some ambient light and stillness. Treat the feature as a helper, not a magic fix.
Make a short routine: diagnose the blur type, apply the matching fix, take a test shot, and adjust. That strong, simple workflow yields sharper results more often than chasing complex settings.