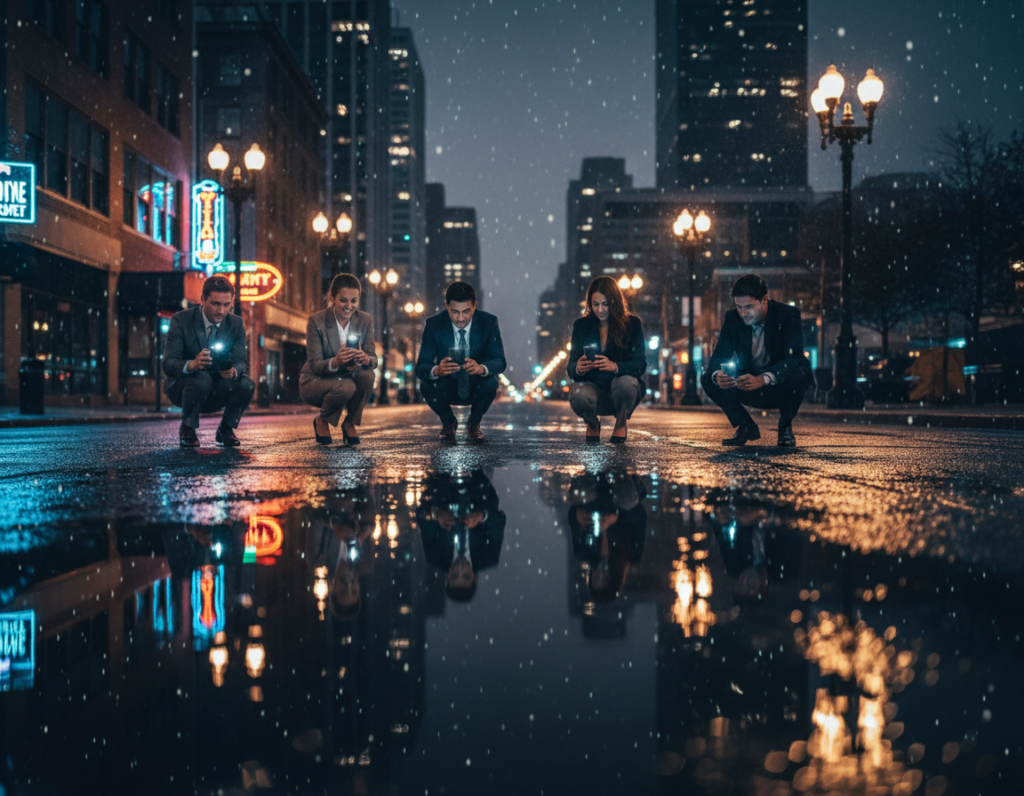
This short guide shows a repeatable, low-fuss approach to shooting a crowded city crossing after sunset. Expect practical tips you can use tonight with just your phone, a small tripod, and a basic camera app.
Intersections pose two main challenges: bright signs and deep shadows, plus fast-moving subjects and mixed color tones. A phone can still deliver strong results by choosing one of two looks: a long-exposure “motion + light” image or a faster-shutter “slice of life” street scene.
Blue hour—the 30 minutes after sunset—often balances sky color with city lights and gives the best results. Built-in Night mode or Night Sight can automate low-light capture, but shooting RAW/DNG keeps more editing options when manual control is needed.
Essentials: stability, a manual-capable camera app, clean optics, and simple exposure checks to protect highlights. Throughout the article you’ll learn when to trust Night mode and when to switch to manual controls for consistent results.
Key takeaways: aim for blue hour, stabilize the phone, decide between motion or candid looks, and prefer RAW when you plan to edit.
What You’ll Capture at a Busy Intersection at Night
When traffic and pedestrians meet under street lamps, you get a mix of flowing light and frozen detail. That contrast defines many great night street photography shots.
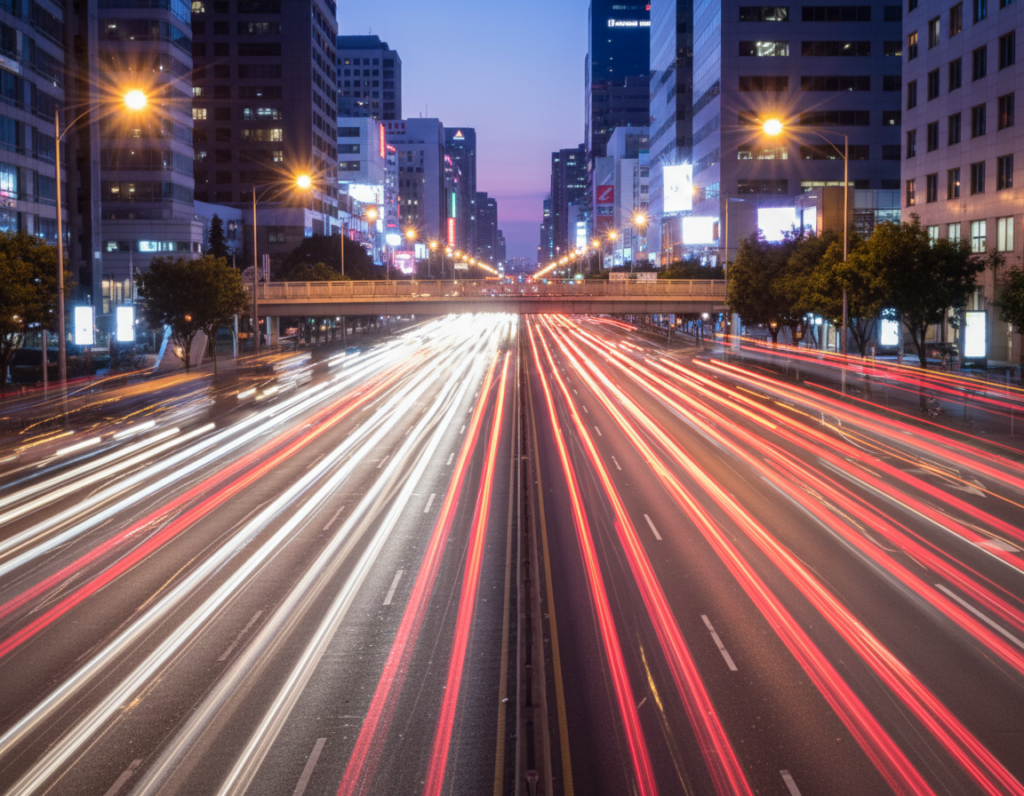
Light trails and motion: With slower shutter speeds, cars become ribbons of headlight and taillight that map traffic flow. Long exposure emphasizes headlight streaks and tail-light ribbons that lead the eye through the frame.
Motion blur for energy: Blurred people crossing a crosswalk can add pace and story, while fixed elements—signs, storefronts, and buildings—anchor the composition.
Slice-of-life moments: Use a faster shutter to freeze pedestrians, cyclists, and turning cars and capture expressions and gestures that tell real street stories.
High-contrast scenes: LED signs, shop windows, and street lamps sit next to unlit sidewalks and asphalt. That contrast can clip lamp highlights to pure white while shadows go muddy.
Exposure notes: Whites often shift warm under artificial lights, so protect highlights or bracket exposures. The chosen shutter speed changes the look: long exposure for trails, faster shutter for crisp people and cars. Stability and manual control make these outcomes repeatable.
Smartphone Setup Checklist for Busy Intersection Night Shots
A quick pre-shot run: steady the phone, wipe the lens, and confirm manual controls are available. This short list gets you ready in under two minutes.
Stability first
Use a tripod whenever possible; a compact tripod gives the cleanest long-exposure results. If you don’t have one, rest the phone on a ledge, bench, or railing and use the timer.
Trigger options to avoid shake
Carry a Bluetooth/wireless shutter or use wired earbuds (if supported). A 2–10 second timer also prevents micro-shake when the shutter fires.
Manual control and app choices
Install a manual camera app (for example, Slow Shutter Cam or Night Camera) so you can set ISO, shutter speed, and focus directly. Manual settings help make exposures repeatable across shots.
Final checks
- Wipe the lens to remove fingerprints and haze for better sharpness.
- Turn on grid lines to align lanes and keep verticals straight.
- Confirm low ISO limits and exposure choices to avoid blown highlights from street lamps.
Ready standard: stable phone, clean lens, manual controls active, and a shake‑free trigger method. Then you can focus on composition and timing.
Pick the Right Spot and Timing for Better Light
Choose a vantage that keeps you safe and steady. A good position makes it easier to frame lanes and crosswalks and reduces blur when shooting after sunset.
Scout a safe, stable vantage point with a clear view
Safety first: pick a sidewalk corner, pedestrian island, or an elevated public spot. Never stand in lanes or block crosswalks.
- Look for a ledge or railing to rest a tripod or phone for steady frames.
- Arrive early to test compositions and confirm the area is free of heavy foot traffic.
- Clear sightlines of lanes and crosswalk markings create strong leading lines and cleaner light trails.
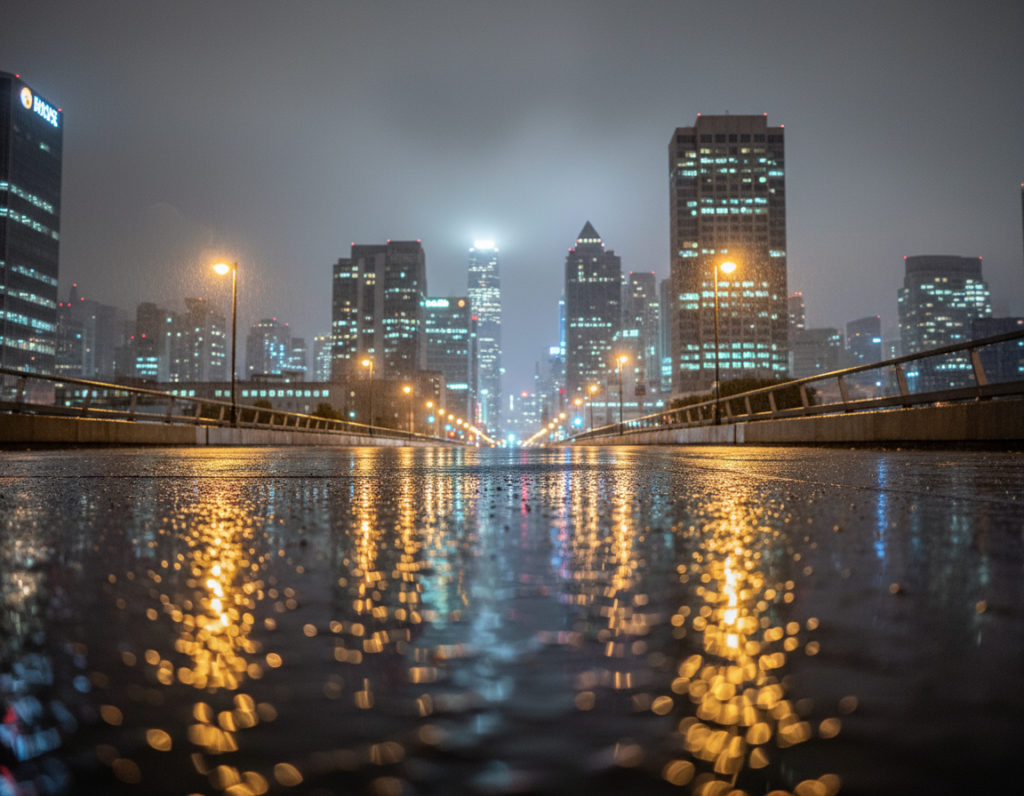
Shoot during blue hour for balanced sky and city lights
Blue hour gives about a 30-minute window where the sky keeps color while city lights are on. Use that time to capture both building detail and sky tone.
Plan for multiple passes of traffic in that time, then continue into full night if you want deeper contrast and brighter lights.
Avoid uncontrolled glare and pick the right conditions
Unshielded lamps and reflective signs aimed into the lens cause flare and washed highlights. Move a few yards to eliminate direct glare.
Decide if you want reflections from rain or fog, or cleaner contrast on dry streets. Different conditions change mood—choose intentionally.
Work calmly in one area. A steady position and repeatable framing will yield better night street results than chasing every corner in one session.
Choose Your Shooting Mode: Night Mode vs Manual Control
Selecting the right mode decides how the camera balances motion, light, and detail after sunset. Pick automatic Night mode for speed, or choose Pro controls to lock exposure and focus across multiple frames.

When to rely on built-in Night mode
Night mode uses computational stacking and longer capture to brighten dark scenes. It is the fastest path to usable photos at a crossing because the phone combines multiple frames and reduces noise.
- Best for: quick handheld shots, travel, or social-ready images with minimal fiddling.
- Requires some stability—the algorithm still favors longer captures and can blur fast subjects.
- Limits: it can smear moving people, misjudge bright lamps, and give variable frames.
When to switch to manual or Pro control
Use manual mode when you need consistent exposure across a series. Set shutter and ISO deliberately for repeating light trails or to handle scenes that are really dark or unusually bright.
“If results must match—series shots, stitched panoramas, or before/after pairs—manual control is the reliable choice.”
Practical tip: start with Night mode to lock composition, then switch to manual to fine-tune settings and use focus lock to avoid hunting on low-contrast asphalt.
Dial In Core Camera Settings for Low Light
Control of shutter and ISO turns chaotic lights into deliberate creative tools. Start by deciding whether you want light trails or frozen people, then set the basic exposure accordingly.
Shutter and motion
Long shutter (multi-second) creates streaking lights for traffic and trains the eye along lanes. For frozen pedestrians, aim for roughly 1/60–1/250 sec depending on how fast people move.
ISO and noise tradeoffs
ISO raises sensitivity but adds grain and reduces fine detail. Use low ISO (100–200) on a tripod. Handheld scenes often need 1600–6400 in very dark conditions. Balance higher ISO against loss of sharpness.
White balance and exposure checks
Street lamps skew warm; set a cooler white balance or leave Auto if you plan to shoot raw. Use the histogram where available to avoid clipping bright lights and blown highlights.
- Tip: most phones have a fixed wide aperture, so rely on shutter speeds and ISO for exposure.
- Shoot RAW/DNG when possible—this gives more headroom to recover highlights and tweak white balance later.
For more detailed workflows, see these detailed tips that match urban conditions and settings.
Focus and Sharpness Techniques for Night Street Scenes
Autofocus struggles in low contrast and glare, so plan focus before the action arrives. Phones and small cameras often hunt when headlights, reflections, and dark pavement confuse the sensor.
Lock focus to prevent hunting: tap-and-hold or use AF/AE lock on a high-contrast edge like a crosswalk stripe, signpost, or curb. Locking the focus keeps successive shots consistent in exposure and focus.
Continuous AF for moving subjects
Switch to continuous autofocus when you expect people or traffic to move through the frame. Continuous AF tracks approaching subjects and raises your keeper rate for candid street photography.
Burst mode to increase keepers
Use short bursts as walk signals change. Burst mode captures the gesture you want and boosts your chances of clean shots with good timing.
- Why focus fails: low contrast, glare, and moving headlights make AF pulse and hunt.
- Lock technique: set focus on a midpoint where people will cross, not on moving faces.
- Stability: brace elbows, lean on rails, or use a tripod/monopod to support sharpness even at faster shutters.
“Aim for consistent focus choices so a series of images looks cohesive instead of randomly sharp or soft.”
For more practical examples and inspiration on night street photography workflows, see this short guide: night street photography.
Two Easy Shooting Workflows for Intersections
Plan a clear workflow to turn chaotic street lights into intentional image results. Below are two repeatable paths and a simple bracketing routine to handle contrast and motion.
Light-trail workflow (tripod + slow shutter)
Set up a tripod and pick a fixed composition. Use long exposure or a slow shutter in your manual mode and keep ISO low when steady support allows.
- Choose shutter speed up to 30 seconds for long trails.
- Start the exposure as vehicles enter the frame and repeat across several signal cycles to gather options.
- Check bright lamps and signs; reduce exposure if highlights clip and re-shoot.
Freeze-action workflow (faster shutter + higher ISO)
Switch to a faster shutter speed and raise ISO to 3200–6400 as needed. Use continuous AF and burst mode to capture people and cars sharply.
If the scene brightens suddenly, lower ISO or increase shutter speed to protect highlights.
Bracketing exposures for high contrast
Bracketing exposures with a quick -2/0/+2 stop sequence preserves highlights and shadow detail for blending. Use it for static frames where glowing signs and textured sidewalks must coexist.
“Keep mode and settings consistent per workflow so your shots form a coherent set, not random one-offs.”
Conclusion
Conclusion
A short, repeated routine turns uncertain night shoots into reliable image wins. ,
Core takeaway: prioritize stability, pick either motion trails or frozen action, and use deliberate camera settings for repeatable results.
Minimum kit: a small tripod or firm surface, a timer or remote, and a manual-capable camera app for consistent control.
Shoot blue hour first for balanced sky and lights, then continue after dark for stronger contrast. Protect highlights from lamps and bright signs, and accept higher ISO when you must freeze people or cars.
Shoot RAW/DNG when possible. For fast edits, try Google Photos “Enhance,” then refine brightness, contrast, and white balance. Use AI removal only to support the story.
Practice plan: run both workflows on the same street across several evenings. Repeat, compare edits, and you’ll raise your keeper rate quickly.