Ready to turn wet streets into mirror-like scenes? This guide shows how to use puddles, glass, and wet asphalt to mirror lights and build layered images after a storm. You can get pro-looking results with a phone when you control angle, stability, and light.
What this means in practice: use low angles, seek clean light sources, and find architecture or moving traffic to add energy and depth. The article previews three core approaches: ultra-low shots for mirror puddles, using buildings as the reflected subject, and adding motion from cars or falling drops.
This tutorial focuses on repeatable, actionable steps you can use any time the streets go slick. We cover setup, shooting technique, composition and color, plus quick fixes for common reflection problems so you can troubleshoot on location.
Simple workflow to follow: find reflective surfaces → choose the cleanest light → lock perspective → stabilize your device → refine exposure and color for the final photo.
– Practical steps for repeatable reflection shots
– Techniques that work with a phone and minimal gear
– Troubleshooting tips for low-light reflection photos
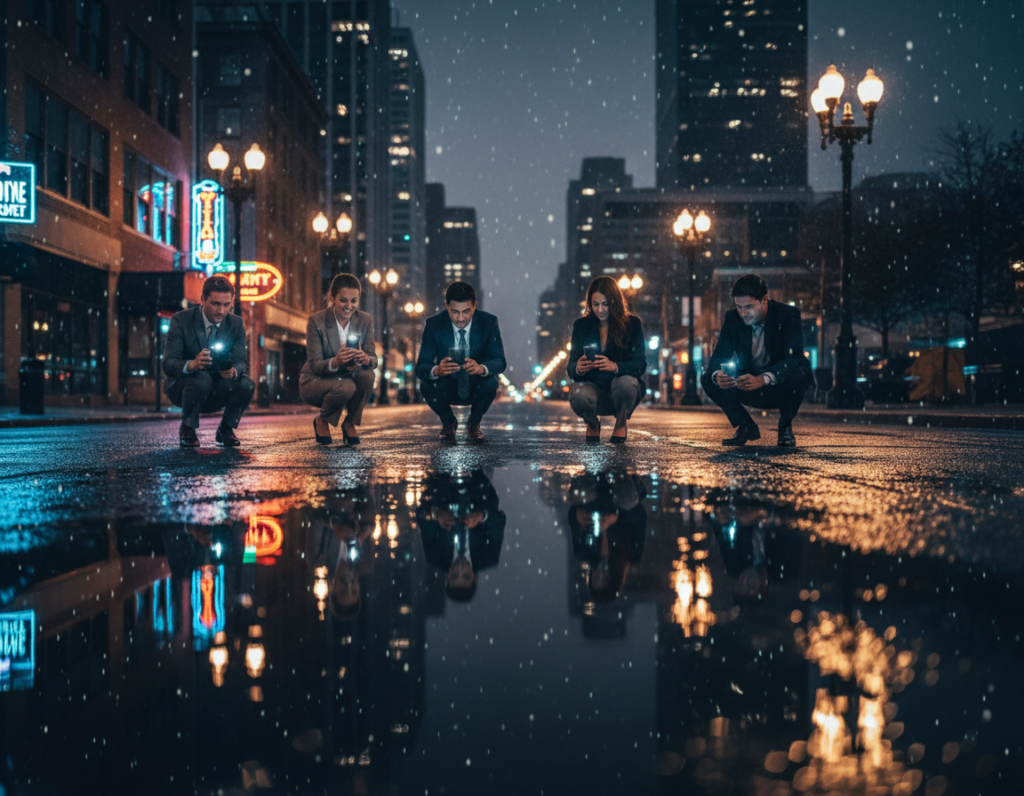
What makes rainy night reflections in the city so photogenic
A thin film of water can transform a simple street into a layered, cinematic view.
Wet surfaces act like flat mirrors. Standing water and glossy pavement double bright sources and add perceived depth to any scene.
How puddles, wet ground, and glass turn lights into mirrors
Look for three reliable platforms: puddles on pavement, thin films on sidewalks, and glass windows or bus shelters. Each surface reflects differently, but all make lights feel richer.
- Puddles: simple mirrors that copy color and shape.
- Thin films: offer broad, soft reflections across large areas.
- Glass: produces sharp, stacked doubles with added depth.
Picking the right time after rainfall
Shoot once the rain eases but before wind or foot traffic breaks the water. This short window of time gives the cleanest mirrors and the brightest color from neon and amber street lamps.
Scout safe locations with bright city lights, darker pavement, and one dominant light source. That simplification creates stronger scenes and better photographic opportunities.
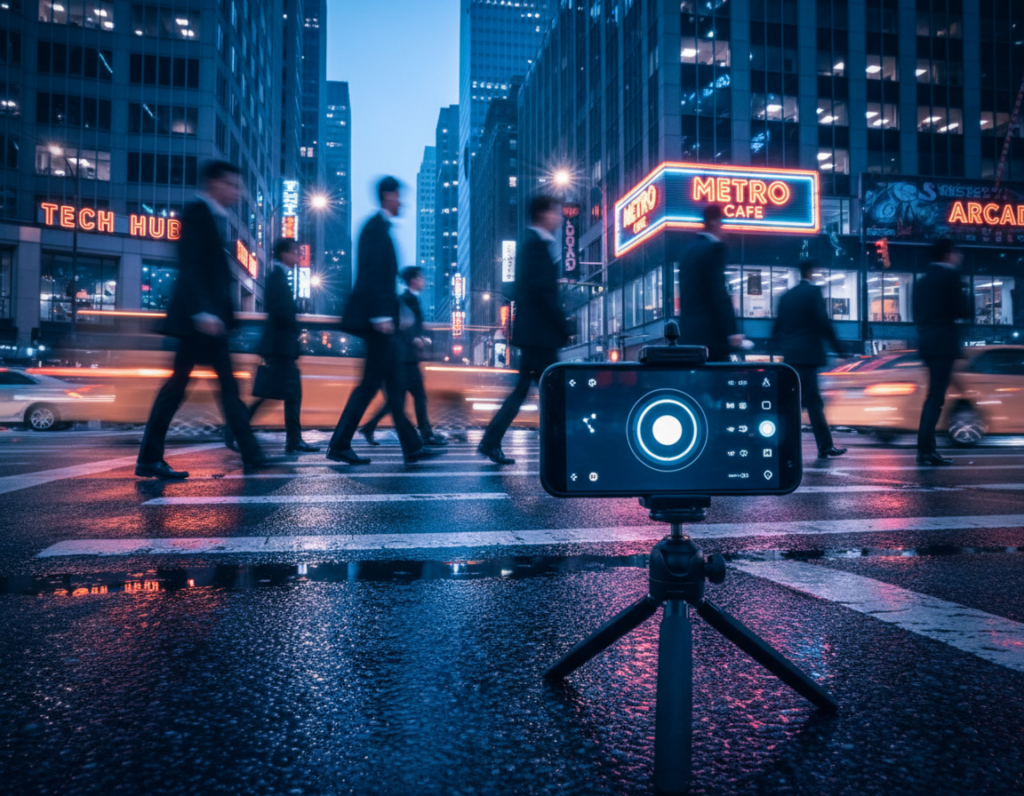
Gear and phone camera setup for shooting in rain and low light
Good gear choices and quick phone habits make low-light street shots practical and repeatable.

Keeping your phone dry while still accessing the camera fast
Carry minimal gear: a microfiber cloth, a small umbrella or brimmed hat, a pocket wipe, and an optional mini tripod or clamp. Store the phone in a jacket pocket between frames so you can grab it fast.
Wipe the lenses often. Avoid letting drops sit on the glass because they soften highlights and blur details.
Stabilizing your shot when you’re shooting handheld in the rain
Brace your elbows, lean against a pole, and time shots between gusts or passing people. If you don’t have a flip screen, flip the phone upside down (example: iPhone 13 Pro) to get ultra-low angles while still seeing the frame.
Use burst mode or a short sequence to increase the odds of a sharp capture. Test the native camera app and a pro app to decide when to use night mode or exposure compensation.
- Winter note: cold drains battery faster—plan shorter sessions and clean the lenses more often.
- Quick test: try lock‑screen camera access and your stabilization routine before you step into wet areas.
Rainy city reflections night photography smartphone techniques that look pro
Small changes in height and tilt unlock big differences in how water mirrors the scene.
Get ultra-low: flip your phone upside down, keep the lens just above the ground, and tilt slightly up. This enlarges the reflected area and makes water read as a compositional element instead of clutter.
Shoot horizontal reflections: hold the phone in landscape with the earpiece to your right so you can see the screen while keeping the lens low on slick pavement. Balance your stance and use a micro tripod if needed.
Fine-tune angle: move the camera inches forward or back and raise or lower by tiny amounts. Each change alters which lights, buildings, and horizon appear in the reflection.
Use architecture as the subject: bridges, towers, and repeating windows create clear mirrored shapes. Frame skylines with lamp posts or bright lights to add symmetry between the real and mirrored scene.
Work the puddle edge as a leading line. Position that boundary diagonally to pull the eye through the image and boost depth.
Look beyond puddles to glass panes, polished stone, and glossy metal for cleaner doubles. Add motion with passing cars, people, or raindrops to introduce energy and texture.
Repeatable routine: choose the surface, pick the strongest light, lock perspective, then make micro-adjustments until the reflection looks intentional and clean.
Composition and color tricks for rainy city reflection photos
Small choices in framing and exposure can make reflected lights sing with color.
Prioritize color: hunt for neon signs, storefront LEDs, and warm lighting that will paint wet surfaces with saturated tones. These sources boost contrast and help colors read clearly in both the real subject and its mirrored counterpart.
Balance real vs mirrored elements: decide whether the reflection is the hero. If it is, crop tight and place the horizon low so the mirror dominates. If you want symmetry, center the horizon carefully; otherwise favor the stronger half.
Keep scenes clean: a busy foreground can kill a reflection. For example, a decorative sewer grate can steal attention. Solve it by shifting angle, reframing tighter, or moving the distraction out of the bottom third.
- Use negative space and darker pavement to make lights pop.
- Lower exposure slightly on your phone to protect highlights and let color carry.
- Use repeating lines—curbs, brick patterns, tile—to guide the eye toward the brightest zone.
Foreground strategies: add leaves, branches, or subtle texture only when they relate to the reflected subject. These elements should reinforce the image story instead of creating clutter.
Practical tip: make multiple versions—one wide, one tight abstract, one balanced frame—to capture different moods and give you options in post.
Common problems and quick fixes when photographing reflections at night
Common mistakes are easy to spot and quicker to fix than you think. Use these fast checks to keep images clean and bright on wet streets.
Avoid distracting foreground clutter
Simplify the ground plane: move a few inches, change height, or crop tighter to remove grates, leaves, or trash that steal focus. A small step often clears the bottom third of the frame and restores balance.
Control glare and blown highlights
Lower exposure or tap to lock on the brightest spot to protect highlights. Use a polarizer if you have one, or shade the lens with your hand to cut flare and recover color.
Boost weak mirrored detail
If the mirror looks faint, change your angle, get closer, or wait for calmer water. Finding a smoother surface or a steadier horizon often makes the double image stronger and more readable.