This short guide explains how changing highlights and shadows helps make night photos clearer. Clarity means sharp edges, readable texture, controlled noise, and preserved bright detail. You will learn what editing can fix and what it cannot.
Start with a cleaner capture. Use a steady camera, prefer the main lens, and avoid flash to keep lighting natural. Night shooting trades blur for noise, so balance shutter speed and ISO when you can.
We focus on two sliders: shadows and highlights. Raising shadows can reveal hidden detail but may show grain. Lowering highlights saves blown signs and bright patches.
What you’ll do: prep the phone, stabilize, pick Night Mode or manual, set exposure, then follow a simple edit order in Apple Photos, Google Photos, Lightroom Mobile, or Snapseed. The target is cleaner night photos with readable dark areas, controlled bright signs, and natural color under mixed light.
Why low light smartphone photos lose clarity
When darkness wins, the camera reacts by slowing the shutter or raising ISO — and each choice changes the result.
Noise vs. motion blur: the trade-offs your camera makes
The sensor has two basic options: collect light for more time or amplify the signal. Longer exposure time brings motion blur from subject or camera motion. Raising gain brightens the frame but increases visible noise.
Noise looks like grain and softens fine details, while motion blur smears edges. Fixing each requires different steps: stabilize or shorten shutter speed to stop motion, or lower ISO and apply noise reduction to tame grain.
Highlights clipping and shadows swallowing detail
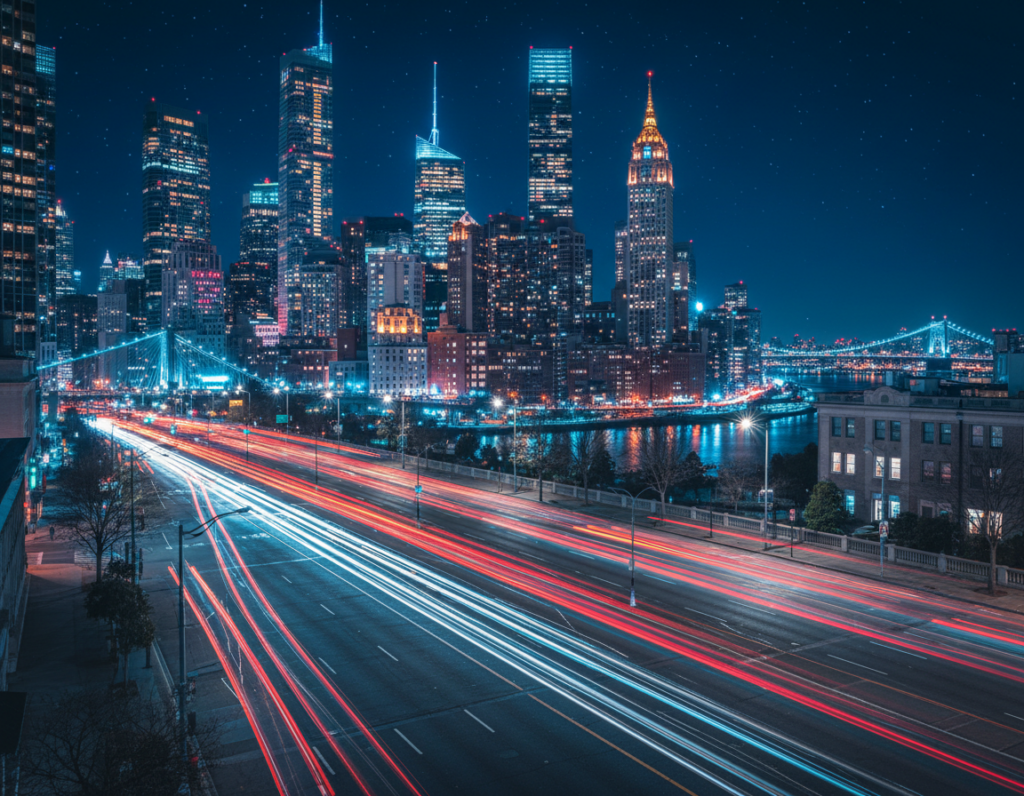
Street lamps, neon, and headlights clip quickly to pure white, while nearby areas fall into near-black with no usable details. Watch on-screen previews for blown lights or crushed darks to decide whether to protect highlights or lift shadow detail later.
Mixed lighting and muddy color
Mixed color temperatures from tungsten, LED, and sodium vapor confuse auto white balance. That can make skin tones and scenes look muddy and reduce perceived clarity.
Bottom line: capture a cleaner exposure with steady technique and the best lens, then use careful tonal recovery in editing for sharper, truer results.
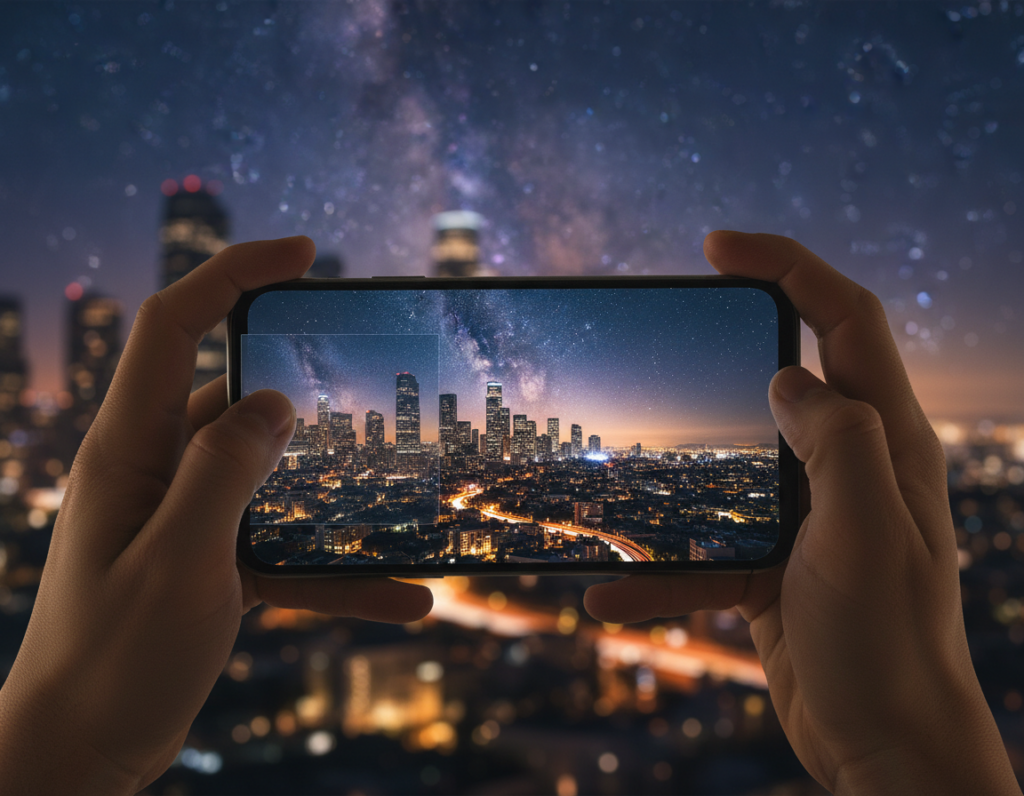
Set up your phone for cleaner low-light images before you edit
A quick setup before you shoot can prevent common night artifacts and save time in editing. These steps help you capture clearer shots so edits are gentler and cleaner.
Clean the lens. Smudges and fingerprints cause haze and streaks around bright signs. Wipe the lens with a microfiber cloth or a clean shirt in a pinch to stop glow and bloom.
Use the main lens. The 1x lens usually has the best sensor and aperture path. Ultra-wide or digital zoom often look softer and noisier in dim scenes. Avoid switching lenses mid-scene when quality drops.
Turn off the flash for most scenes. Flash flattens faces, creates harsh shadows, and kills mood. Instead, look for ambient sources—store windows, street lamps, or neon—to shape subjects. An off-camera phone flashlight can add depth if needed.
- Quick pre-shoot checklist: clean lens, pick main lens, set mode (or night mode), disable flash, find ambient sources.
- Wipe smudges to remove haze and streaks that hide detail.
- Prefer stability next: a steady camera means less aggressive editing later.
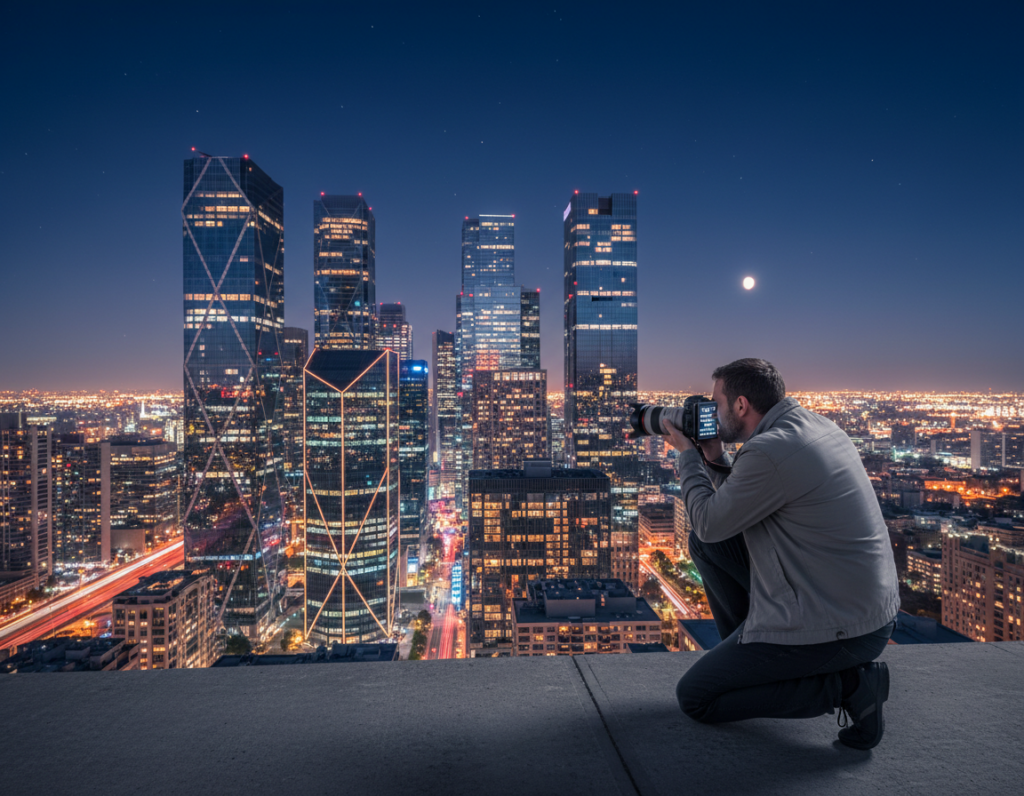
Stabilization techniques that instantly sharpen low-light photos
Stability is the single fastest upgrade you can make to sharpen night capture. A steady platform reduces micro-shake so the phone can use longer exposures and lower ISO for cleaner detail.
Tripod and phone mount basics for night shots
Start with a compact tripod and a solid phone clamp. Small tabletop models or travel tripods work well for city work.
Tip: Keep the horizon straight when framing and pick a wide base for stability. Use a low center of gravity and set a conservative shutter speed when wind is present.
DIY support: walls, rails, rocks, and backpacks
When gear isn’t available, improvise. Brace the phone on a ledge, rest it on a backpack, or nest it in a jacket to steady the frame.
These simple techniques often prevent blur and improve results without extra weight in your bag.
Timer, remote, and volume-button shutter to avoid shake
Pressing the shutter can introduce blur during slow captures. Use a 2‑second timer, wired earbuds, a Bluetooth remote, or the volume-button shutter to trigger without touch.
- Why stabilize: fewer bumps = cleaner detail in Night Mode stacking.
- Tripod fundamentals: compact legs, phone clamp, level framing.
- Quick rule: static scenes—stabilize and use long exposure; moving subjects—favor faster shutter choices.
Night Mode vs Pro/Manual mode: when to trust computational photography
Some scenes benefit from computational stacking, while others demand hands-on exposure control. Night mode captures many frames at varied exposures and merges them to reduce noise and boost detail. That process works best when the frame is steady.
Why hold still? The stacking merge assumes pixels stay in the same place. If the camera moves, or if people and cars cross the frame, the result can smear or ghost.
When Night Mode can fail
Look for faint outlines, doubled edges, or soft trails—signs that moving people created ghosting. Previews often show these artifacts so you can retry.
When to use manual control
Switch to Pro or manual when the scene has lots of motion or when you want creative blur versus frozen action. Manual settings let you pick shutter and ISO to either stop motion or embrace it.
- Workflow: Try night mode handheld first; if ghosting appears, switch to Pro, lock focus and exposure, raise shutter speed, and accept a modest ISO increase.
- Match exposure decisions to subject motion and the scene for predictable night results.
Dial in exposure with ISO and shutter speed for low light
Balancing sensor gain and collection time is the core of clean night capture. Think of ISO as the amplifier and shutter speed as the collector. Use that simple model to make fast, confident choices when you shoot.
Keep ISO moderate. Aim for roughly ISO 400–800 when possible. That range preserves color and details while limiting visible noise and color speckling that reduce clarity.
Use shutter speed to gather light without blur
For handheld work, try to stay at or faster than about 1/50s. Slower speeds risk motion blur from natural hand tremor or moving subjects.
When to choose long exposures
If the scene is static and you have a stable support, prefer a long exposure over cranking ISO. A long exposure collects more signal with less noise and often yields cleaner detail than a boosted gain.
Protect highlights with slight underexposure
Slightly darkening the frame helps save bright signs, lamps, and headlights. Clipped highlights are hard to recover, while shadows can be lifted later in editing.
“A well-exposed file—even a touch dark—gives more room to lift shadows and recover highlights without destroying detail.”
- Big Two: ISO controls gain; shutter speed controls collection.
- Handheld rule: ~1/50s or faster to avoid motion blur.
- Use bracketing if available to pick or blend the best exposure later.
Transition to editing: capture slightly under when contrast is high. That gives more flexibility to recover midtones and clean noise in post while keeping the scene’s mood intact.
How to adjust tones, shadows, and highlights for low light smartphone photography
A careful two-step tone routine—shadows then highlights—solves most nighttime clarity problems. Start small and work in tiny slider movements. Big jumps reveal noise and create halos.
Step-by-step tonal workflow:
- Raise shadows just enough to reveal subject details, then stop. More lift often uncovers heavy grain.
- Lower highlights to restore structure in lamps and neon. If highlights are clipped, capture choices already limit recovery.
- Use a light contrast boost and targeted clarity/texture to add micro-contrast without crushing blacks.
Tone Curve tip: lift the black point a touch for a matte look, or add a gentle S-curve for a crisp night result. Watch for banding and noisy darks.
Local edits and sharpening: prefer radial or graduated masks to brighten faces or tame glare. Sharpen edges selectively; avoid pushing noisy shadow areas.
“If you only learn two edits, prioritize shadows and highlights.”
Editing workflow in native phone apps and popular tools
A repeatable mobile workflow saves time and keeps night images consistent across edits.
Quick fixes in Apple Photos and Google Photos: open the photo, lift shadows gently, and pull down highlights to protect bright areas. Use the basic brightness and black-point controls to keep the scene feeling like night.
When to move to Lightroom Mobile or Snapseed
Switch when you need RAW support, precise local edits, or tricky white balance fixes. These tools give finer masks, selective exposure, and targeted noise control for deeper recovery.
Order of operations that works on any phone
- Noise reduction first: apply selectively in dark areas so texture and edges stay crisp.
- Tonal recovery next: restore highlights, lift darks, then refine the curve for natural contrast.
- Detail last: add micro-contrast, clarity, and selective sharpening while checking for halos.
Evaluate on the screen at 100% to spot noise and halos, then zoom out to confirm the mood reads well. Save exports at max quality so details survive sharing.
“Less is more—small moves keep skin and edges from looking waxy or blown.”
Scene-based recipes for clearer results in common lighting situations
A few targeted edits can rescue nighttime shots and make scene details pop. Below are short, scene-specific recipes you can apply quickly. Start with highlights and shadows, then use local edits and gentle sharpening for final results.
Urban neon and street lamps
Capture: slightly underexpose when possible to protect bright signs.
Edit priority: pull highlights down to recover sign structure, keep global contrast mild, and use local masks for reflections on windows and wet pavement.
- Quick checks: zoom-in for clipped highlights and reduce them more if needed.
- Result: readable signs and controlled reflections without flattening the scene.
Indoor portraits in dim rooms
Edit priority: brighten faces with a local brush and preserve some depth by leaving background shadows darker.
Why it works: selective brightening keeps people from looking detached and avoids global noise boost.
- Quick checks: 100% zoom for noise on skin tones and a color cast check.
- Result: natural skin detail and retained three-dimensional form.
Overcast, moody days
Edit priority: lower highlights to reveal cloud texture, then deepen shadows slightly to add drama and contrast.
- Quick checks: verify cloud detail and avoid crushed mids that make the scene look flat.
- Result: intentional mood with clearer separation between sky and foreground.
Dim restaurant food shots
Edit priority: reduce highlights to remove shiny hotspots and bring out texture. Then nudge shadows carefully so the dish stays dimensional but not muddy.
Use local exposure for the plate and minimal global contrast to keep tones natural.
- Quick checks: inspect highlights for blowouts and zoom for texture clarity.
- Result: appetizing detail and controlled reflections; see practical food lighting tips.
“Start with highlights and shadows, refine locally, then add gentle sharpening for clean results.”
Creative lighting tricks that improve clarity without raising ISO
You can get cleaner images by shaping existing light rather than raising sensor gain. These quick methods boost texture and edge definition so you need less aggressive editing later.

Use ambient sources to shape faces and texture
Move your subject near street lamps, shop windows, lanterns, or neon to add directional modeling. Positioning for side light or slight backlight reveals skin texture, fabric detail, and architectural lines.
Tip: a small shift toward the source often improves clarity more than a higher ISO.
Light painting for controlled foreground detail
Stabilize the phone and pick a longer exposure or Night Mode. During the shutter, sweep a dim flashlight or headlamp briefly across the foreground to lift only the area you want.
Keep it subtle. Short, distant sweeps preserve night mood and avoid harsh hotspots. Test duration and distance to get a natural result.
Use reflections to amplify available illumination
Wet streets, puddles, and water act as free reflectors that double neon and lamp color. Compose low and include mirrored shapes to add separation and depth in the scene.
These methods reduce the need to crank shadows up in editing, which helps keep noise under control. For more night capture tips see mastering night capture on your phone.
- Why it works: better direction and quality of lighting makes textures and edges read cleaner.
- Stabilize, use gentle long exposure, and keep setups simple and safe near traffic or wet surfaces.
- Practice subtle sweeps and low angles for reflections to make the effect repeatable.
“Good lighting choices often solve clarity problems before you touch a slider.”
Conclusion
Conclusion: Sharper night results come from a steady process, not a better phone. Start with a clean lens, use the main lens, and stabilize with a tripod or firm support.
Capture smart: choose Night mode or manual when motion allows, keep ISO moderate, and protect highlights with slight underexposure to save detail for edits.
Edit in order: noise reduction, recover highlights, lift shadows carefully, then finish with local work and restrained contrast and sharpening. Lock focus and exposure when the camera hunts in the dark.
Repeatable checklist: stabilize → main lens → moderate ISO → slight underexposure → edit highlights/shadows → local fixes → selective sharpen.
Try one night scene this week and apply this workflow to build consistent, cleaner photos with your camera or smartphone.