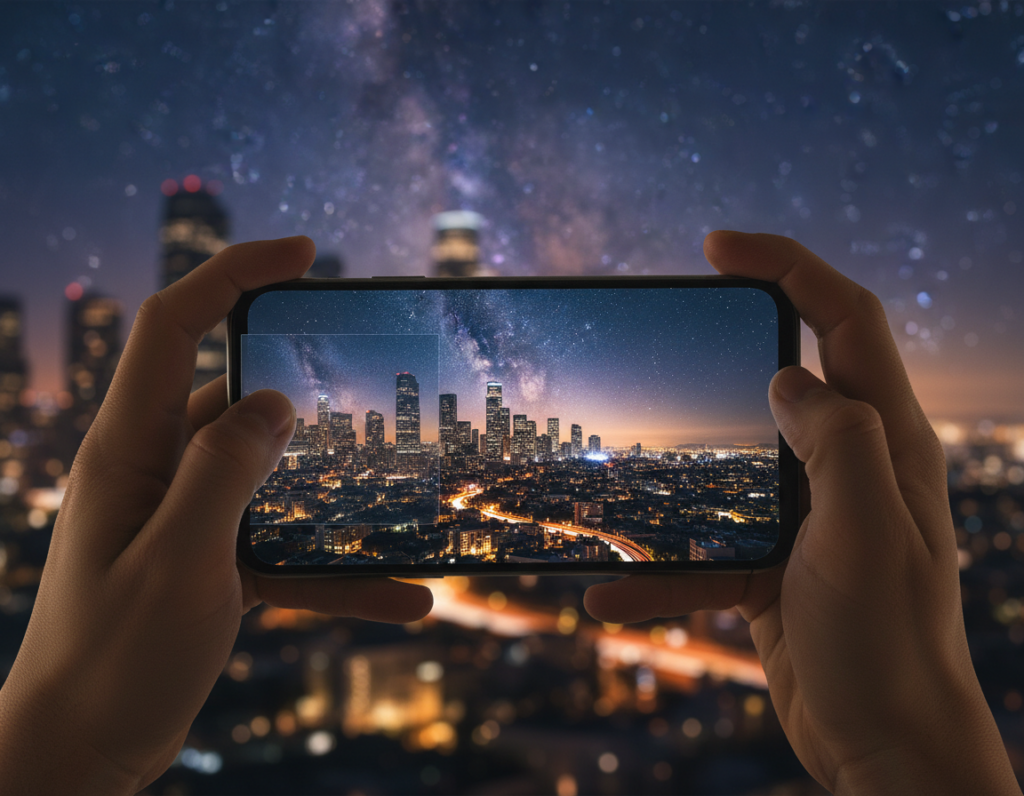
This short guide explains a reliable, repeatable way to fix noise and grain in low-light phone images while keeping faces and textures natural.
Phone camera sensors struggle in low light, so the speckled look you see is usually amplified noise rather than an artistic film effect. Brightening an underexposed file often makes that noise more visible.
Expect realistic results: you can often clean grainy photos enough for social sharing and small prints, but very noisy files will lose some fine detail when corrected.
The workflow in this article is simple: assess the shot, pick the best file, apply noise reduction (AI tools work well), then restore detail with careful sharpening.
Tools covered include Lightroom, Photoshop, Topaz Photo AI, and several online editors so you can match a solution to your budget and device.
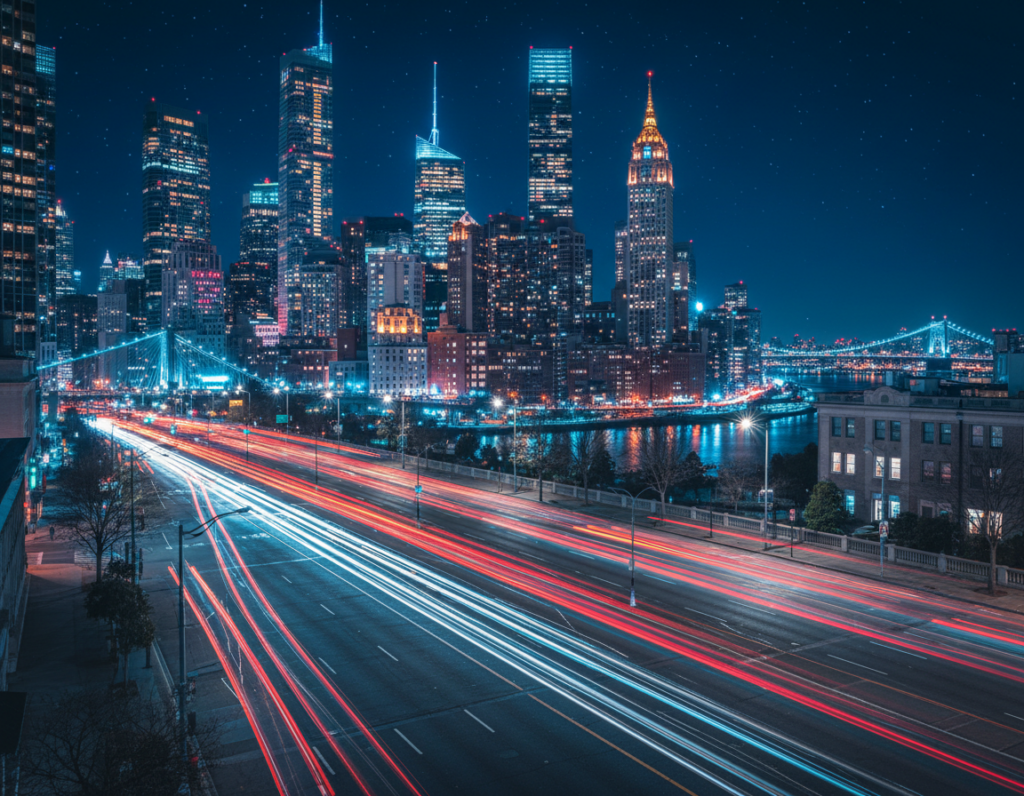
We also tie tips to real situations like indoor dinners, concerts, and city streets, and finish with prevention steps to capture cleaner images next time.
Why smartphone night photos look grainy in low light
In low-light scenes your phone often shows speckles and color flecks where tones should be smooth. That visual clutter is usually electronic noise, not film texture, and it hides fine detail.
Digital noise vs. film grain
Noise is random luminance and color variation created by the sensor and processor. Film grain is an organic texture from chemistry and looks different.
High ISO and signal amplification
When the camera raises sensitivity (high iso) it amplifies both signal and noise. That tradeoff lets you capture an image but adds speckles and rough texture.
Small sensor limits and shadow behavior
Small sensors collect less light per photosite. Shadows have thin data, so noise appears there first when you lift exposure.
JPEG compression and artifacts
Compression and aggressive processing can create banding, blocky shadows, and boosted contrast that make noise look worse.
- Color noise: red/green/blue specks stand out in dark areas.
- Exposure choices affect how visible noise becomes.
- Different kinds of noise need different fixes in editing software.
Quick assessment before you edit for noise reduction
Start with a quick, focused review so your edits match the problem. This saves time and preserves detail when you apply noise controls.
Zoom in to identify luminance texture vs. color speckles
Open the image at 100% (actual pixels) and inspect the darkest areas first. Those shadows usually show the worst noise and reveal whether the issue is brightness texture or tiny RGB flecks.
Simple rule: luminance looks like rough brightness variation; color shows as random red, green, or blue dots that don’t belong.
Check exposure changes: why lifting shadows can worsen visible noise
Brightening shadow detail amplifies signal and the noise mixed with it. Large shadow lifts can make grainy photos look harsher and lose fine detail.
A least-destructive approach is smaller shadow boosts or a slight overall exposure increase rather than extreme local recovery.
Pick the best file format available: RAW vs. JPEG for cleaner results
Check your capture settings metadata (ISO, shutter time). High ISO or very short shutter times often predict stronger noise.
If you have RAW (DNG/ProRAW), start there for more headroom. For JPEG, edit gently and plan lighter sharpening to avoid amplifying artifacts.
Quick decision tree: if color speckles dominate, use color noise controls first; if texture dominates, prioritize luminance reduction. Good noise handling balances smoothing with detail preservation so the image stays natural.
How to remove digital grain smartphone night photos using editing tools
Start with a clear workflow. Tackle color speckles first, then smooth luminance texture, and finally restore crispness so skin and fabric stay natural.
Lightroom (mobile & desktop)
Begin with Color noise reduction to clear chroma specks. Next, nudge Luminance up slowly while watching hair, fabric, and edges for lost detail.
Keep it natural: use the texture and masking controls and check the image at 100% and fit-to-screen views.
When to run Lightroom Denoise
Use Lightroom’s AI denoise early in the workflow. If you plan to round-trip to Photoshop, run it before edits there so the feature stays available for that file state.
Topaz Photo AI and Photoshop
In Topaz choose the “normal” setting in Remove Noise, then raise strength slowly to avoid a plastic look. Topaz also integrates with Lightroom via a plugin.
In Photoshop, use Filter > Noise > Reduce Noise for a global pass, then add masks to target shadows so you don’t blur the whole image.
Online editors and final sharpening
Online tools usually offer luminance and color sliders plus a crispness control. Smooth brightness noise first, fix chroma specks next, then use crispness to bring back perceived sharpness.
Final order: denoise, then sharpen—because sharpening amplifies noise. Keep sharpening subtle to protect realistic texture.
- Compare before/after at 100%.
- Watch for halos, smeared detail, blotchy gradients, and odd color shifts.
- If you need a quick AI option, try the AI image denoiser.
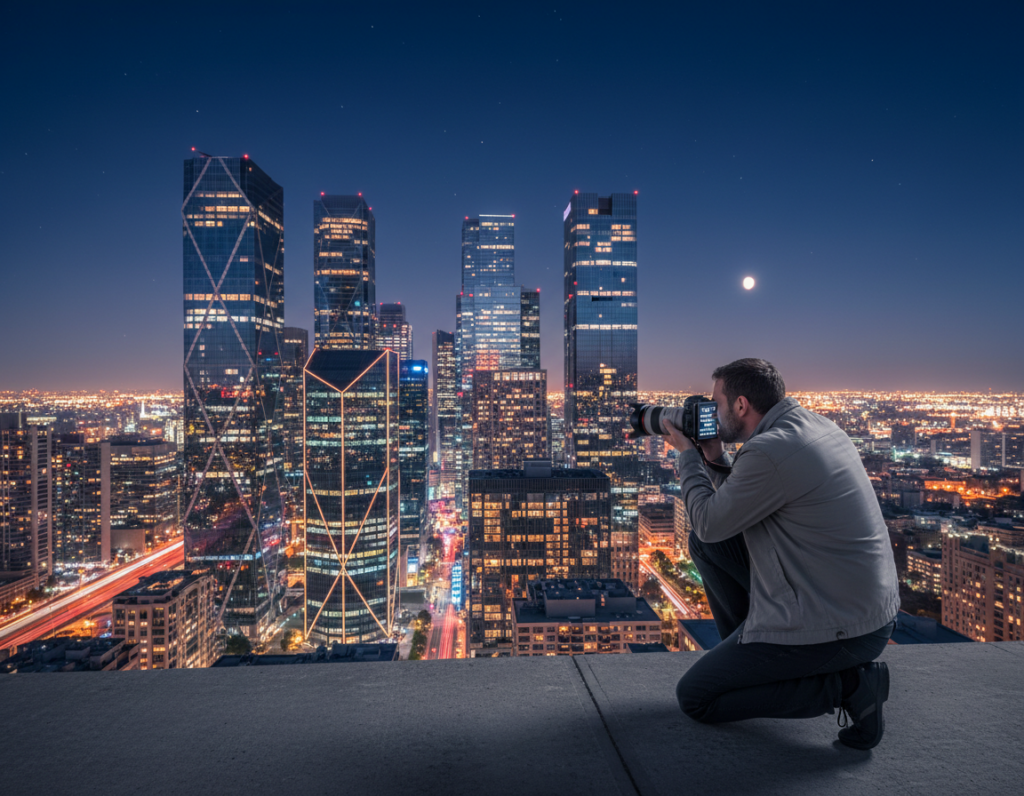
Best capture settings to prevent grainy photos at night
A few simple camera and lighting tweaks will improve image quality more than any filter. Start with capture choices so you spend less time in editing and avoid heavy noise later.

Keep ISO low and trade with exposure time
Practical target: use the lowest ISO your phone allows in Pro mode. If the shutter time gets long, compensate with a stable support rather than raising ISO.
Longer exposure brightens the scene with less noise, but only if the camera is steady to avoid blur.
Stabilize the shot anywhere
Brace elbows, lean on a wall, set the camera on a table, or use a small tripod. Use a timer or a remote to stop shake when tapping the shutter.
Use Night mode, HDR, and computational tools wisely
Night stacking reduces noise by merging frames, but moving subjects can smear. HDR helps when bright signs compete with dark areas, yet heavy shadow lifts can reveal noise.
Add light on purpose
Even a small LED, lamp, or diffused flashlight lowers ISO needs a lot. For people, favor clean skin tones and sharp eyes over extreme brightness. For city shots, expose for highlights and recover shadows gently.
- Quick rule: better capture equals less noise work later and fewer harsh edits.
- Avoid digital zoom and hold steady for the best perceived quality.
Common mistakes that make grain worse (and how to fix them)
Pushing aggressive fixes often turns subtle texture into a flat, plastic look that ruins skin and fabric. That happens when editors try to erase noise instead of balancing it with detail.
Overdoing noise reduction: Cranking luminance or noise reduction too high smooths hair, pores, and fabric. The result can look waxy and lifeless.
Quick fix: back off the luminance slider, add controlled sharpening, and use masks so faces and key textures keep detail while backgrounds stay smoother.
Digital zoom and heavy cropping: Zooming in-camera enlarges pixels and makes noise far more visible. Tight crops from a small sensor turn minor speckles into a major problem.
Better approach: move closer when you can, shoot at full resolution, and crop with intention. That keeps sensor data intact and limits how much grain shows in low light.
Outdated processing: Old camera software and OS builds may handle noise poorly. Manufacturers often improve night algorithms with updates.
- Check for app and firmware updates to improve noise handling.
- Do a quick sanity check: compare the edited image to the original at the same zoom so you don’t lose important detail.
- If one product or website editor makes artifacts, try a different tool—Lightroom, an AI denoise product, or a simple online slider—to see which preserves detail best.
Conclusion
Core takeaway: Great low-light photography starts with steady technique and modest editing to protect detail.
Capture more light when you can, stabilize the camera, and favor RAW or the best available format. That reduces how much the sensor must boost signal and cuts visible noise before any editing.
Follow a simple workflow: assess the image, pick the best file, tackle color then luminance reduction conservatively, and finish with careful sharpening to restore natural edges and color.
Choose one set of tools—Lightroom, Photoshop, Topaz, or a reliable online editor—and learn it well. For the next shot: add light, steady the camera, keep ISO low, shoot RAW, and check the result at 100%.
If a final image looks natural at normal viewing size and keeps key details like eyes and edges, your reduction worked and you have a repeatable solution for low-light conditions.